
To turn on Smile Shutter™
1
Activate the camera.
2
Tap , then tap
3
Tap
Smile Shutter
and select a smile level.
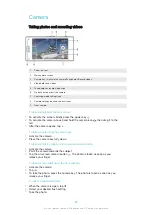
To take a photo using Smile Shutter™
1
When the camera is open and Smile Shutter™ is turned on, point the camera
at your subject. The camera selects which face to focus on.
2
The face selected appears inside a coloured frame and the photo is taken
automatically.
3
If no smile is detected, press the camera key to take the photo manually.
Adding the geographical position to your photos
Turn on geotagging to add the approximate geographical location (a geotag) to
photos when you take them. The geographical location is determined either by
wireless networks (mobile or Wi-Fi® networks) or GPS technology.
When appears on the camera screen, geotagging is turned on but the
geographical position has not been found. When appears, geotagging is turned on
and the geographical location is available, so your photo can get geotagged. When
neither of these two symbols appears, geotagging is turned off.
To turn on geotagging
1
From your Home screen, tap .
2
Tap
Settings
>
Location
.
3
Tap the on-off switch.
4
Activate the camera.
5
Tap , then tap .
6
Drag the slider beside
Geotagging
to the right.
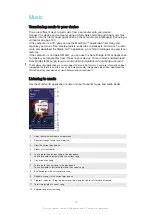
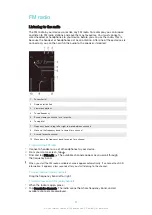
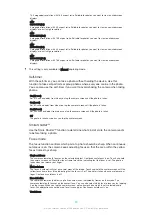
General camera settings
Capturing mode settings overview
Superior auto
Optimise your settings to suit any scene.
Manual
Adjust camera settings manually.
Sound Photo
Take photos with background sound.
Multi camera
Record the same scene from multiple angles on a single screen.
AR effect
Take photos or videos with virtual scenes and characters.
Creative effect
Apply effects to photos or videos.
Info-eye™
Find more information about what you see in your camera viewfinder.
Social live
Broadcast live video to Facebook™.
Sweep Panorama
Take wide-angle and panoramic photos.
Superior auto
Superior auto mode detects the conditions in which you are shooting and
automatically adjusts the settings to ensure that you take the best photo possible.
85
This is an Internet version of this publication. © Print only for private use.