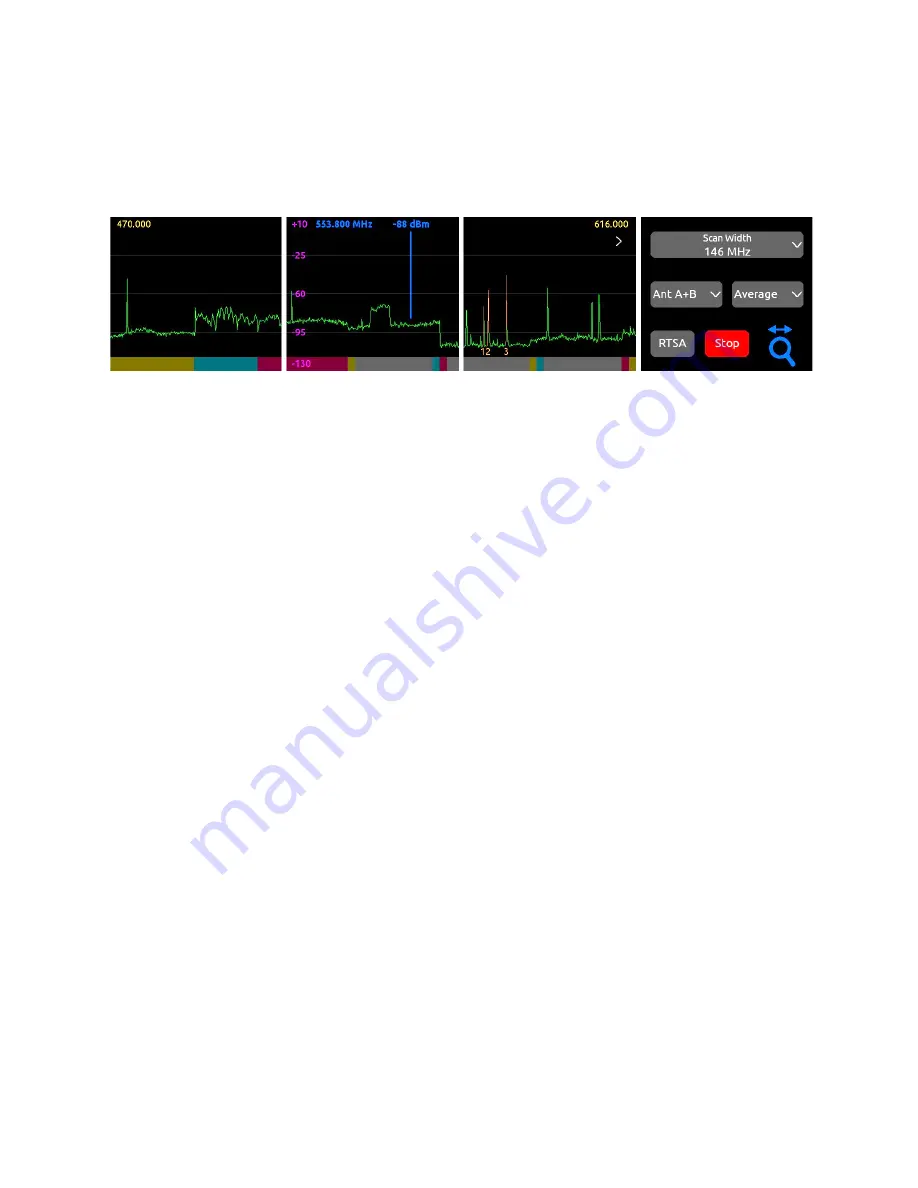
Scan Mode
Use Scan mode to view the whole Nexus 470 MHz - 1525 MHz spectrum and zoom in to see smaller sections in more detail.
The complete scan trace is refreshed a few times a second. Scan mode makes it quick and easy to find and select a clean Tuning
Band.
●
The scan plot width is determined by the Scan Width setting in screen 4. Scan Width options are Full, 146 MHz (default),
108 MHz, 72 MHz, and 36 MHz.
●
Tapping the '>' banks to the next frequency block based on the Scan Width setting. For example, if the 470 to 616 MHz
range is currently displayed, tapping ‘>’ will display 616 to 762 MHz.
●
Tapping the '<' banks to the previous frequency block based on the Scan Width setting.
●
When entering Scan mode, by default, the first block shown starts at 470 MHz.
●
The ‘<’ and ‘>’ arrows are not displayed when zoomed, but the min and max frequencies of the zoomed range are.
●
The scan plot shows tuning bands as colored regions at the bottom of the display. Many tuning bands have overlapping
frequencies. These overlapping frequencies are shown as gray regions.
●
To select a Tuning Band:
○
Locate the vertical blue frequency marker within a Tuning Band, then press the HP knob to select the Tuning
Band that the marker is located in.
○
If the blue frequency marker is located within an overlapping Tuning Band ’gray’ region, pressing the HP knob
will display a prompt asking to select the Upper or Lower Band. Cancel the popup by pressing the triangle
button.
●
When a Tuning Band is selected, the RTSA mode is automatically selected for that Tuning Band.
A20-Nexus
User Guide
32


