Timecode
With NexLink, the A20-Nexus is able to simultaneously sync multiple A20-Mini transmitters when they are set to REC only or
REC+RF mode. This feature ensures zero-frame drift between multiple recording transmitters and therefore making it easy to sync
with picture in post especially when the free SD-Utility software tool
(
https://www.sounddevices.com/sd-utility-v2-00/
) is used to conform and merge the individual A20-Mini recordings into a single
polyphonic wav file.
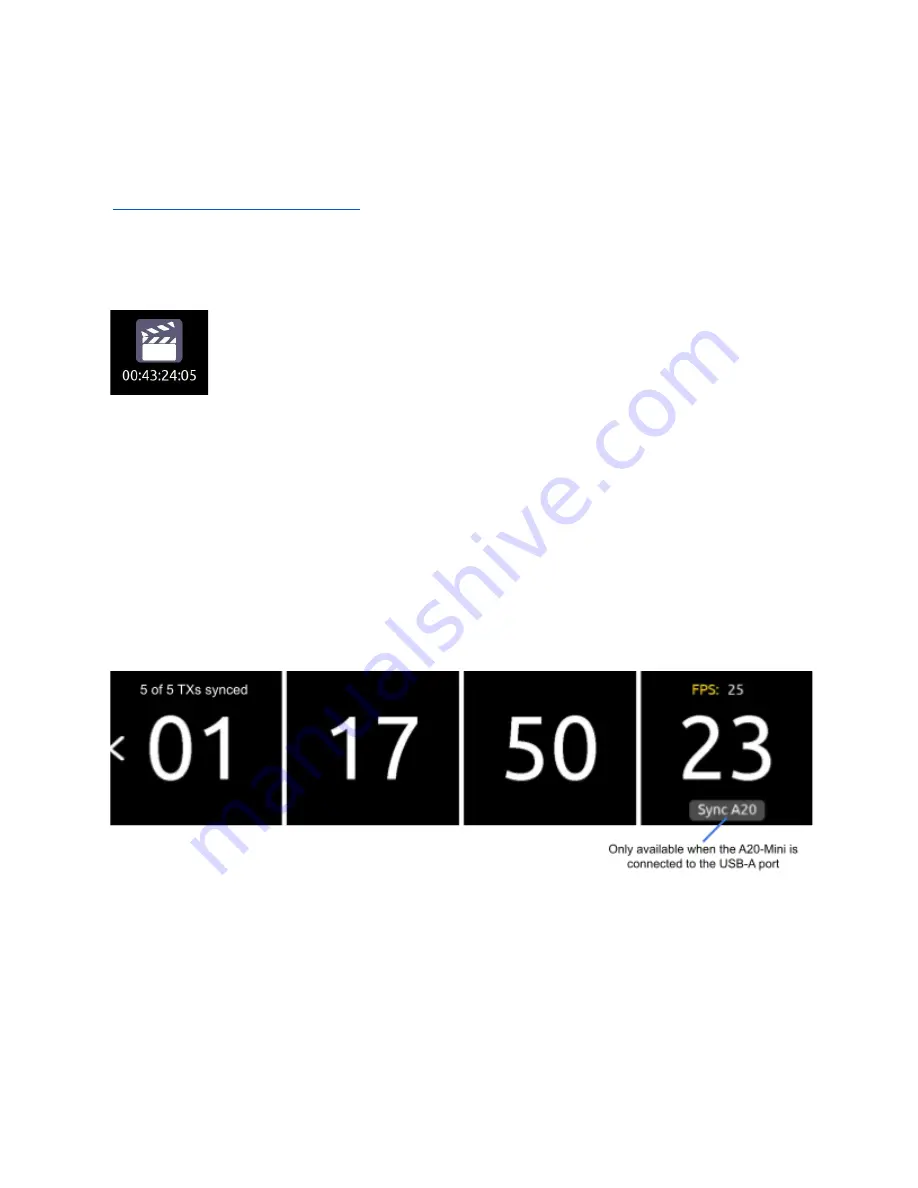
The Timecode menu displays incoming LTC and its frame rate. Tap the timecode slate icon in the Main Menu to access the
Timecode menu. The incoming timecode is displayed below the icon making it unnecessary to enter the Timecode menu to check
valid timecode is being received.
The A20-Nexus receives timecode in two possible ways:
1.
From the rear panel LTC/WCK BNC In port.
The A20-Nexus automatically detects whether a word clock or timecode
signal is connected. When the source is timecode, the frame rate is automatically detected.
2.
From the 8-Series when docked via the expansion port.
When docked to the 8-Series, the A20-Nexus’s BNC In port is
disabled and timecode and sync are received from the 8-Series. Use the 8-Series Timecode/Sync menu to set up
timecode and sync as necessary.
Syncing A20-Minis to A20-Nexus timecode.
●
The A20-Nexus will automatically sync timecode to all A20-Mini transmitters when a timecode source is plugged into the
BNC In port. When synced, the A20-Minis blink their blue timecode LED for about 10 seconds and the Nexus displays ‘TC
synced’ in transmitter 1RX View > TC menus (accessed by tapping the TC Icon).
●
An A20-Mini is also synced from the A20-Nexus by connecting its USB-C port to the A20-Nexus USB-A port while in the
Timecode menu. When connected, the Timecode Menu displays a Sync A20 button at the bottom of screen 4.
●
The top of screen 1 displays how many of the NexLinked transmitters are synced.
A20-Nexus
User Guide
39


