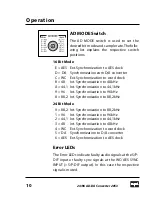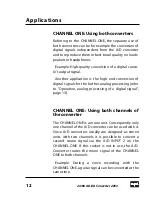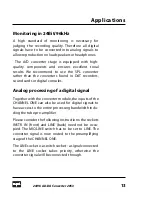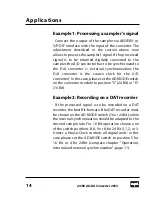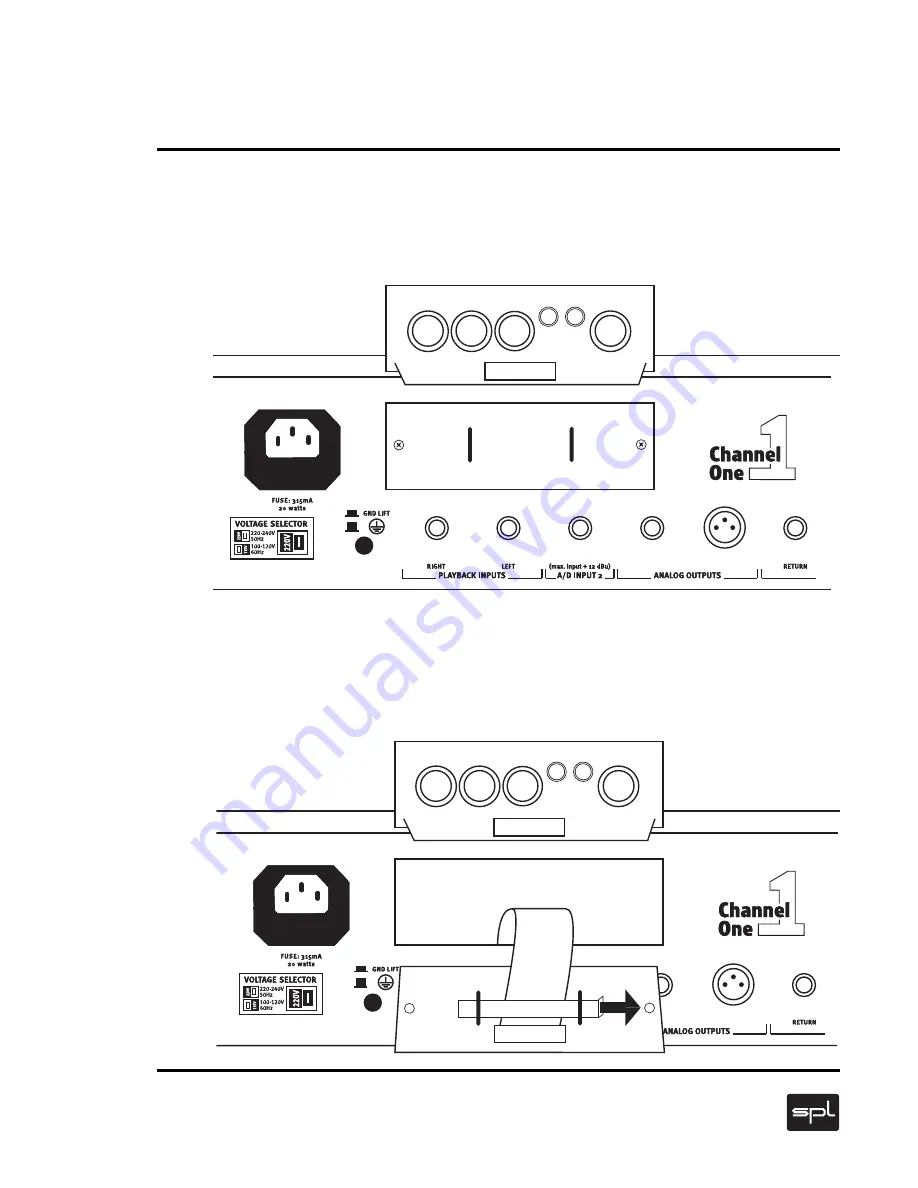
Mounting
Steps 1 and 2
6
24/96 AD-DA Converter 2053
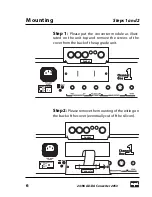
Step 1:
Please put the converter module as illust-
rated on the unit top and remove the screws of the
cover from the back of the upgrade unit.
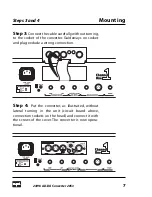
Step 2:
Please remove the mounting of the wiring on
the back of the cover (eventually cut off the silicon).
Socket
Socket
Connector
Summary of Contents for 2053
Page 1: ...24 96 AD DA Converter Manual Model 2053 ...
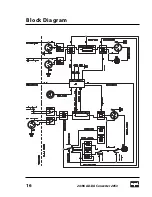
Page 16: ...Block Diagram 16 24 96 AD DA Converter 2053 ...
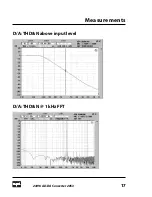
Page 17: ...Measurements 17 24 96 AD DA Converter 2053 D A THD N above input level D A THD N 1 kHz FFT ...
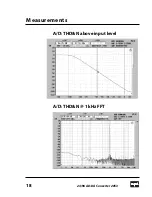
Page 18: ...Measurements 18 24 96 AD DA Converter 2053 A D THD N above input level A D THD N 1 kHz FFT ...


