


www.soundskulptor.com
Document revision 1.3 – Last modification : 09/10/14
Switcher-2 Assembly guide – Main PCB
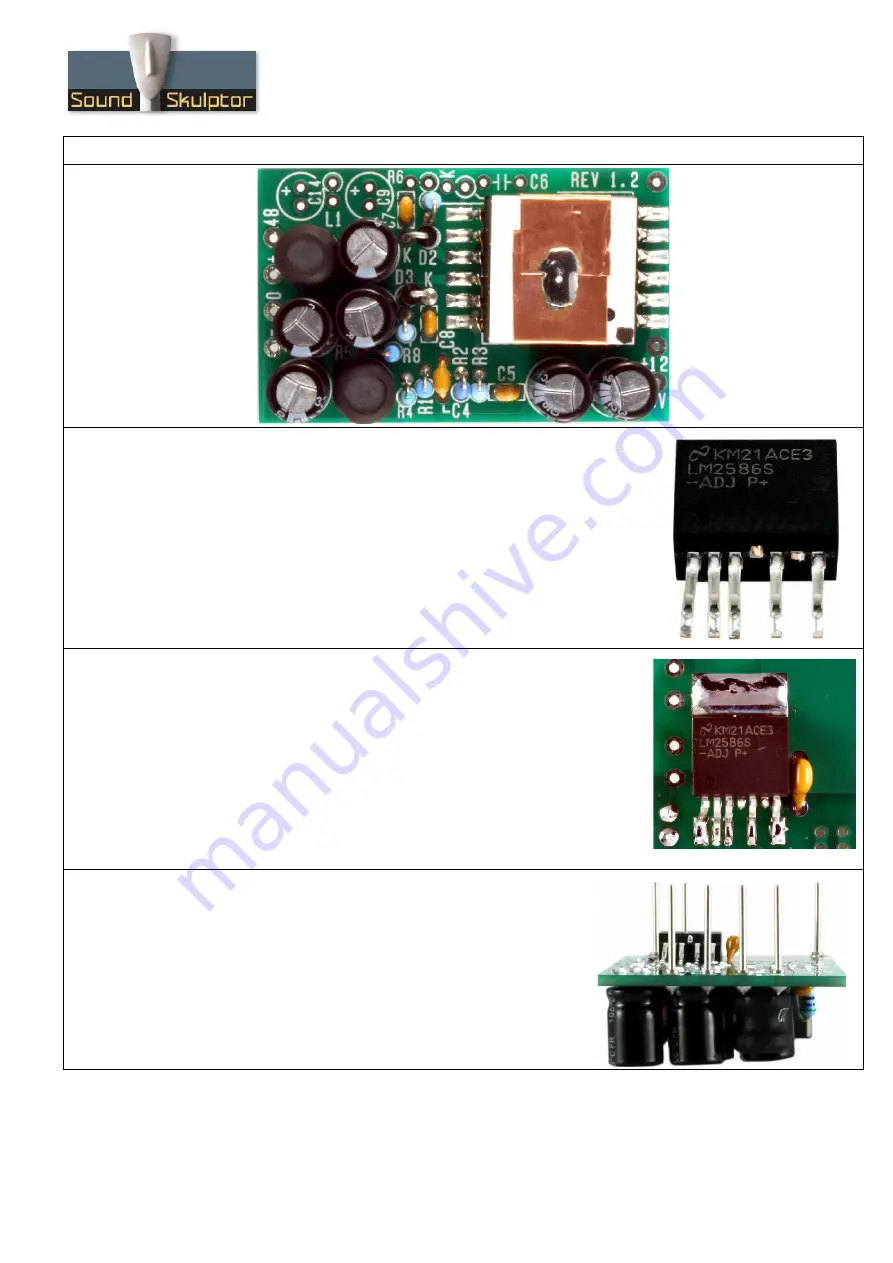
9. LM2586
The LM2586 is soldered on the back side of the PCB.
It is a surface mount component with relatively close pins. In order to make
the soldering process easier, we are going to cheat a little:
Lift pins 4 and 6 (counting from the left) and cut them off.
And gently bend pin 1 towards the left.
This gives us a good iron access to each pin.
10. Soldering the LM2586
Put a small quantity of solder on the rightmost pad. Place the IC and
reflow the solder, adjusting the position until all the pins are centred on
their respective pad.
Once in position, solder the other pins.
Do not forget that a bad solder joint is almost always caused by too
much solder.
Last thing is to solder the IC top tab to the PCB. Start by heating the
metal tab until the solder flows and goes down to the PCB.
11. Connecting pins
Insert the 7 long pins from the solder side and solder. It is
necessary to put a little pressure on the pins to insert them all
the way down.
Copyright ©2013 to Today SoundSkulptor


