background image


English - 1 


POWER SOURCE  

AC CONNECTION 

Before  operation  please  ensure  voltage  on  the  set  corresponds  to  voltage  of  your  local 
area.  Unravel  AC  cord  set;  insert  one  end  into  an  AC  socket  on  the  unit  while  the  other 
end into a standard AC outlet. 

Remarks

:     1)   In case of malfunction due to electrostatic discharge (ESD), reset the unit 

by reconnecting AC cord again to resume to normal operation. 


2)   When  not  in  use 

–  Unplug  AC  power  cord  completely  from  AC  power 

socket.


The Mains plug of AC power cord is used as disconnecting device; 

the disconnect device shall remain readily operable. 

BATTERY INSTALLATION 

Disconnect AC Cord set completely. Open the BATTERY DOOR and insert UM-

1/ “D” size 

x  8  batteries  (not  supplied)  making  sure  the  indicated  battery  polarity  is  observed. When 
not in use 

– Remove all batteries if the unit will not be used for several months or more. 

BATTERY PRECAUTIONS 

Follow these precautions when using batteries in this device: 
1.  Use only the size and type of batteries specified. 
2.  Be  sure  to  follow  the  correct  polarity  when  installing  the  batteries  as  indicated  in  the 

battery compartment. Reversed batteries may cause damage to the device. 

3.  Do  not  mix  different  types of batteries together  (e.g.  Alkaline and Carbon-Zinc)  or  old 

batteries with fresh ones. 

4.  If the device is not to be used for a long period of time, remove the batteries to prevent 

damage or injury from possible battery leakage. 

5.  Do not try to recharge batteries, which not intended to be recharged; they can overheat 

and ruptu

re. (Please follow battery manufacturer’s directions.) 

6.  Battery shall not be exposed to excessive heat such as direct sunlight, fire or the like. 


HOW TO USE


RADIO OPERATION 

Slide FUNCTION 

SWITCH to “RADIO” position.  

Slide BAND SWITCH to AM or FM waveband.  
Turn the TUNING KNOB to your desired radio station.


Adjust sound level by rotating VOLUME CONTROL KNOB.  
To turn off the radio, slide FUNCTION SWITCH 

to “OFF” position. 

Note:

 Radio frequency is shown on LCD DISPLAY. 

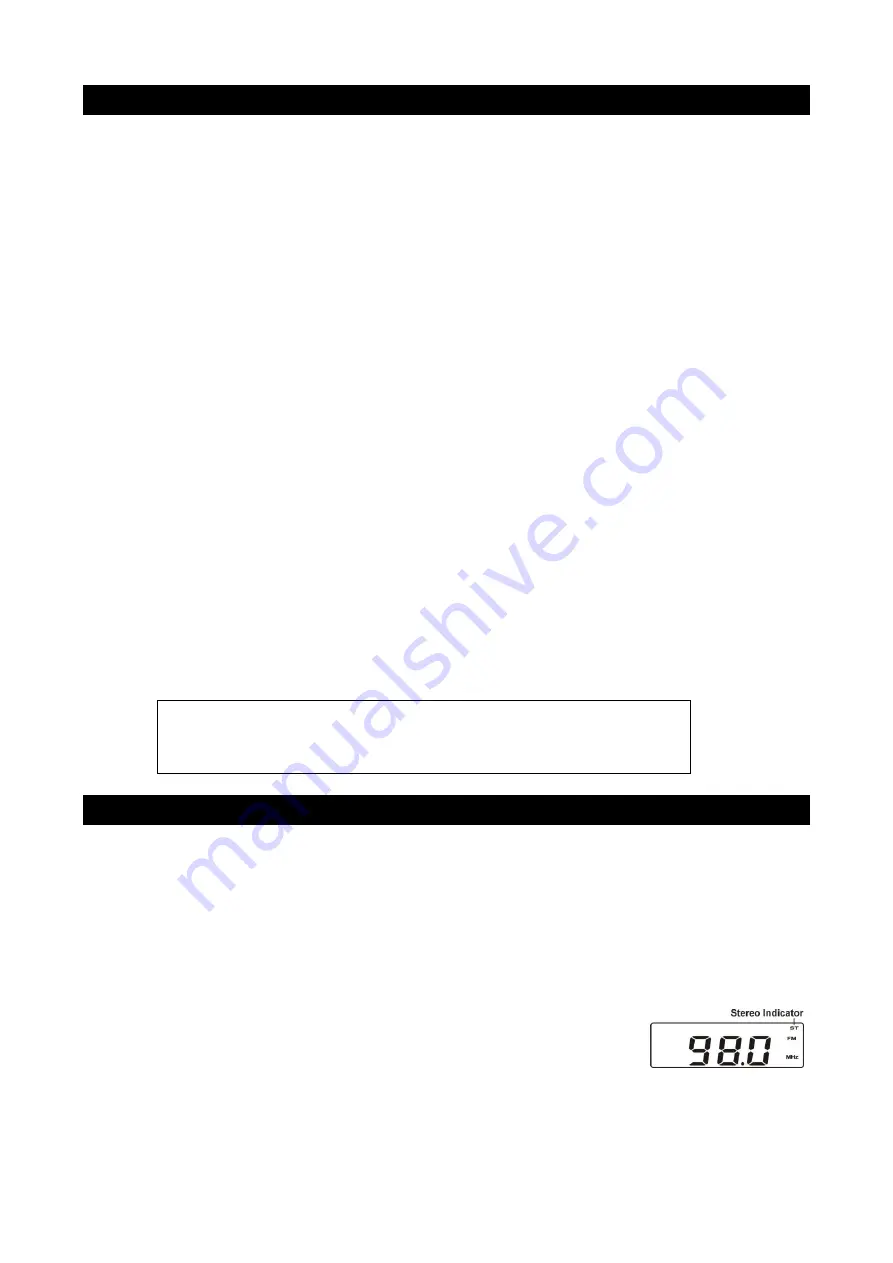
FM Stereo indicator 

When tuned to a FM stereo broadcast, FM stereo 

ST

” indicator will 

be shown on LCD display.  
In  weak  signal  areas where  FM  Stereo  signal  may  not  be  strong  enough  and  can  cause 
excessive background noise. In this case slide the BAND switch to “FM” (mono) position. 

CAUTION 

There is danger of explosion if battery is incorrectly replaced. 

Replace the battery only with the same or equivalent type. 


Summary of Contents for SCD7200WE

Page 1: ...TTON 11 CD MODE BUTTON 12 CD PROGRAM BUTTON 13 CASSETTE PAUSE BUTTON 14 CASSETTE STOP EJECT 15 CASSETTE F FWD BUTTON 16 CASSETTE REWIND BUTTON 17 CASSETTE PLAY BUTTON 18 NO FUNCTION 19 LCD DISPLAY 20 SPEAKER LEFT 21 SPEAKER RIGHT 22 CASSETTE DOOR 23 BATTERY DOOR 24 FM ANTENNA 25 BAND SWITCH 26 AUX IN JACK 27 STEREO HEADPHONE JACK 28 FUNCTION SWITCH 29 AC SOCKET 30 TUNING KNOB 31 SD MMC CARD SLOT ...

Page 2: ...ttery compartment Reversed batteries may cause damage to the device 3 Do not mix different types of batteries together e g Alkaline and Carbon Zinc or old batteries with fresh ones 4 If the device is not to be used for a long period of time remove the batteries to prevent damage or injury from possible battery leakage 5 Do not try to recharge batteries which not intended to be recharged they can o...

Page 3: ...T and close the door Slide FUNCTION SWITCH to TAPE position Depress the PLAY BUTTON Adjust VOLUME CONTROL KNOB to your desired listening level To stop tape playback depress STOP EJECT BUTTON Fast forward and rewind The tape can be FAST FORWARDED or REWOUND by depressing FAST FORWARD or REWIND BUTTON respectively Pause function During playback or recording the tape can be stopped temporarily by dep...

Page 4: ...g loss Once you set the volume do not increase it Overtime your ears adapt to the volume level so a volume level that does not cause discomfort might still damage your hearing CD OPERATION Playing compact disc CD R RW playback compatible Note Should skipping of track occur during CD playing try reduce the volume When CD is playing do not open CD DOOR 1 Pull up the CD DOOR Put a CD disc into CD Com...

Page 5: ... is pressed once it will go to next track or go back to the beginning of the track 2 During play mode when SKIP SEARCH FORWARD or BACKWARD BUTTON is pressed and held it will search the track with audible high speed forward or backward playback Repeat mode 1 Repeat 1 When MODE BUTTON is pressed once Repeat indicator REP will blink on LCD DISPLAY This single track of music will be repeated 2 Repeat ...

Page 6: ...up 4 To check the programmed tracks press PROGRAM BUTTON once during CD stop mode then press SKIP SEARCH FORWARD BUTTON once LCD DISPLAY will show the first programmed track number Repeat above procedure to read all programmed memory 5 To cancel programmed memory During CD stop mode press STOP BUTTON once or open CD DOOR during CD stop mode The Program indicator will disappear from LCD DISPLAY PLA...

Page 7: ...ide this folder Example To select for Folder 4 Track 3 STEP 1 Press FOLDER BUTTON to select Folder 4 STEP 2 Press SKIP SEARCH FORWARD or BACKWARD BUTTON to select for track 3 inside this Folder 4 3 For interruption while MP3 disc is playing press PLAY PAUSE BUTTON once The Play indicator will blink continuously on LCD DISPLAY 4 Though the sound stops disc will continue to spin To resume playback p...

Page 8: ...N to select your desired musical track LCD DISPLAY will show the track number of this specific folder to be programmed Press PROGRAM BUTTON to store this track in memory 2 Repeat above procedure until all desired tracks have been programmed Remarks Whenever FOLDER BUTTON is pressed it will always show the last programmed folder number first to recall your memory A total of 20 tracks can be stored ...

Page 9: ... mentioned section PLAYING MP3 DISC they have same function and operation method 6 To exit from USB playback mode press CD UBS SD BUTTON repeatedly until LCD DISPLAY shows DISC It will go back to CD mode again SD MMC CARD OPERATION IMPORTANT NOTE This unit supports most of the common MP3 interface but not 100 because there are too many different formats keep on changing in the market Slide FUNCTIO...

Page 10: ...isc skips or gets stuck on a section of the disc it is probably dirty or damaged scratched When cleaning the disc wipe in straight lines from the center of the disc to the edge of the disc Never wipe in circular motions To remove a disc from its storage case press down on the center of the case and lift the disc out holding it carefully by the edges Fingerprints and dust should be carefully wiped ...

Page 11: ...ill mar the finish of your unit Instructions on environment protection Do not dispose this product into normal household garbage at the end of its lifecycle hand it over to a collection centre for recycling electrical and electronic appliances The symbol on the product instructions for use or the packing will inform about the methods for disposal The materials are recyclable as mentioned with this...

Reviews: