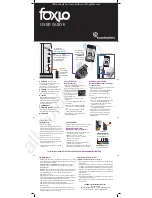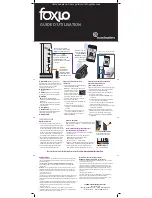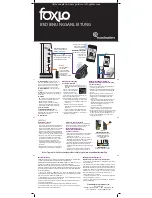
user guide
Soundmatters International, Inc.
Reno, Nevada USA
support@soundmatters.com • www.soundmatters.com
tel: 775.981.1460 • in the US (800) 698.7662
Optional for
VERTICAL ORIENTATION:
remove the two “upper” feet
and add four button covers.
SERIAL NumbER
infomation
is located under bottom foot
Important:
To avoid a spark,
read instructions
below before
plugging into
AC
Use
wired or wireless
connection to foxL,
AdjuST SySTEm
VOLumE
from
phone/tablet/PC
or foxL, or use both.
For further tips on how to best utilize your foxLO, visit
www.soundmatters.com/faq
A
C
D
E
F
G
B
Use
attenuation
insert cable if you are
connecting to a foxL v2.2.
Connection from foxL
Subwoofer Output
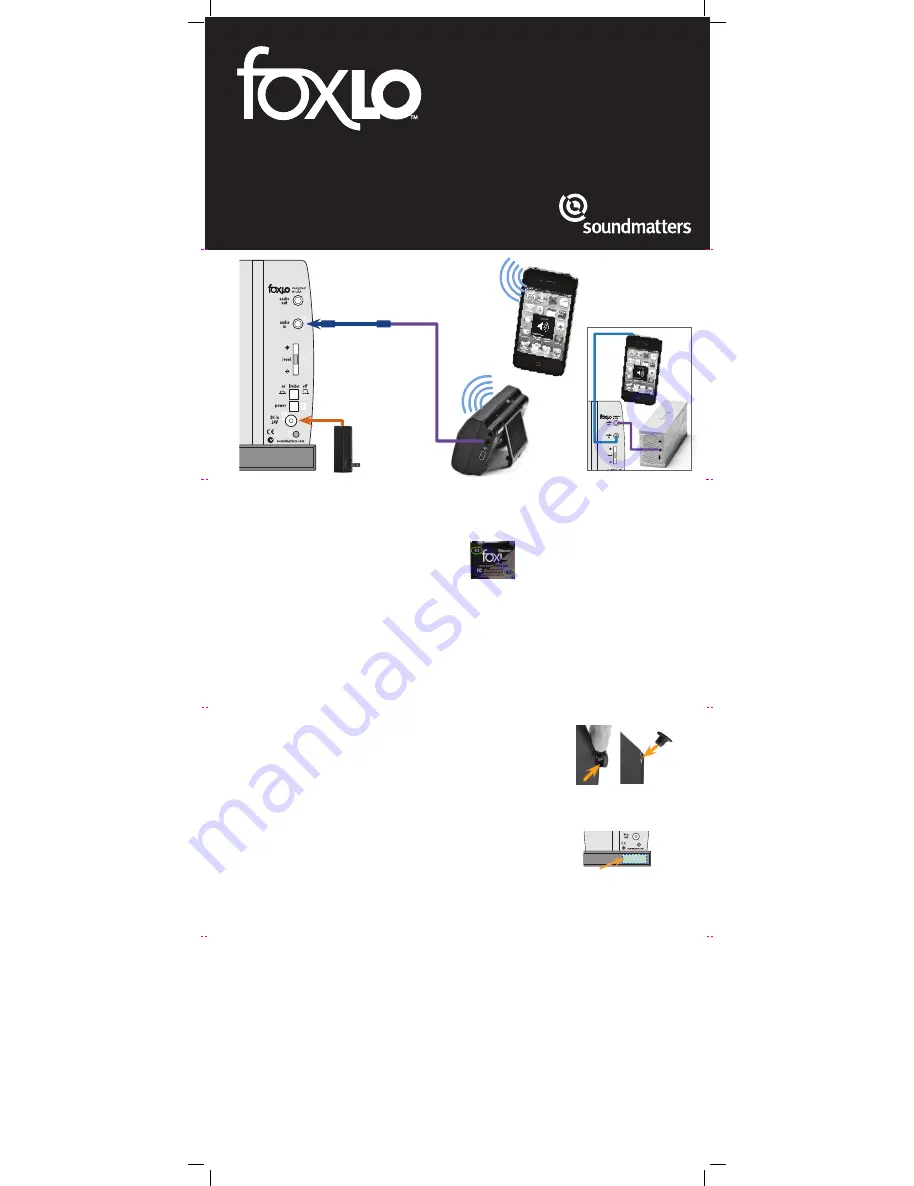
1. Connect audio cable from the foxL Subwoofer
Output to the foxLO AUDIO IN (
B
).
NOTE:
The included audio cable has a short
“attenuation” insert attached.
Keep this connected if you are
using a foxL v2.2. It is optional
when connecting the foxLO
with other foxL models.
2. To avoid a spark, connect the foxLO to power
in this order:
A. First, push the POWER button (
E
) in to the
ON position.
B. Next, connect the AC charger’s right-angle
barrel connector to the foxLO DC IN 24V DC
(
F
).
C. Then, connect the AC charger to the wall
outlet. A blue LED indictor will light.
3. See Performance Tips section to adjust foxLO
LEVEL and LIMITER positions
attenuation insert cable
A.
AudIO OuT
(full-range signal
pass-through). For use when no subwoofer
output is available on speakers.
(See “Direct Connection” instructions below or
www.soundmatters.com/foxLO+Jambox)
B.
AudIO IN
Connect from foxL Sub Output
C.
LEVEL
Make small adjustments from
center position to avoid overload.
D.
LImITER
• ON
– Allows the foxLO to play louder
with dynamic music & soundtracks
• OFF
– Deepest bass output, but reduced
maximum output level capabilities to
prevent/reduce overload
E.
POwER ON/Off
F.
24V dC POwER INPuT
Insert right-
angle charger connector here
before
connecting to AC power (to avoid a spark)
G.
POwER LEd
PERFORMANCE TIPS
Setting the Level
1. If connecting to a foxLv2.2:
To ensure adequate range using the slider control,
make sure the auxiliary cable insert connected to
standard audio cable (between foxL sub out and
foxLO Input). Removing the auxiliary cable is optional
for all other foxL models, doing so will increase the
input signal to the foxLO.
2. Given its tiny size and the variety of music and
sources used, it
IS
easy to overload the foxLO...
make small adjustments from the center position
to find your optimum bass level.
3. Experiment with a range of music when setting
your foxLO level.
(For units without subwoofer out –
such as a Jawbone Jambox –
see “Direct Connection”
instructions below.)
Direct Connection of foxLO to
Speakers without a Subwoofer Output
(i.e., Jawbone Jambox)
1. Remove the short “attenuation” insert cable attached
to the included audio cable.
2. Connect the audio cable from phone/tablet/PC etc.
headphone jack to the foxLO AUDIO IN (
B
)
3. To avoid a spark, connect the foxLO to power
in this order:
A. First, push the POWER button (
E
) in to the
ON position.
B. Next, connect the AC charger’s right-angle barrel
connector to the foxLO DC IN 24V DC (
F
).
C. Connect Audio Out (
A
) to Speaker (Jambox)
Aux/Audio in
(see Fig. 1 above)
D. Then, connect the AC charger to the wall outlet.
A blue LED indictor will light.
4. Set the speaker (i.e., Jambox) to its max level
setting whenever in use and control volume
from the audio source (laptop, tablet, phone)
5. See next section to adjust foxLO LEVEL and
LIMITER positions.
Limiter, On or Off?
In the OFF position, try your favorite music at your loudest
normal listening level... if there is overload, use ON.
Placement can make a
huge
difference
in sound, so experiment!
1. Try foxLO next to or near your foxL. Or put the foxLO
on the floor up against a wall. Try both.
2. Middle of a room/desk = Least Bass.
Hard surfaces (i.e., walls, floors) = More Bass.
Placed in a corner = Most Bass.
3. Closer is louder...usually.
4. Very minor location adjustment (even a few inches)
sometimes makes a big difference.
5. It usually makes very little difference in sound whether
the orientation of your foxLO is vertical or horizontal.
Figure 1 – Direct Connection
Limited Warranty
soundmatters international, inc. (soundmatters) warrants foxLO to the original
consumer purchaser to be free from defects in materials and workmanship for a period
of one (1) year after the date of purchase.
FOR COMPLETE DETAILS OF THIS WARRANTY VISIT soundmatters.com or contact
soundmatters at support@soundmatters.com, or by telephone at 775.981.1460 or
800.698.SOMA (in US).
IMPORTANT – Keep your original sales receipt. Be sure the retail dealer has written
on it the date, model number, and serial number of the Product. This information is
required for warranty service. Be sure to obtain and retain proof of shipment.
This warranty does not cover:
• Damage that is the result of misuse, abuse, accident (including but not limited to
damage by water), faulty hookup, defective or maladjusted associated equipment, or
the use of the Product with equipment for which it was not intended.
• Cosmetic defects that appear more than thirty (30) days after the date of purchase.
Cosmetic damage caused by improper handling is also excluded.
• Damage that occurs while the Product is being shipped to whoever will service it.
This warranty is void if:
• The Product identification or serial number label is removed or defaced in any way.
• The Product is serviced or repaired by any one other than soundmatters or an
authorized soundmatters dealer or service agency.
Important Safety Instructions
CAuTION – Risk of electric shock – do not open
1. Read all safety and user instructions before the product is operated, retain for
future reference.
2. To reduce the risk of fire or electric shock, do not expose this apparatus to rain
or moisture – The product should not be used near water – for example, near
a bathtub, washbowl, kitchen sink, laundry tub, in a wet basement, or near a
swimming pool and the like. The apparatus shall not be exposed to dripping or
splashing and that no objects filled with liquids, such as vases, shall be placed
on the apparatus.
3. Clean only with a dry cloth.
4. Power cords and power adapters – Use only the power cords and power adapters
supplied by the product Manufacturer.
5. Do not attempt to service this product yourself. Refer all servicing to qualified
service personnel
All manuals and user guides at all-guides.com
all-guides.com


