25
3.2.11 Temperature test
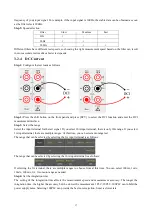
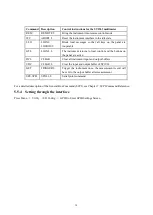
This section describes how to configure 2-wire and 4-wire temperature measurements from the front panel.
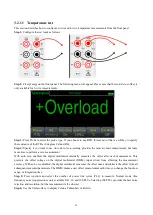
Step 1:
Configure the test leads as follows:
Step 2:
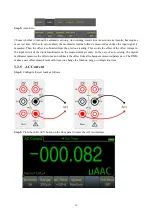
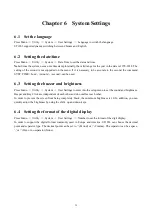
Press [Temp] on the front panel. The following menu will appear. Please note that the Auto Zero softkey is
only available for 2-wire measurements.
Step 3:
Press Probe to select the probe type. If you choose to use RTD, this menu will have a softkey to specify
the resistance of the RTD at 0 degrees Celsius (R0).
Step 4:
Specify if you want to use Auto Zero. Auto-zeroing provides the most accurate measurement, but takes
more time to perform a zero measurement.
With auto zero enabled, the digital multimeter internally measures the offset after each measurement. This
prevents the offset voltage on the digital multimeter (DMM) input circuit from affecting the measurement
accuracy. With auto zero disabled, the digital multimeter measures the offset once and subtracts the offset from all
subsequent measured parameters. The DMM makes a new offset measurement each time you change the function,
range, or integration time.
Step 5:
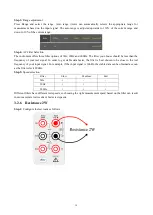
Press Aperture and select the number of power line cycles (PLC) to measure. Normal mode (line
frequency noise) suppression is only available for 1, 10 and 100 PLCs. Selecting 100 PLCs provides the best noise
rejection and resolution, but the measurement is the slowest.
Step 6:
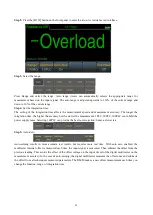
Use the Units softkey to display Celsius, Fahrenheit, or Kelvin.


