26
3.2.12 Frequency measurement
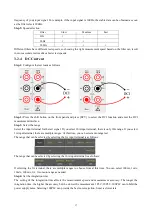
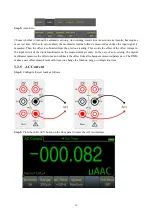
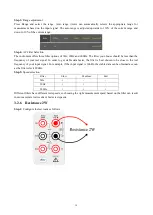
This section describes how to configure frequency and period measurements from the front panel.
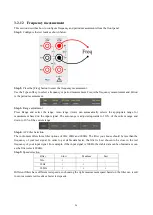
Step 1:
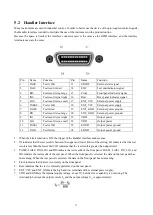
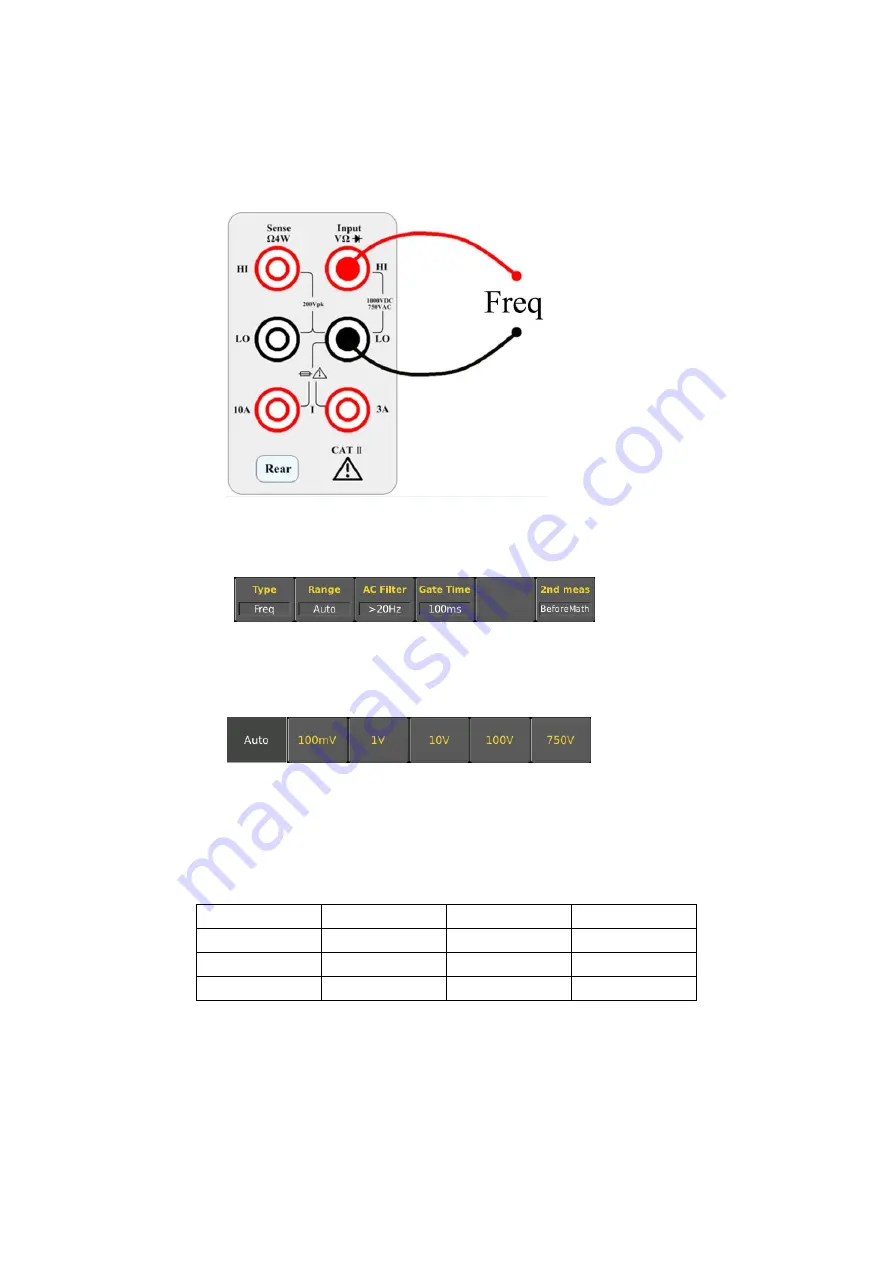
Configure the test leads as shown below.
Step 2:
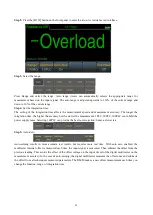
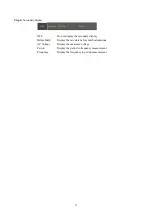
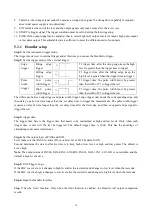
Press the [Freq] button to enter the frequency measurement.
Use the Type softkey to select a frequency or period measurement. Freq is the frequency measurement and Period
is the period measurement.
Step 3:
Range adjustment
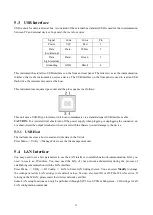
Press Range and select the range. Auto range (Auto) can automatically selects the appropriate range for
measurement based on the input signal. The auto range is adjusted upwards to 110% of the current range and
down to 10% of the current range.
Step 4:
AC Filter Selection.
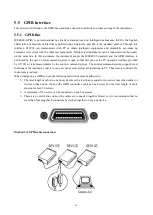
The instrument offers three filter options of 3Hz, 20Hz and 200Hz. The filter you choose should be less than the
frequency of your test signal. In order to get stable data faster, the filter is best chosen to be close to the test
frequency of your input signal. For example, if the input signal is 300Hz, the stable data can be obtained as soon
as the filter selects 200Hz.
Step 5:
Speed selection.
Filter
Slow
Medium
Fast
3Hz
√
﹣
﹣
20Hz
√
√
﹣
200Hz
√
√
√
Different filters have different test speeds, so choosing the right measurement speed based on the filter can result
in more accurate test results or faster test speeds.


