South Bend Tools
For Machines Mfd. Since 12/21
Model SB1102
-35-
S E R V I C E
Items Needed:
Qty
Open-End Wrench 19mm .....................................1
Phillips Screwdriver #2 ........................................1
To adjust conveyor belt tension and tracking:
1.
Turn machine ON and observe conveyor belt
tension and tracking. Be patient, belt tracks
slowly.
2.
DISCONNECT MACHINE FROM POWER!
3.
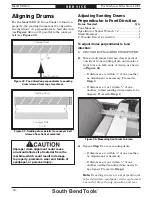
Remove roller bracket guards.
Always make conveyor belt adjustments at
infeed end to avoid re-adjusting conveyor
drive chain. Conveyor belt tracking
adjustments must be made while the
conveyor belt is running. Use extreme care
to ensure that clothing, hair or jewelry is
kept safely away from moving parts.
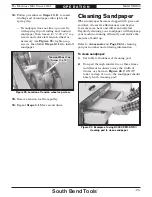
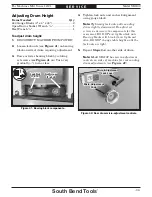
The conveyor belt tension and tracking
adjustments are controlled by the adjustment
bolts located at each end of the front and rear
conveyor rollers. If the conveyor belt is too loose
or tracks off to one side, it must be adjusted.
Adjusting Conveyor
Belt Tension &
Tracking
1.
DISCONNECT MACHINE FROM POWER!
2.
With gauge block in place on one side of
table, adjust table to
Reference Height #1
(refer to
Page 32
).
3.
Lower table one full turn of handwheel .
4.
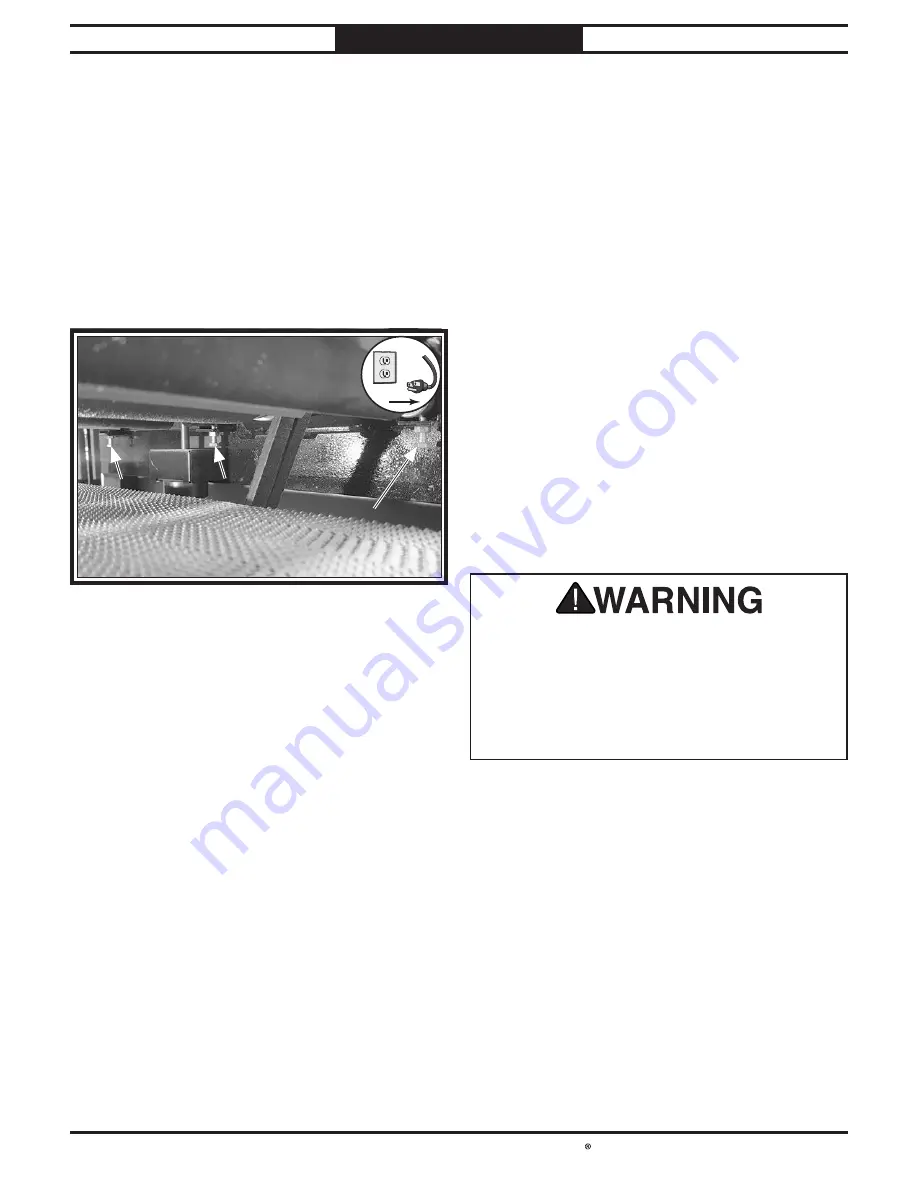
On same side as gauge block, loosen
jam nuts on roller height hex bolts (see
Figure 44
).
To adjust pressure roller height:
5.
Adjust all (3) pressure rollers by tightening
or loosening hex bolts. The pressure rollers
should just touch surface of gauge block,
allowing enough room to rotate.
6.
Tighten jam nuts on hex bolts to secure
height position.
7.
Repeat
Steps 2–6 on other side of table to
make sure all pressure rollers are even and
parallel to table.
Note:
These adjustments should be used as a
starting point. Once you are familiar with the
adjustment process, you should experiment
to determine the best settings for your specific
application.
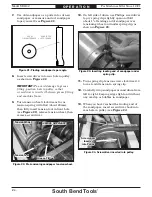
Figure 44. Location of pressure roller height
Figure 44. Location of pressure roller height
adjustment bolts (right side shown).
adjustment bolts (right side shown).
!


