Skystream hybrid 6
TM
Installation Manual, Rev A
13
crOSS arm Structure aSSembly and inStallatiOn
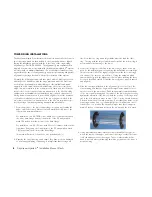
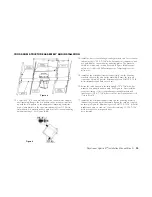
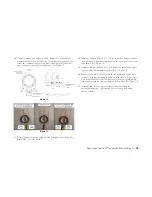
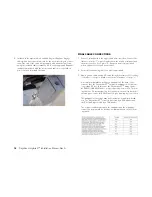
13. Center the 6” x 6” cross arm tube onto the cross arm side support
shell assembly. Ensure the hole pattern on the cross arm tube lines
up with the hole pattern on the support shell assembly. Install the
beam clamp bracket on the cross arm tube using four ½-13 bolts,
flat washers, lock washers and hex nuts from the cross arm mounting
hardware package. See Figures 8 & 9.
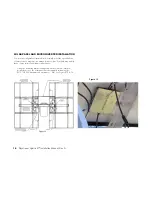
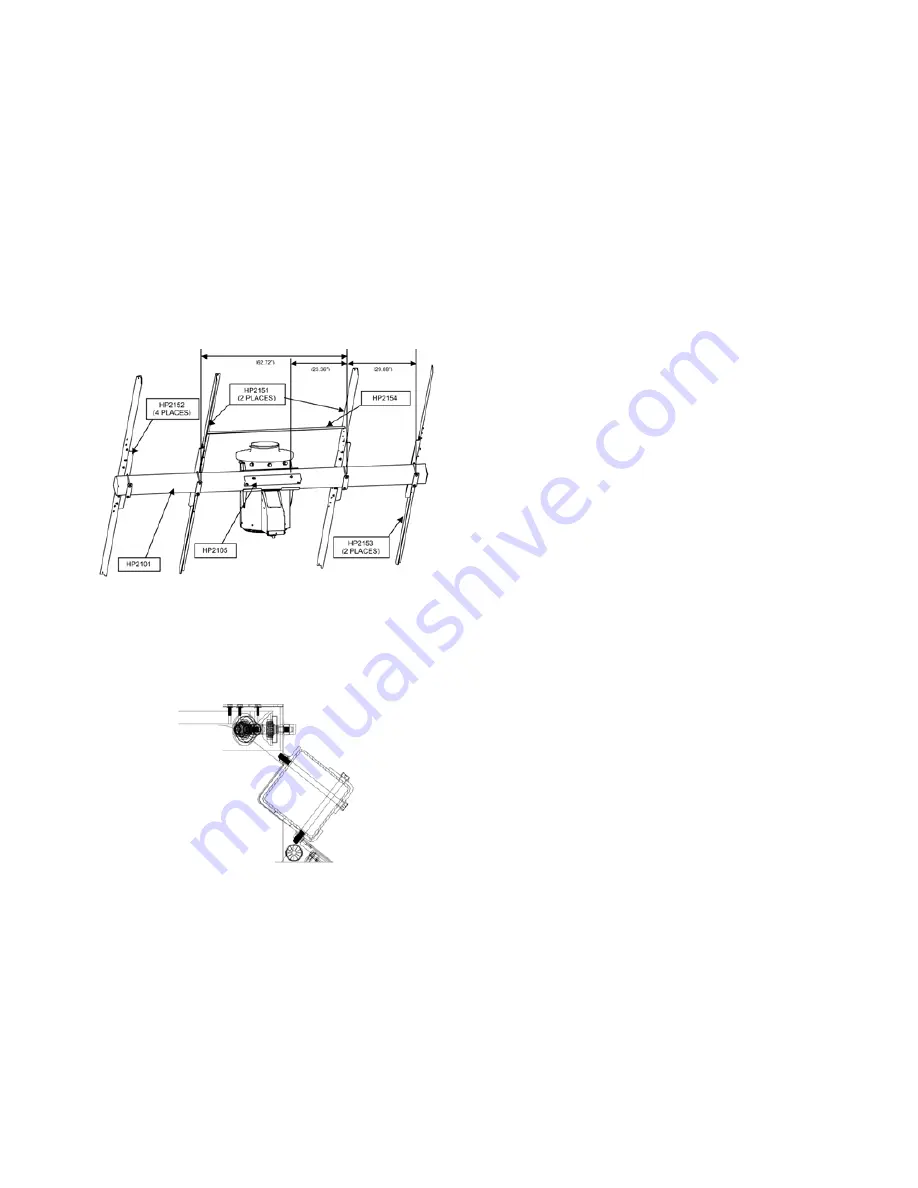
14. Install the four cross arm/wing mounting brackets onto the cross arm
tube using the ½”-13 x 7-1/2” bolts, flat washers, lock washers, and
hex nuts with the cross arm/wing mounting plates. The brackets
should be located and oriented as shown in Figure 8 (dimensions
shown are for Motech 235w solar panels). Temporarily leave the
bolts loose.
15. Install the two solar panel/inverter support rails onto the mounting
brackets closest to the sun tracker assembly. Ensure the rails are
oriented as shown in Figure 8. Attach using seven 3/8”-16 x 1-1/4”
bolts, flat washers and nuts on each rail.
16. Attach the cable support to the rails using 5/16” x 7/8” bolts, flat
washers, lock washers and hex nuts. See Figure 8. Once installed,
verify the location of the cross arm/wing mounting brackets and
tighten the ½”-13 x 7-1/2” bolts for the two inner rails that were left
loose in Step 14.
17. Install the two solar panel support rails onto the mounting brackets
furthest from the sun tracker assembly. Ensure the rails are oriented
as shown in Figure 8. Attach using seven 3/8”-16 x 1-1/4” bolts, flat
washers and nuts on each rail. leave the remaining ½”-13 x 7-1/2”
bolts loose until the solar panels have
been installed.
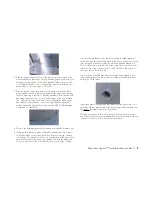
Figure 8
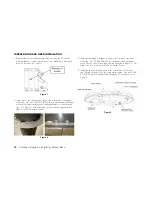
Figure 9
Summary of Contents for Skystream Hybrid 6
Page 2: ......
Page 20: ...20 Skystream Hybrid 6tm Installation Manual Rev A...

