2
Hardware Setup
This chapter explains how to configure the mainboardÕs hardware. After
you install the mainboard, you can set jumpers, install memory on the
mainboard, and make case connections. Refer to this chapter whenever
you upgrade or reconfigure your system.
CAUTION
:
Turn off power to the mainboard, system chassis, and
peripheral devices before performing any work on the
mainboard or system.
Jumpers
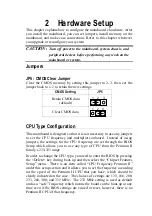
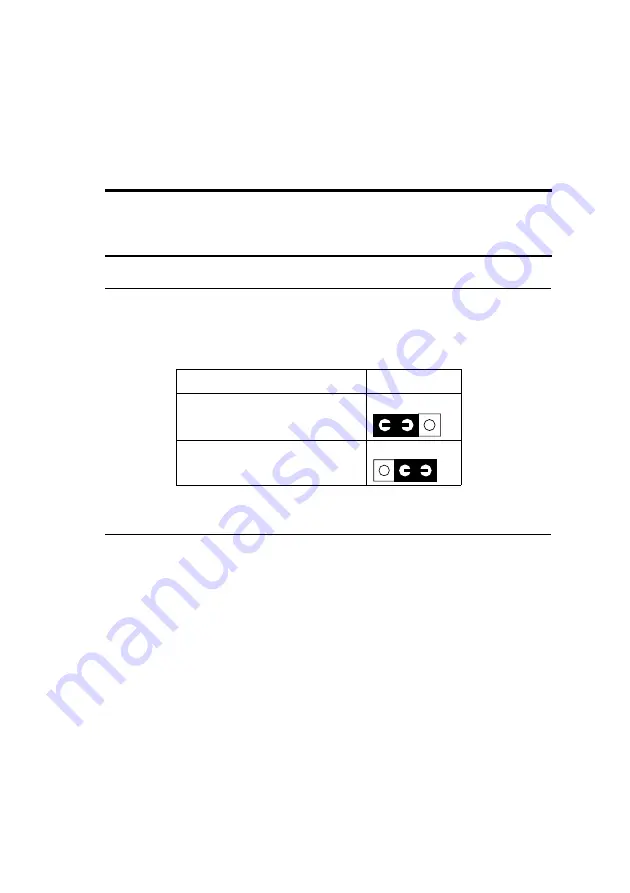
JP5: CMOS Clear Jumper
Clear the CMOS memory by setting this jumper to 2Ð3, then set the
jumper back to 1Ð2 to retain the new settings.
CMOS Setting
JP5
Retain CMOS data
(default)
3
2
1
Clear CMOS data
3
2
1
CPU Type Configuration
This mainboard is designed so that it is not necessary to use any jumpers
to set the CPU frequency and multipliers onboard. Instead of using
jumpers, the settings for the CPU frequency are set through the BIOS
Setup which allows you to use any type of CPU from the Pentium II
familyÕs 233-333 range.
In order to change the CPU type, you need to enter the BIOS by pressing
the <Delete> key during boot-up and then select the ÒChipset Features
SetupÓ menu. There is an item called ÒCPU Frequency Pentium IIÓ
under this setup section and it allows you to set the frequency according
tot the speed of the Pentium II CPU that you have, which should be
clearly indicated on the case. The choices of settings are 133, 166, 200,
233, 266, 300, and 333 MHz. The 233 MHz setting is used as default
and as a ÒsafeÓ frequency which means the board can be boot-up at any
time even if the BIOS settings are erased or reset, however, there is no
Pentium II CPU of that frequency.


