Hardware Installation
SY-7ISA
44
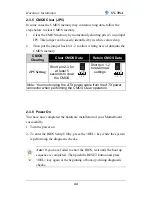
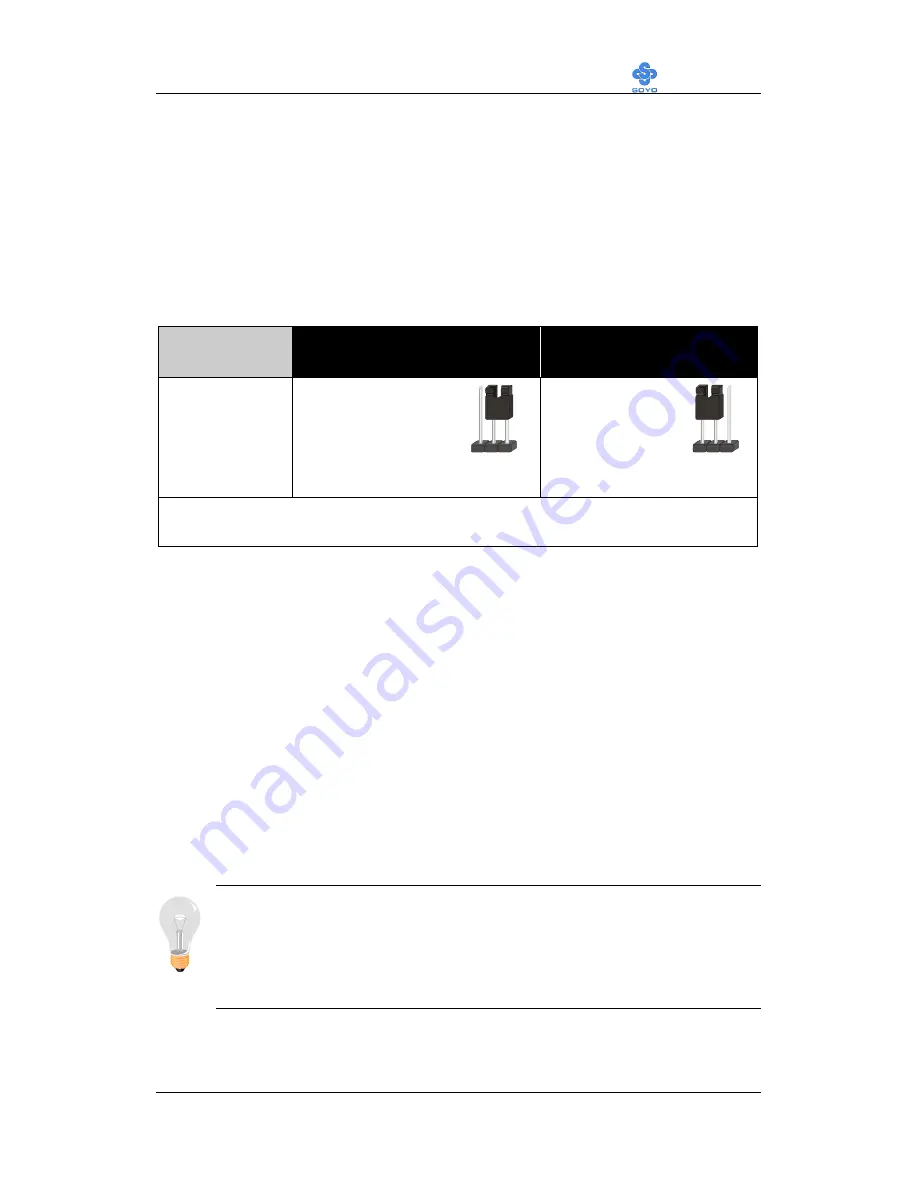
2-3.5 CMOS Clear (JP5)
In some cases the CMOS memory may contain wrong data, follow the
steps below to clear CMOS memory.
1.
Clear the CMOS memory by momentarily shorting pin 2-3 on jumper
JP5. This jumper can be easily identified by its white colored cap.
2.
Then put the jumper back to 1-2 to allow writing new of data into the
CMOS memory.
CMOS
Clearing
Clear CMOS Data
Retain CMOS Data
JP5 Setting
Short pin 2-3 for
at least 5
seconds to clear
the CMOS
Short pin 1-2
to retain new
settings
Note: You must unplug the ATX power cable from the ATX power
connector when performing the CMOS Clear operation.
2-3.6 Power On
You have now completed the hardware installation of your Motherboard
successfully.
1.
Turn the power on
2.
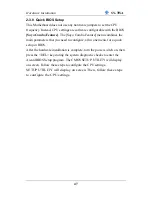
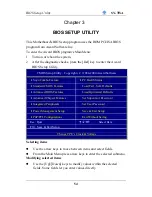
To enter the BIOS Setup Utility, press the <DEL> key while the system
is performing the diagnostic checks,
Note:
If you have failed to enter the BIOS, wait until the boot up
sequence is completed. Then push the RESET button and press
<DEL> key again at the beginning of boot-up, during diagnostic
checks.
1 2 3
1 2 3

