SY-P4VTE
Quick Start Guide
11
Har
dw
ar
e
Installa
ti
on
LED Anode LED Cathode 2.5V_DDR
Control Pin Power On/Off
GND
Control PIN
GND
Power On/Off: PWRBT
Connect your power switch to this header (momentary switch type).
To turn off the system, press this switch and hold down for longer than 4 seconds.
Power Supply
The power supply connector is the last connection to be made while installing a
motherboard. This motherboard requires an ATX 12V power supply (For P4 system), and
AT or ATX power supply cannot be used.
Steps:
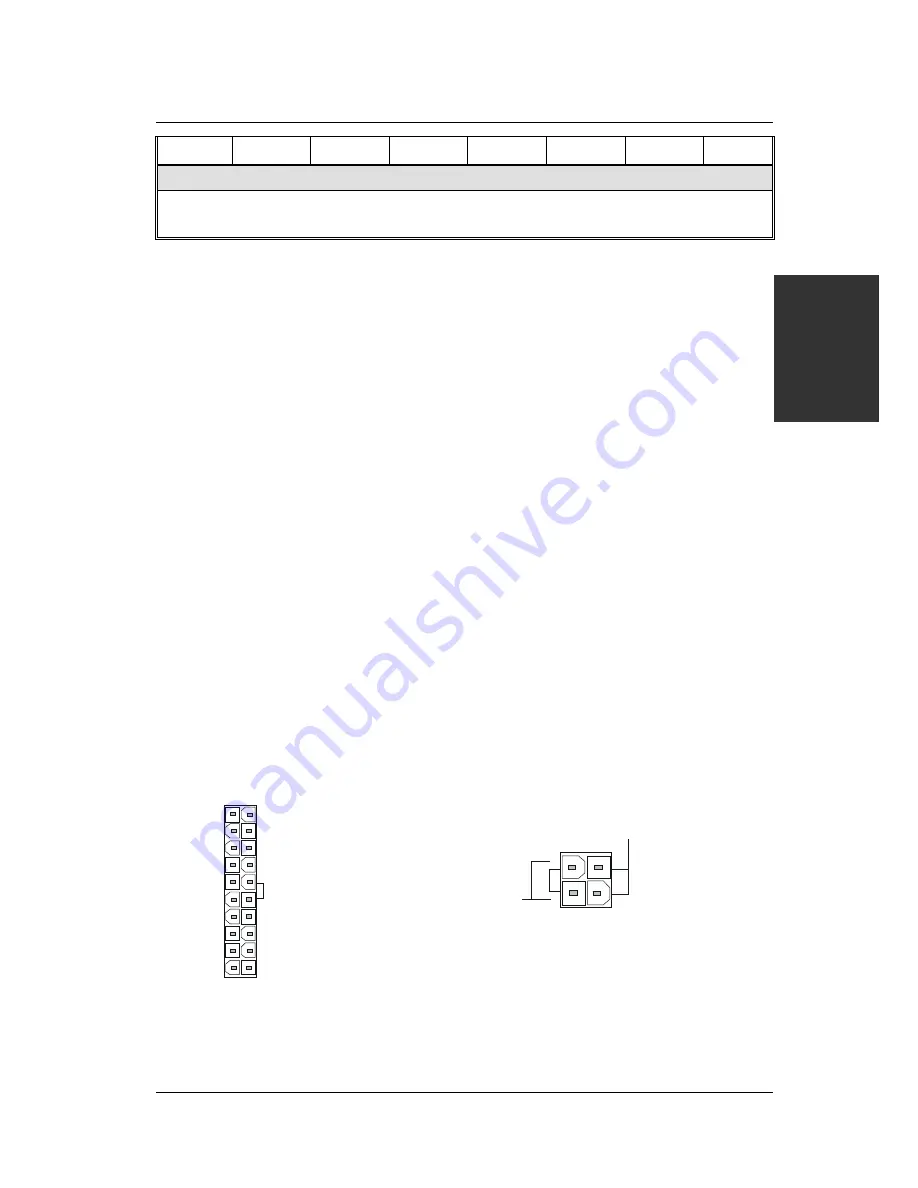
1. Connect the 20 pin connector to the ATX power connector. See FIG. 1.
2. Connect the 4 pin connector to the +12V power connector. See FIG. 2.
Note1: The presence of the +12 V power connector indicates that a power supply is
ATX12V; the absence of the +12V power connector indicates that a supply is
ATX.
Note2: When using the Power-On by PS/2 Keyboard function, please make sure the
ATX 12V power supply is able to provide at least 720mA on the 5V Standby
lead (5VSB).
Note3: The minimum recommended wattage is 350 watts for a fully configured
system. The system might become unstable if power supply is not enough.
Please install the ATX 12V power according to the following pin assignment:
Pay special care to the directionality.
ATX Power
5V
5V
-5V
GND
GND
GND
GND
-12V
12V
5VSB
PW-OK
GND
5V
5V
GND
GND
3.3V
3.3V
3.3V
PS-ON
FIG. 1 FIG.
2
+12V Power Connector
Pin1
Pin3
+12VDC
COM


