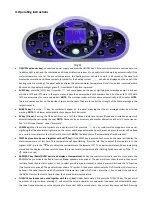
II.
Operating
instructions
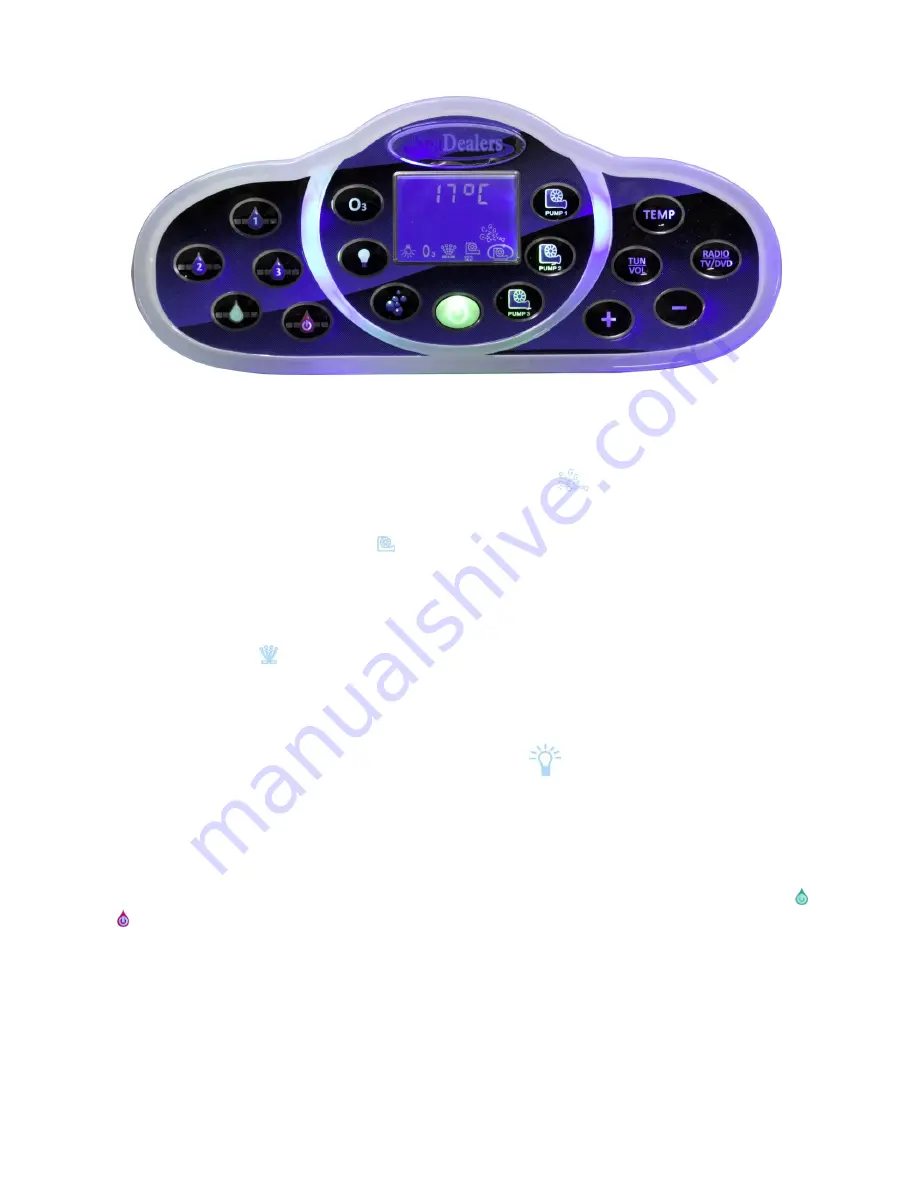
(Fig
2)
ON/OFF
key
(power
key):
Connect
the
power
supply
and
press
the
ON/OFF
key.
All
the
control
systems
are
now
ready
to
run
(indicator
light
is
on),
and
the
circulation
and
Ozone
disinfection
system
(if
one
exists)
will
start
working
automatically
(if
the
water
temperature
is
not
at
the
pre
‐
set
temperature,
the
heating
system
will
start
to
work
in
60
seconds).
The
panel
will
display
the
circulation
and
Ozone
symbols
(a
symbol
for
the
heating
system
will
also
be
displayed
on
the
panel
if
the
heating
system
is
working).
The
panel
will
also
display
the
detected
water
temperature.
Note!
If
no
button
is
pressed
within
60
seconds,
the
displays
backlight
goes
off,
it
reactivates
if
a
button
is
pressed.
PUMP
key:
press
the
(JET1)
key.
Its
symbol
will
now
appear
on
the
panel,
signifying
that
massage
pump
1
has
been
activated.
JET2
and
JET3
work
in
the
same
way
and
have
their
own
symbols
with
numbers
2
and
3
on
them.
JET1,
JET2
AND
JET3
are
accessories
for
some
spa
models.
NOTE:
The
massage
system
will
shut
down
automatically
in
20
minutes.
NOTE:
There
are
some
air
valves
on
the
topside
of
spas
near
the
seats.
They
are
to
control
the
strength
of
the
hydro
‐
massage
in
the
respective
seats.
BUBBLE
key:
Press
the
key.
Its
symbol
will
appear
on
the
panel,
meaning
that
the
air
massage
system
has
started
working.
NOTE:
The
blower
automatically
shuts
down
after
20
minutes.
03
key
(Ozone):
Pressing
the
O3
key
will
turn
on
or
off
the
Ozone
disinfection
system
(Ozone
and
circulation
pump
work
automatically
when
activating
the
spa).
NOTE!
Ozone
can
be
an
accessory
and
another
alternative
is
the
UV
‐
C
ozone
cleaner.
See
“UV
‐
C
Ozone
Cleaner”
under
“Summary”.
LAMP
key:
When
the
control
systems
are
ready
to
work,
first
press
the
key.
Its
symbol
will
now
appear
on
the
panel,
signifying
that
the
underwater
lights
are
on,
the
colour
will
change
automatically;
with
a
second
press,
the
color
will
be
fixed
on
a
certain
color;
press
for
the
third
time
to
shut
it
off.
NOTE!
The
lamp
shuts
off
automatically
after
60
minutes.
TEMP
key
(needs
to
be
used
together
with
▲
/
▼
key):
If
the
TEMP
key
is
pressed
for
5
seconds,
the
panel
will
display
the
water
temperature
set
last
time.
This
temperature
will
keep
flashing:
Press
the
“
▲
”
key
to
adjust
the
temperature
to
the
highest
at
42°;
press
the
“
▼
”
key
to
adjust
the
temperature
to
the
lowest
at
10°.
The
new
temperature
will
be
automatically
stored
and
the
display
will
then
return
to
show
the
current
water
temperature
after
flashing
for
60
seconds
or
if
the
or
button
is
used.
RADIO/AV
key
(Radio/DVD/Control
and
display
of
temperature):
When
the
control
systems
are
ready
to
work,
press
the
RADIO/AV
key
to
activate
the
Radio
function.
Note:
Speakers
are
optional.
The
panel
will
now
show
the
radio
channel
set
last
time
(under
Radio
status,
press
+/
‐
key
to
select
pre
‐
stored
radio
stations);
a
second
press
will
activate
the
TV
function
(this
function
is
optional).
The
panel
will
now
show
a
TV
symbol.
A
third
press
will
activate
the
DVD
function
(this
function
is
optional).
The
panel
now
shows
a
DVD
symbol
at
the
same
time
(Under
DVD
status,
press
the
+/
‐
key
to
adjust
the
volume
of
the
DVD).
Press
for
the
fourth
time
to
show
the
detected
water
temperature.
TUN/VOL
key
(needs
to
be
used
together
with
the
+/
‐
key):
Under
Radio
status,
first
press
the
TUN/VOL
key.
The
panel
will
now
show
a
2
‐
digit
volume,
pressing
+/
‐
will
adjust
the
volume
upwards
or
downwards
(the
panel
will
automatically
show
the
radio
frequency
when
you
stop
adjusting
for
3
seconds).
With
a
second
press
,
the
current
frequency
will
flash.
Pressing
Summary of Contents for Polar AquaKing
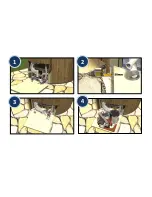
Page 3: ...1 2 3 4 ...
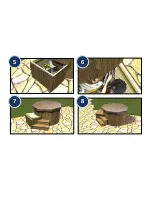
Page 4: ...5 6 7 8 ...


