Power On the Host Through the CMM (CLI)
Powering On the Server Module for the First Time
37
where
n
is the slot in which the blade is installed.
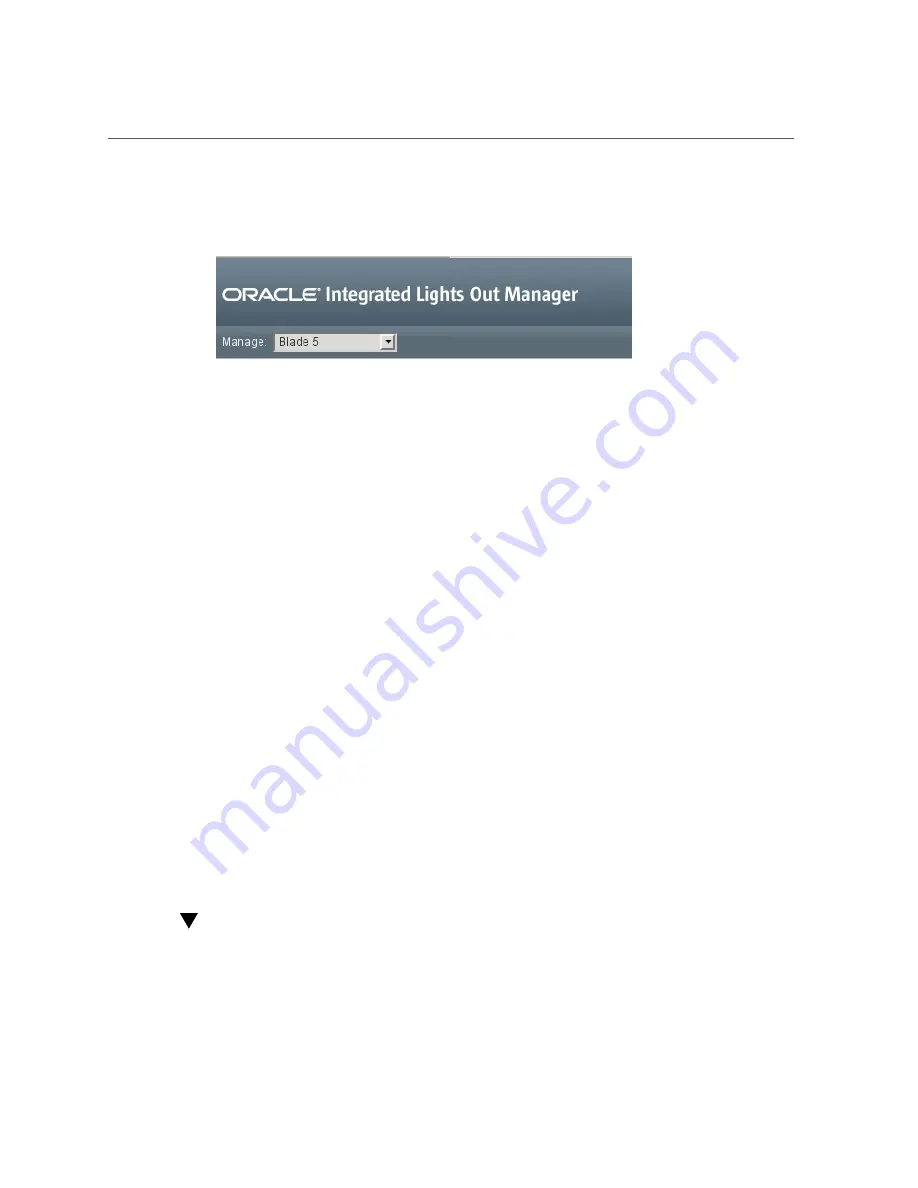
The Blade Summary page is displayed.
6.
If you do not plan to use the preinstalled OS, do not perform the remaining
steps.
Instead, go to
“Reach a State to Install a Fresh OS (Oracle ILOM Web
.
7.
In the Actions pane, next to Power State, click the Turn On button.
8.
Confirm the action.
The server module host powers on, runs POST, and boots from the preinstalled OS.
9.
In the left navigation panel, click on Remote Control > Redirection.
10.
Select Use serial redirection, and click Launch Remote Console.
As the host boots, messages are displayed in the serial console. You are automatically prompted
for Oracle Solaris OS configuration information.
11.
Configure the Oracle Solaris OS to meet your needs.
“Installing the OS” on page 43
Related Information
■
“Plan Communication With the Server Module During Installation” on page 22
Power On the Host Through the CMM (CLI)
You connect to the CMM through the RJ-45 NET MGT 0 Ethernet port. While this Ethernet
connection supports both the CLI and the web interface to the CMM SP, this procedure
describes how to use the CMM CLI.
Summary of Contents for E35202-05
Page 1: ...Part No E35202 05 May 2014 SPARC T5 1B Server Module Installation Guide ...
Page 2: ......
Page 8: ...8 SPARC T5 1B Server Module Installation Guide May 2014 ...
Page 14: ...14 SPARC T5 1B Server Module Installation Guide May 2014 ...
Page 18: ...18 SPARC T5 1B Server Module Installation Guide May 2014 ...
Page 28: ...28 SPARC T5 1B Server Module Installation Guide May 2014 ...
Page 34: ...34 SPARC T5 1B Server Module Installation Guide May 2014 ...
Page 58: ...58 SPARC T5 1B Server Module Installation Guide May 2014 ...
Page 62: ...62 SPARC T5 1B Server Module Installation Guide May 2014 ...


