1/22/2018
LilyPad ProtoSnap Plus Hookup Guide - learn.sparkfun.com
https://learn.sparkfun.com/tutorials/lilypad-protosnap-plus-hookup-guide?_ga=2.234157401.659504291.1516640116-204410570.1509632255
17/23
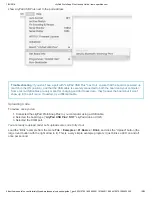
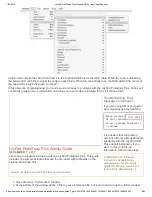
3. In the finder window, look for an “Arduino15” folder and delete it.
4. Now open a finder window and open your personal folder (the one with your login name and a house icon next
to it). Look for an “Arduino” folder (possibly in “Documents”). If the “Arduino” folder contains a “Hardware”
folder, delete it. Your Arduino installation is now clean. Restart Arduino and repeat the LilyPad installation
instructions from the previous page.
Stitching Into a Project
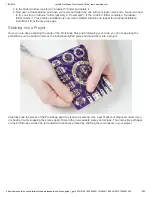
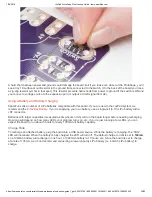
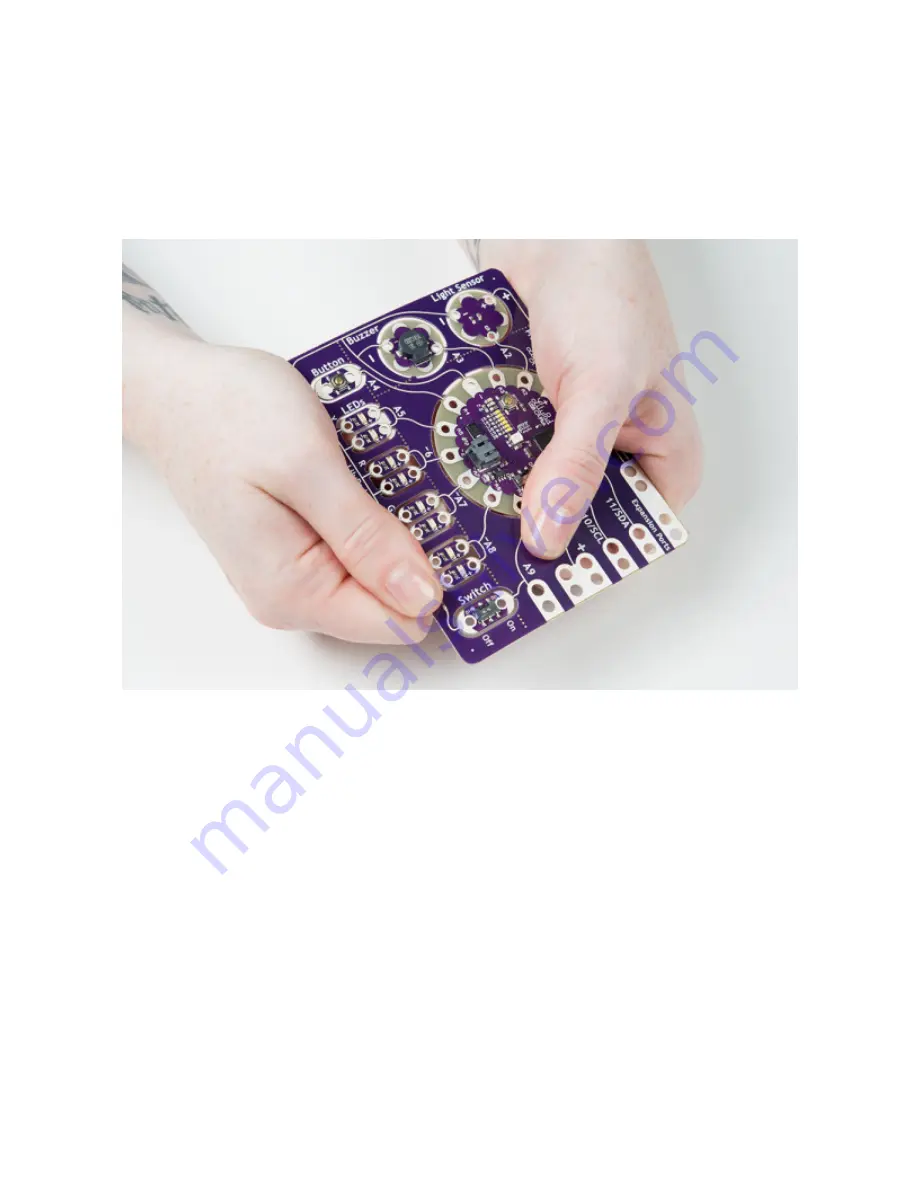
Once you are done exploring the parts of the ProtoSnap Plus and prototyping your code, you can snap along the
perforations on the board to remove the individual LilyPad pieces and build them into a project.
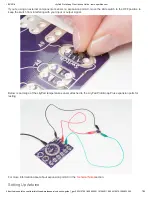
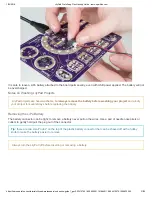
Carefully snap the pieces of the ProtoSnap apart to prepare for sewing. Use a set of pliers or diagonal cutters if you
are having trouble snapping the pieces apart. Discard the non-sewable pieces and scraps. The conductive pathways
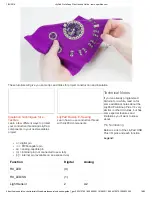
on the ProtoSnap can then be recreated with conductive thread by stitching the components in your project.

