2
SP 60
EN
Assembling
For the purpose of safe transport
SP 60
is delivered with
the carriage mounted backwards. You must install the
carriage properly.
▪ Make sure the knob for fixing the carriage (3) is se
-
curely tightened.
▪ Loosen bolts (1) and take the column (2) out of the
base (13).
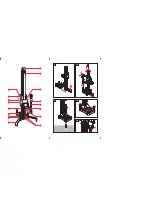
(Fig. 1)
▪ Turn the column (2) to 180° so that the carriage brack
-
et (4) faces outwards from the base.
(Fig. 2А)
▪ Fix the column to the base by bolts (1).
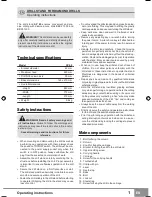
(Fig. 2B)
▪ Fasten the upper centring screw (5).
(Fig. 2C)
▪ Mount the carrying handle (6) to the carriage (7) by
screws (8).
(Fig. 2D)
▪ Fit lever (11) to toothed shaft (9) to the left or right so
that their openings coincide. Fix them firmly with a cir
-
clip (10).
(Fig. 2E)
Installing the drill stand
WARNING!
Make sure the knob for fixing the
carriage (3) is securely tightened.
We recommend installing the drill stand without a drill.
Install the drill stand on a solid flat surface or wall by
knock-in anchor and stud as follows:
▪
Mark the opening for the anchor at a distance 200 mm
from the centre of the opening drilled by the diamond
core bit.
▪
Drill Ø20 mm opening with approx. 65 mm depth.
Clean the opening from dust and debris.
▪
Drive the anchor into the pre-drilled opening.
▪
Insert the stud, mount the drill stand and tighten it by
washer and nut.
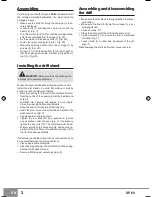
(Fig. 3)
▪
Use standard knock-in anchors.
▪ Tighten the four bolts (14) by a spanner to remove
any clearance under the base
(Fig. 4)
. If necessary,
tighten the lock nuts (15). The drill stand must be ab
-
solutely immobile to ensure smooth and secure op-
eration of the drill. Mount the additional straps (16) to
the front to enhance stability.
If attaching the drill stand by anchor is not possible, it can
be mounted between the ceiling and floor.
▪
Use an appropriate steel pipe.
▪
Place the pipe between the drill stand and the ceiling.
Compact with pads of wood.
▪ Secure with the upper centering screw (5).
Assembling and disassembling
the drill
▪ Make sure the drill stand is firmly attached to station
-
ary surface.
▪ Make sure the knob for fixing the carriage (3) is se
-
curely tightened.
▪ Loosen screws (17).
▪ Place the front part of the drill into the bracket (4).
▪ Tighten screws (17) to ensure the drill is completely
immobile
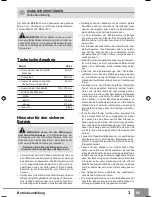
(Fig. 5)
▪ Loosen knob (3) to allow free movement of the car
-
riage (7).
Disassembling the drill is performed in reverse order.
pages-SP 60.indd 2
10.6.2013 г. 09:40:32 ч.


