background image


Install the new or sharpened blade into 
position and secure the blade with a new 
bolt, bushing spacer & nut, and apply red 
thread lock to the bolt threads. Torque 
hardware to 3100 Ib-ft (4200 Nm) using a 
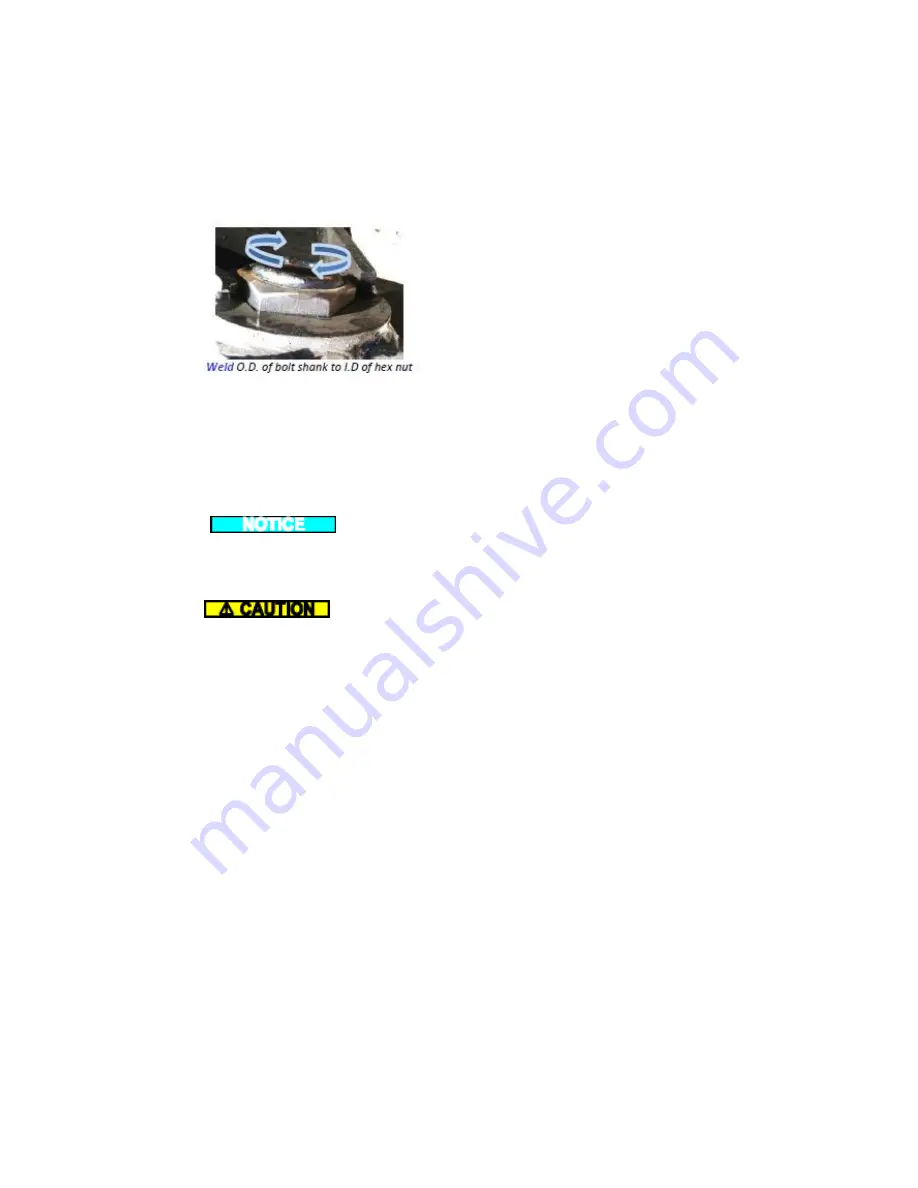
torque multiplier. Weld the center of the 
bolt to the inside diameter of the nut 
mounted in the hex slot on the back of the 
holder.


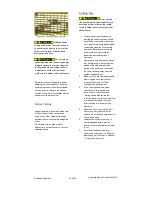
Weld 

0.0. of bolt shonk to 1.0 of hex nut


Repeat this procedure on the other blade 
end before installing the holder back on 
the attachment. Install new hardware to 
secure the holder to cutter drive. Torque 
the six (6) blade holder bolts to a minimum 
of 600 Ib-ft (813 Nm).


Always


service 

(sharpen or replace) the blades as a set. 
Never run cutter with unmatched 
blades.


Not


maintaining  your  implement  correctly 
could result in Minor or Serious Injury. 
Keep  your  implement  in  top  operating 
condition.


Before Every Use


Check that all fasteners (nuts, bolts, 
pins, keepers) are in their right place 
and are tight.


Inspect and replace any worn, torn or 
missing safety decals.


Pump No.2 lithium or molybdenum 
disulfide grease into all required areas


until you see old grease is being 
flushed out.


Investigate the location of any oil leaks 
and repair.


After every use, clean off any dirt residue 
with a garden hose and repeat grease 
application.


Every Week 

Check the condition of the blades by 
raising the cutter attachment off the ground 
and tilt the attachment back to the 90° 
position. Lower the attachment to the 
ground.


Inspect  the  cutter  blades  and  remove 
and  sharpen  them  if  necessary.  Sharp 
cutter  blades  will  cut  more  efficiently 
than dull blades.


After Every Season


Inspect the implement for any loose or 
worn parts that may need to be replaced 
prior to the next cutting season.


Visually inspect the cutting blades. 
Sharpen or replace them, if necessary.


Clean,  sand  &  repaint  any  area  that 
looks  worn  or  scratched  to  prevent 
further  rusting.  Use  an  equipment- 
paint  found  at  your  local  hardware 
store or building center.


Lubricate all pivot joints. If located in an 
area near an ocean or other corrosive 
conditions, apply a thin layer of grease to 
any exposed cylinder rod surfaces. Wipe 
grease from cylinder rods with a clean rag 
when taking the attachment out of 
storage.


Store your implement in a shed or 
cover with a water-proof tarp to


Spartan Equipment


Articulating Brush Cutter May 2014


PAGE 12


Summary of Contents for Articulating Brush Cutter

Page 1: ...ARTICULATING BRUSH CUTTER Owner s Operator s Manual Save this manual for future reference...

Page 2: ...ration maintenance and safety instructions found in this manual as well as in the manual that accompanied the skid steer machine that will power this attachment Add some common sense to the items ment...

Page 3: ...his product read and understand all the elements required to safely operate this piece of equipment This attachment has spinning blades that include additional dangers Throughout this manual you will...

Page 4: ...ys use eye protection during operation Mount this attachment on a skid steer equipped with thermoplastic polycarbonate door panel and side panels Speed Kills Operate this implement at a safe working s...

Page 5: ...removed from the battery always remove the negative cable first and reinstall the negative cable last DO NOT smoke around a battery or use anything that produces an open flame or spark to avoid an exp...

Page 6: ...g point with the upper part on the attachment plate and raise the coupler slightly Connecting Coupler to Attachment When the top edge of the coupler is seated in the top part of the coupler plate roll...

Page 7: ...ght ahead position 3 Rotate the Cutter Tilt using the electric control switch until the cutter hits the stop 4 Tilt cutter head in the opposite direction until it hits its stop 5 Return cutter head to...

Page 8: ...at a level cutter head looks like will help you avoid damage to the cutting blades by cutting too close to the ground surface Rotate the boom 90 to the right and learn what the level position looks li...

Page 9: ...cutter is at the 90 position it can be leveled by using the tool cylinder connected to the attachment as well as slight variations in the skid steer tilt Bank Cutting Swinging Cutter keep all persons...

Page 10: ...g the cutter Locate and mark any utilities steel posts rocks or any other objects that could be damaged or would damage the cutter during operation Never assume the work area is safe and never skip th...

Page 11: ...and notice the terrain you are working on Raise the skid steer loader arm and tilt the cutter head to the vertical position Swing the boom to the right to access the area to be cut Raise and lower the...

Page 12: ...areas until you see old grease is being flushed out Investigate the location of any oil leaks and repair After every use clean off any dirt residue with a garden hose and repeat grease application Eve...

Page 13: ...track unit Hardware Torque Grade 2 Grade 5 Grade 8 Ib ft Ib ft Ib ft 0 I 66 8 12 5 16 10 17 20 3 8 20 30 45 X 45 75 110 160 260 380 7 8 190 400 600 1 580 900 1 1 3100 h me pounds Higher torques requi...

Page 14: ...Cutter Parts Spartan Equipment PAGE 14 Articulating Brush Cutter May 2014...

Page 15: ...Hydraulic Plumbing Parts Spartan Equipment PAGE 15 Articulating Brush Cutter May 2014...

Page 16: ...ontacted Clear cutting area of solid solid objects rocks steel objects before hitting pipes etc them or raise the cutter height to clear exposed rock surfaces Blades breaking Excessive shock loads Avo...

Page 17: ...Hydraulic Flow Spartan Equipment PAGE 17 Articulating Brush Cutter May 2014...

Page 18: ...LLER I 7 f R u Mounted on 12 Volt Ground from Loader ATIACHMENT HARNESS D OJ n C l 3 CD A B OJ CD Orange Black Valve Cover Removed for Cia Red Black Blue Black Yellow Black Spartan Equipment PAGE 18 A...

Page 19: ...tions to owners of previously purchased units No one but Spartan Equipment is allowed to alter modify or enlarge this warranty nor the exclusions limitation and reservation at any time Spartan Equipme...

Reviews: