background image

21

affect the extraction of flue gases from the wood 
insert. Check the combustion air supply (if required, 
open the cover flap)!
3. Adjust the combustion air regulator to the far right, 
and open the firebox door (swing open).
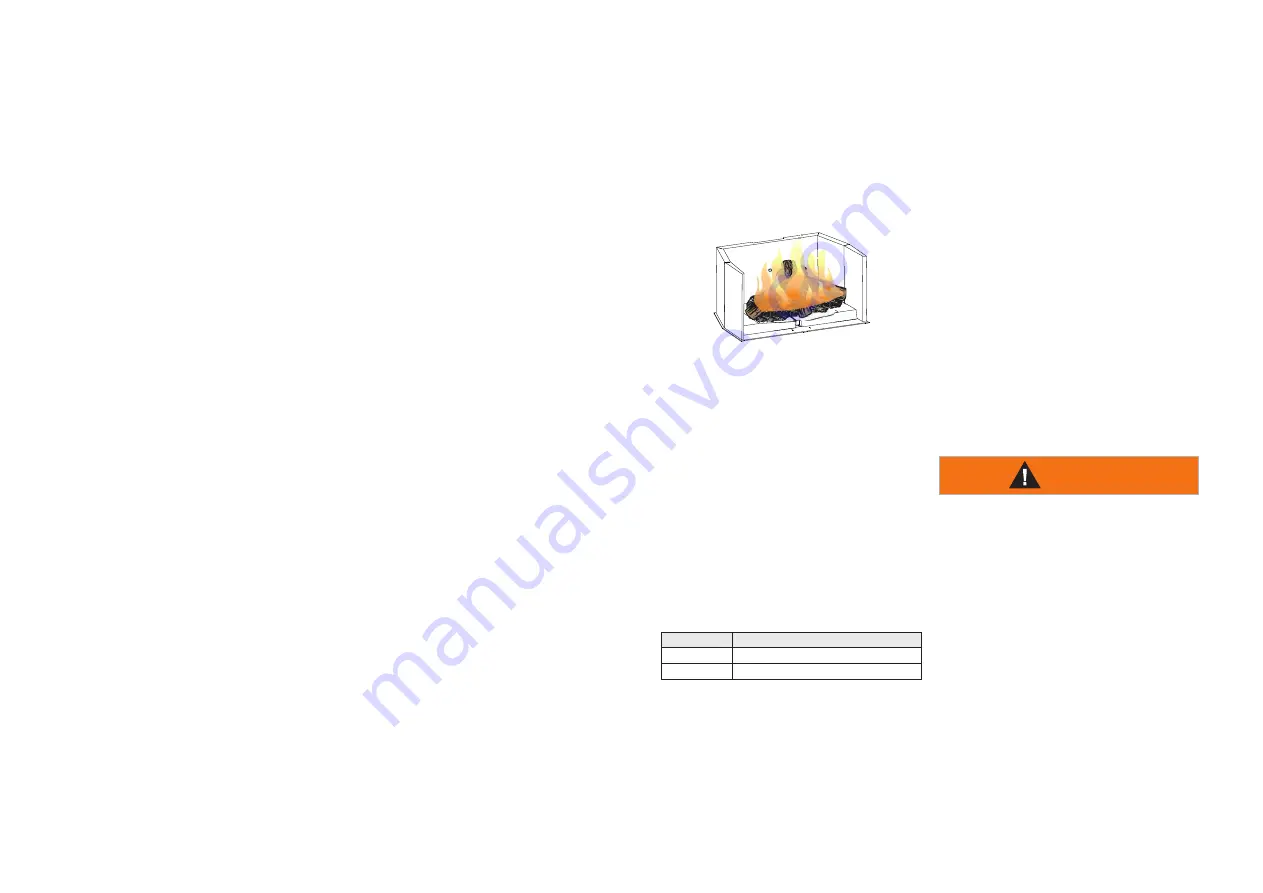
4. Place chopped wood into the middle of the firebox 
using the funeral pyre method (use softwood).
Caution: The height of the wood pile must not exceed 
the lower marking on the deflector plate!
5. Place standard firelighter cubes under
the wood pyre to help start the fire. (paper is not rec-
ommended because it burns too quickly and causes 
ash to circulate).
6. Never use methylated spirits, petrol, oil or other 
easily combustible liquids.
7. Light the fire using the firelighter cubes and, if 
required, leave the firebox door open by approx. 3-5 
cm. The fire should now light, burning
brightly and intensively.
8. When the kindling wood is burning well, add smaller 
hardwood logs or larger softwood logs using the 
funeral pyre method and close the door.
9. When the wooden logs are burning well, the air con-
trol lever can be set to a position in the middle.
10. You can find out more about the correct volume of 
wood to add to the fire in the section ‘‘Volume of wood 
to add per hour’’.
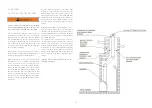
Lighting the fire in your masonry insert is very easy if 
you follow the instructions given below:
1. A fire may only be started in the masonry insert 
when the firebox lining has been correctly installed.
2. Turn off any air extraction ventilation (kitchen, bath-
room, WC etc.). This will avoid low pressure building 
up in the installation room that can
affect the extraction of flue gases from the wood 
insert. Check the combustion air supply (if required, 
open the cover flap)!
3. Adjust the combustion air regulator to the far right, 
and open the firebox door (swing open).
4. Place chopped wood into the middle of the firebox 
using the funeral pyre method (use softwood).
Caution: The height of the wood pile must not exceed 
the lower marking on the deflector plate!
5. Place standard firelighter cubes under

the wood pyre to help start the fire. (paper is not rec-
ommended because it burns too quickly and causes 
ash to circulate).
6. Never use methylated spirits, petrol, oil or other 
easily combustible liquids.
7. Light the fire using the firelighter cubes and, if 
required, leave the firebox door open by approx. 3-5 
cm. The fire should now light, burning
brightly and intensively.
8. When the kindling wood is burning well, add smaller 
hardwood logs or larger softwood logs using the 
funeral pyre method and close the door.
9. When the wooden logs are burning well, the air con-
trol lever can be set to a position in the middle.
10. You can find out more about the correct volume of 
wood to add to the fire in the section ‘‘Volume of wood 
to add per hour’’.
11. When the wood has been completely burnt and 
only embers are remaining from the initial wood added 
to the
fire, new wood can now be added as required (hard-
wood is ideal).
12. Depending on the weather conditions, adjust the 
control lever towards the middle setting or a little over.
The correct setting is always based on experience and 
the current local conditions.
13. Always open the firebox door slowly. This will 
ensure that you avoid sudden low pressure in the fire-
box and prevent exhaust gases leaking into the living 
room.
14. This will prevent any possible smoke leakage 
through the opened door when adding new wood 
during the ember phase.
15. Never consistently add more wood than the recom-
mended amount . 

Caution: The height of the wood pile must not exceed 
the lower marking on the deflector plate!

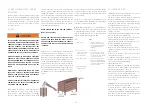
6.3.1 FLASH FIRE

A flash fire is a small fire burned quickly when you 
don’t need much heat. After your kindling has “caught”, 
load at least 3 pieces of wood, stacked loosely. Burn 
with the draft control fully open if adjustable or open 
the door upward with 1 1/2 inches for 3 minutes if 
required.

6.3.2 EXTENDED FIRE

Load your larger pieces of wood compactly, packed 
close enough to prevent the flames from penetrating 
it completely. 

DO NOT OVERFIRE THE APPLIANCE!
OVERFIRING CAN OCCUR BY:

A. Burning large amounts of smaller wood pieces such 
as furniture scraps, skids or treated wood.
B. Operating the appliance with a poor gasket seal on 
the main door.
C. Overfilling your appliance. Go by the following 
specifications:

Appliance

Wood consumed per hour 

Insert-600

1,8 kg/hr

Insert-700

2,1 kg/hr

6.3.3 SMOKING

A properly installed appliance should not smoke. If 
yours does, check the following:

Has the chimney had time to get hot?
Is the smoke passage blocked anywhere in the appli-
ance, chimney connector or chimney?
Is the room too airtight and the air intake not con-
nected to the outside? Try with a window partly open.
Is the smoke flow impeded by a too long horizontal 
pipe or too many bends?
Is it a weak draft perhaps caused by a leaky chim-
ney, a cold outside chimney, a too large diameter of a 
chimney, a too short chimney, or a chimney too close 
to trees or a higher roof?
Has a direct flue connection been used rather than a 
chimney liner continuous from cap to appliance flue 
collar.

7. MAINTENANCE

WARNING

APPLIANCE MAY BE HOT, DO NOT SERVICE UNTIL 
APPLIANCE HAS COOLED. DO NOT USE ABRASIVE 
CLEANERS.

Check your chimney and chimney connector for creo-
sote and soot buildup weekly until a safe frequency for 
cleaning is established.

If accumulation is excessive, disconnect the appliance 
and clean both the chimney and the appliance. You 
may want to call a professional chimney sweep to 
clean them. Both have to be cleaned at least once a 
year or as often as necessary.

Remove baffle plates and clean above them once a 
year. Replace any broken bricks.

Summary of Contents for Insert-600

Page 1: ...refer to it Spartherm Feuerungstechnik GmbH Maschweg 38 49324 Melle Phone 49 5422 94 41 0 Fax 49 5422 9441 14 www spartherm com The Spartherm wood insert have been tested and certified by CSA based on...

Page 2: ...raise the fire At least 14 square inches 90 3 square centime ters of outside air must be admitted to the room or directly to the unit through a 5 127mm diameter pipe Failure to provide this may starv...

Page 3: ...NCE 21 ASH REMOVAL PROCEDURES 22 CREOSOTE FORMATION AND REMOVAL 22 RUNAWAY OR CHIMNEY FIRE 22 CHIMNEY CLEANING 22 GLASS REPLACEMENT 22 CARE OF GLASS 22 CLEANING THE GLASS CERAMIC SHEET 23 CARE OF PLAT...

Page 4: ...amount of wood when fueling lbs kg wood 2 3 logs of wood of app 18 21 46 53cm 1 8 kg hr 2 1 kg hr Intermittent operation Single wall connector stove pipe 6 153mm 7 178 5mm Chimney pipe class A UL 103...

Page 5: ...to protect infants toddlers from touching hot surfaces Even after the appliance is out the glass and or screen will remain hot for an extended period of time Check with your local hearth specialty dea...

Page 6: ...da 18 457mm from unit to front of floor protector Safety Information Informations Sur La S curit Listed by Manufactured by Spartherm Feuerungstechnik GmbH Maschweg 38 D 49324 Melle Germany info sparth...

Page 7: ...6 1 8 410mm B 22 5 16 566mm C 21 1 2 544mm D 23 582mm E 6 Example shown 600 Example shown 700 AVAILABLE FRAME FINISHES 60 MM 2 3 8 80 MM 3 1 8 100 MM 3 15 16 Insert 700 A 17 5 16 440mm B 26 1 4 666mm...

Page 8: ...t systems that are too short or too long refer to point 4 3 chimney installation can also have an adverse affect on the flow of exhaust through it The wood burning appliance and chimney vent system al...

Page 9: ...r directly to the unit you need to have the right separate combustion air connector 5 Fix the connector directly to the unit It can be oriented to the left side right side or to the back Grills The co...

Page 10: ...ockage or other signs of deterioration If necessary have any repair work done by a qualified professional before installing the insert Do NOT remove bricks or mortar from the wood insert In case of an...

Page 11: ...m bustible item such as drying clothes newspapers firewood etc Failure to meet the required clearances can endanger property and personal safety 3 1 2 PLACEMENT Make sure there is enough space for the...

Page 12: ...with the following brands of chimney liner measuring 6 and 7 152 and 178mm in diameter 4 5 1 LISTED CHIMNEYS This appliance must be installed with a listed 6 and 7 chimney liner system approved under...

Page 13: ...fireplace The masonry fireplace is to be con structed in accordance to N F P A 211 Latest Edition Standards of Chimney Fireplaces Vents and Solid Fu el Burning Appliances and Equipment or applicable...

Page 14: ...rst Fasten this flue cover in position as high as possible with two masonry screws per side through the flanges into the wood insert I n Canada Install only flexible or solid chimney liner from the to...

Page 15: ...convection air enters into the fireplace via the inlet at the bottom of the fireplace The hot air for convection comes out of the fireplace via the front outlet Air flow 5 FINISHING 5 1 BRICKS AND BA...

Page 16: ...rice list 4 price list Attention Surcharge according to price list when ordering in eboris 1300 block Masonry Insert 700 fil l 0 l 7462 l l 017405 z l O1746l l 1017404 article designation base brick f...

Page 17: ...L INSTALLATION WARNING BURNING YOUR APPLIANCE WITH THE DOORS OPEN OR AJAR CREATES A FIRE HAZARD THAT MAY RESULT IN A HOUSE AND OR CHIMNEY FIRE DO NOT STRIKE OR SLAM DOOR NEVER REMOVE THE DOOR WHEN THE...

Page 18: ...in an unsatisfactory burn Remember it is more efficient to burn medium sized wood briskly and refuel frequently than to load the appliance with large logs that result in a smouldering inefficient fir...

Page 19: ...not used there is a risk of BURNS A Air supply open when lighting the fire or adding new wood The control lever is pushed completely to the right The firebox will now receive the maximum volume of co...

Page 20: ...d has cracks in the end grain Cut the wood so that it will fit horizontally front to back making for easier loading and less of a likelihood that the wood will roll onto the glass Manufactured firelog...

Page 21: ...n Volume of wood to add per hour 11 When the wood has been completely burnt and only embers are remaining from the initial wood added to the fire new wood can now be added as required hard wood is ide...

Page 22: ...uation and a place outside for everyone to meet Prepare to evacuate to ensure everyone s safety Close air control on appliance Call local fire department Have a fire extin guisher handy Contact local...

Page 23: ...or vinegar and towel to clean If not cleaned properly before operating for the first time the marks can cause permanent blemishes on the plating After the plating is cured the fingerprints and oils wi...

Page 24: ...aft Add more pipe Let air stabilize before opening door Ensure baffles are positioned correctly Negative pressure Open a window near the appliance Appliance emits odour Paint curing See GENERAL INSTRU...

Page 25: ...or overload the elevating mechanism If the installation instructions are not correctly fol lowed resulting in overheating of the pulleys and bearings the seals Reduced sealing due to thermal stress a...

Page 26: ...26 10 6 FOR YOUR INFORMATION...

Page 27: ...27 11 SERVICE HISTORY Appliance Service History This heater must be serviced annually depending on usage Date Dealer Name Service Technician Name Service Performed Special Concerns...

Page 28: ...ARTHERM A1 SP US CA 04 2021 THE GLOBAL BRAND FOR YOUR LIVING ROOM Your specialist dealer Spartherm Feuerungstechnik GmbH Maschweg 38 49324 Melle Phone 49 5422 94 41 0 Fax 49 5422 9441 14 www spartherm...

Reviews: