GB
16
pushed into any gaps.
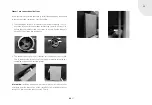
- Then insert the complete fireplace cassette into the open fire-place
and reach through the open exhaust gas connection on the cassette
into the fireplace. Pull the exhaust gas socket onto the rear wall of the
cassette and fix it in place with two screws and nuts via the firebox.
• Replace the deflector plate and straighten up the fireplace cassette
where necessary.
• After the fireplace cassette has been installed, the space between the
outer casing of the cassette and the walls of the open fireplace must
be tightly filled in.
• All remaining unfilled (non-airtight) areas - through which “false air” can
enter - are to be sealed using a sealing agent (e.g. rock wool and, where
required, a sheet metal cover).
• Any existing wooden beams in the open fireplace are to be protected
using additional thermal protection (e.g. air deflector plate) when they
are within the thermal radiation field or are located in the area of the
cassette’s thermal air convection field. This is particularly important
when the fireplace cassette protrudes out of the existing open fire-place.
• The changes to the thermal radiation field when using the fireplace cas-
sette in comparison to that of the open fireplace should be taken into
account.
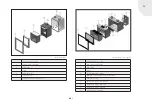
4.2 INSTALLING THE FRAME
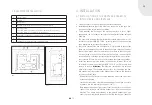
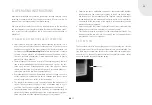
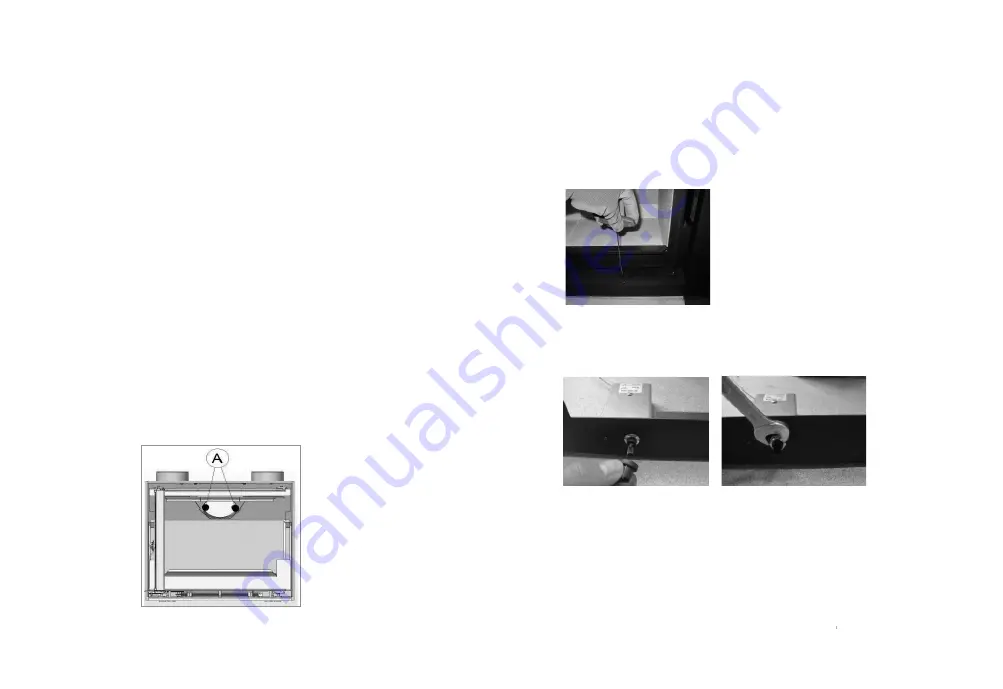
In order to install / dismantle the cassette frame, the firebox door needs to
be opened to access the four fastening screws for the frame. The screws
must be turned approx 3-4 times to loosen them. The frame can then be
removed in a forwards direction. Installation is carried out in the reverse
order.
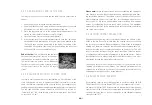
In cassette designs including a hot air blower, it is necessary to initially
remove the rotary knob at the front and unscrew the nut. The speed control-
ler remains in position within the hole.
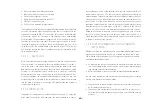
A
= Loosen the screws in the firebox
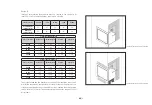
Fig.7
Fig.8
Summary of Contents for L 800
Page 1: ...GB Installation and Operating Instructions Linear Fireplace Cassettes...
Page 34: ...GB 34 NOTES...
Page 35: ...GB GB GB 35...

