GB
20
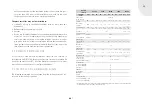
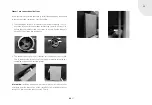
4. In this position, pull the door a little
forward at the bottom.
5. Now allow the door to drop down a little
so that it comes away from the upper
guidance pin and can be removed.
The door is now free and can be carefully placed to one side.
INSTALLATION: Installation is carried out in the reverse order:
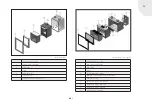
1. Firstly guide the door in a slightly
inclined position onto the fixture for the
hinge side of the door. In the process,
support the door from below so that the
fireplace casing is not scratched.
2. Then swing the door inwards and set
the lower pin into the lower fixture. To
ensure the hexagonal socket can slide
into the fixture, move the door a little
(swivel the door).
3. Loosen the hexagonal socket on the
lower hinge with a 3 mm Allen key.
4. Close the door and then push the
safety clasp back onto the pin.
4.8 INSTALLING THE EXHAUST GAS FLUE AT REAR /
BOTTOM
Not valid for linear cassette XS 500!
Exhaust gas connection at rear:
The connection for the exhaust gas flue in a horizontal direction at the rear
is realised as described below:
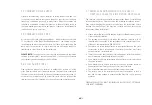
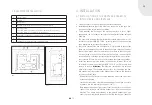
1. Break off the dummy cover on the
convection air jacket and the firebox at
the rear of the appliance by twisting it
frequently.
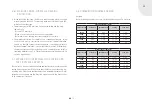
2. Connect the 125 mm or 150 mm exhaust air sockets with a binding
clamp to the exhaust gas flue. Then screw the sockets to the rear wall
of the firebox using three screws.
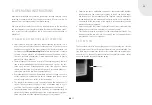
3. Place the rear wall cover around the
exhaust gas flue and fix it in place using
the fixing screws.
Summary of Contents for L 800
Page 1: ...GB Installation and Operating Instructions Linear Fireplace Cassettes...
Page 34: ...GB 34 NOTES...
Page 35: ...GB GB GB 35...


