14
630359_5
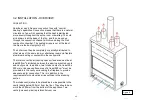
3.3 INSTALLATION - PLANNING
I
NSTALLATION PROCESS - SUMMARY
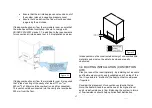
1.
Carefully unpack the fireplace. Place the Chamotte firebricks and baffles safely
aside.
2.
Fit the frame to the fireplace.
3.
Fit and seal the flue converter to flue spigot (Single XL {Varia Bh-P7}, Double-sided
{Varia A-FDh – P8} only).
4.
Cut hole in convection air case for flue damper control shaft in desired position (not
required on Double-sided {Varia A-FDh – P8}).
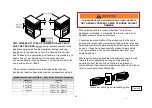
5.
Construct cavity back wall and cavity top (ceiling). Use flashings provided.
6.
Position the fire in place and remove door transit screws.
7.
Secure fireplace legs (X4) to non-combustible floor.
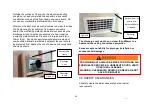
8. Fit flue with drop box and closure plate. Seal around interface with cavity.
9. Fit lower flue pipes and casings, seal and secure in place.
10. Fit remainder of flue system to comply with AS/NZS 2918:2001
11. Fit cavity sidewalls and flue damper control shaft / knob. Use flashings for
sides.
12. Fit vent ducting to convection air case.
13. Fit vents and connect ducting (if required).
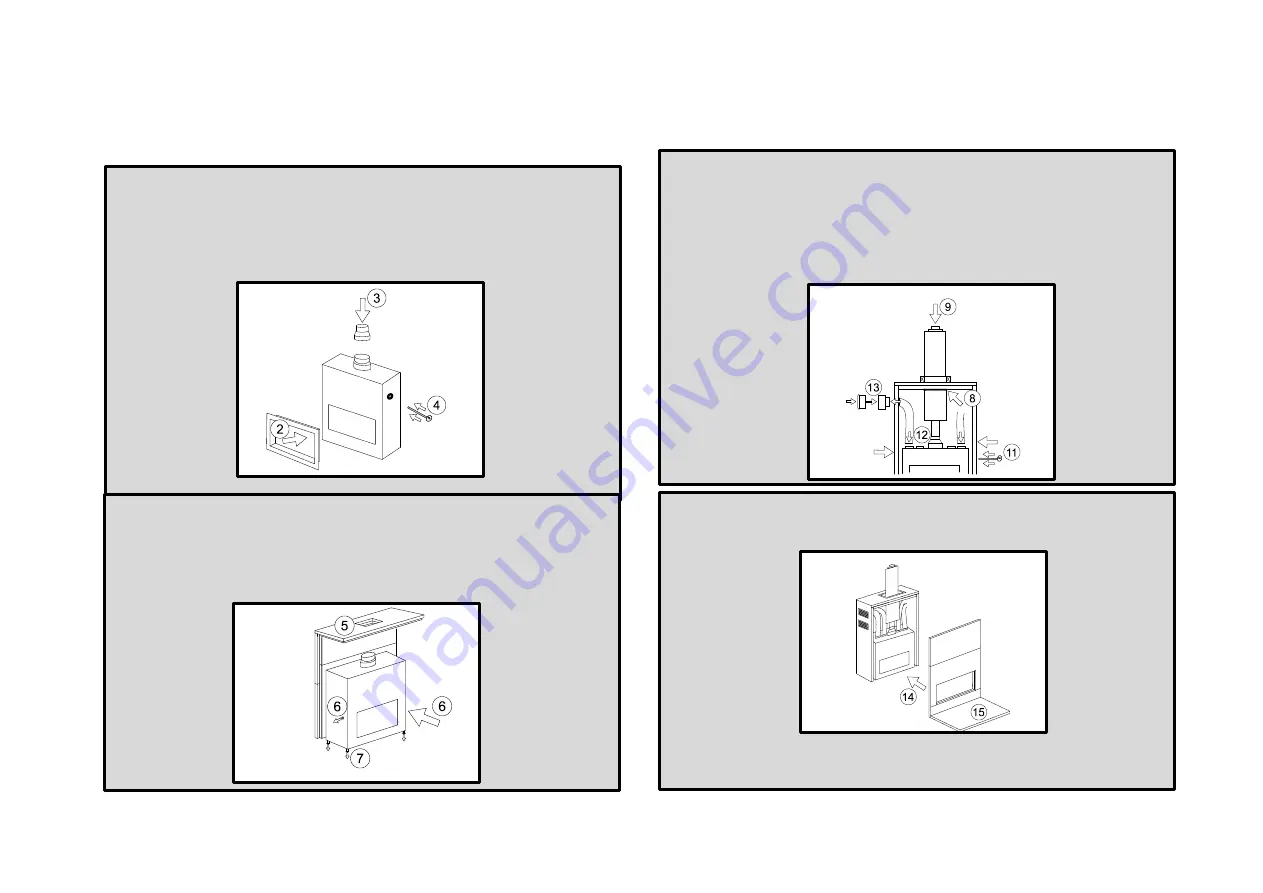
14. Fit cavity front walls (fit vents and ducting if required).
15. Fit hearth to specified minimum size.
16. Stop / plaster / paint Skamotec cavity and hearth to required specified finish.
17. Fit Chamotte fire bricks and vermiculite baffle (see section 4.0)
Summary of Contents for Varia 2L 80h-P7
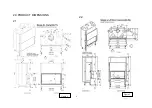
Page 5: ...5 630359_5 2 0 PRODUCT DIMENSIONS 2 1 2 2 Figure 1 Figure 2 ...
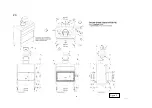
Page 6: ...6 630359_5 2 3 Figure 3 ...
Page 7: ...7 630359_5 2 4 Figure 4 ...
Page 8: ...8 630359_5 2 5 Figure 5 ...
Page 23: ...23 630359_5 Corner L R Varia 2L 2R 80h P7 Double Sided Varia A FDh P8 Figure 23 Figure 24 ...
Page 26: ...26 630359_5 3 7 EXAMPLE OF CAVITY CONSTRUCTION Figure 30 Figure 31 ...
Page 51: ...51 630359_5 ...
Page 52: ...52 630359_5 Data Plate Installer Adhere duplicate data plate here ...


