background image

c. Connecting the Audio Inputs

• 

CAUTION:


Only make connections when the amplifier is turned off.

• 

Line Level Inputs (Left & Right) -

 The line outputs from a preamplifier or receiver can be connected to the line 

level inputs of the BBXW10 with RCA cables. If your system has only one subwoofer output, you can plug it into 

either the left or right line inputs. Using these inputs will crossover the audio signals that are sent to the Line outputs 

at a fixed high pass of 75Hz.  

• 

LFE (Low Frequency Effects) Input - 

If your preamplifier or receiver has an LFE output, you can use the LFE input. 

Be aware that using the LFE input bypasses the amplifier’s low frequency adjustable (low pass) crossover.  

• 

Speaker Level Inputs (Left & Right) - 

These inputs can be used if your preamplifier or receiver does not have a 

subwoofer or set of line output jacks. Connect the left and right pair of main speaker output wires from you amplifier 

or receiver to the speaker level input connectors of the BBXW10 amplifier. Then connect a left and right pair of speaker 

wires from the BBXW10 speaker output connectors to you main speakers.

d. Connecting the Audio Outputs

• 

Line Level Outputs (Left & Right) -

 Sources connected to the line level inputs can be forwarded to other receivers or 

amplifiers line level inputs. By doing this you can pass-on the audio signal for use by another component. Connect RCA 

cables to the line level output sections of the BBXW10 and the Line level inputs of a receiver or amplifier. Please note 

that the BBXW10's high pass crossover will be in effect removing the audio below 75Hz to the connected component.

• 

Speaker Level Outputs (Left & Right) -

 Connect a left and right pair of speaker wires from the BBXW10 speaker 

output connectors to you main speakers. This method will filter out the low frequencies below 75Hz and send them 

to the subwoofer. The high frequencies above 75Hz will be sent to your main speakers. The main speakers will still be 

powered by your system's amplifier or receiver.

e. Connecting the AC Power 

• Plug the 3-prong plug directly into a 120V AC 60Hz wall outlet.  If you wish to plug the amplifier into a preamplifier 

or receiver’s switched outlet, make sure it is rated at least 600 watts. However, it is always safer to plug the BBXW10 

directly into an AC outlet. 

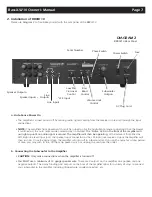
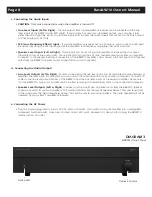
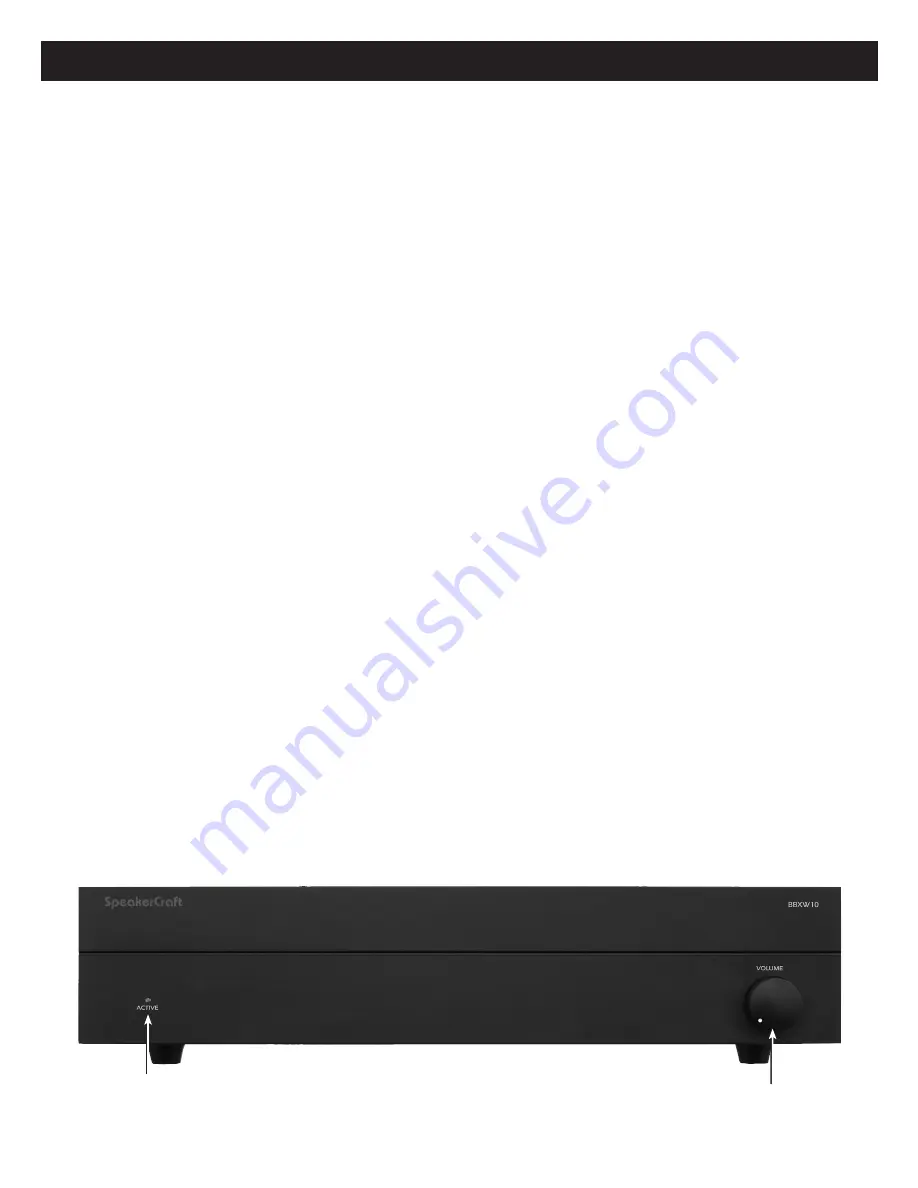
DIAGRAM 3

BBXW10 Front Panel

 Page 8   


     BassX-W10 Owner’s Manual       

Active LED

Volume Control

Summary of Contents for BassX-W10

Page 1: ...OWNER S MANUAL BassX W10 Powered In Wall Subwoofer SpeakerCraft...

Page 2: ...liance 12 Cleaning The appliance should be cleaned only as recom mended by the manufacturer 13 Non use Periods The power cord of the appliance should be unplugged from the outlet when left unused for...

Page 3: ...installation is different we created the BassX W10 Mounting Bracket to be expandable allowing it to fit through the smaller drywall cut out hole and adjust to various wall stud spacing For new constru...

Page 4: ...tightening can cause plastic baffle to contact speaker and cause vibration noise Page 4 BassX W10 Owner s Manual Please use Diagram 1 for a quick installation overview which will be explored in greate...

Page 5: ...he studs In addition extra drywall screws can be used to mount the drywall to the studs To reduce vibration even more we recommend not hanging anything directly over the BassX W10 If there is no way a...

Page 6: ...ure the woofer to the bracket using the hardware supplied CAUTION DO NOT OVER TIGHTEN THE SCREWS OR THEY MAY STRIP 5 Mounting the Baffle The baffle has been specifically designed to mount to the drywa...

Page 7: ...the amplifier will not light up until an audio signal is sensed The amplifier will then be operating At the moment that either the Left Right line level input jacks the speaker input connectors or the...

Page 8: ...o you main speakers d Connecting the Audio Outputs Line Level Outputs Left Right Sources connected to the line level inputs can be forwarded to other receivers or amplifiers line level inputs By doing...

Page 9: ...tch marked Power on the rear panel of the amplifier will turn off all amplifier circuitry and override the auto sense mode in the off position NOTE See paragraph v below before turning on the amplifie...

Page 10: ...ventilated appropriately Move the amplifier to a better ventilated and or cooler loca tion NOTE The amplifier may feel cool at the top but still be overheating Do not use the temperature at the top o...

Page 11: ...surface modification is required SpeakerCraft assumes no responsibility or liability for such modification All replaced parts and product become the property of SpeakerCraft Inc Products replaced or...

Page 12: ...Page 12 BassX W10 Owner s Manual 940 Columbia Avenue Riverside CA 92507 800 448 0976 Fax 951 787 8747 www speakercraft com SpeakerCraft LITX3100...

Reviews: