background image

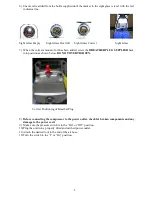
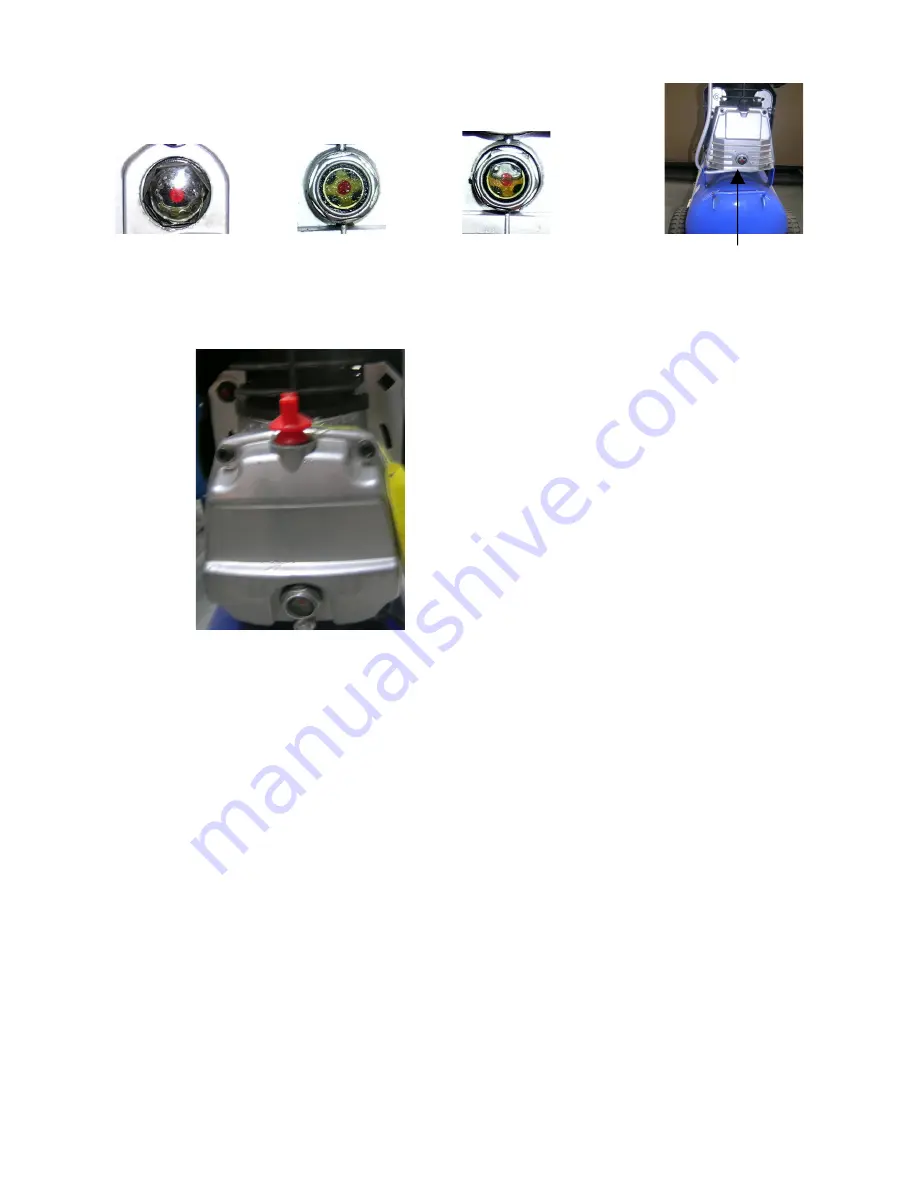
6) Ensure oil is added from the bottle supplied until the marker in the sight glass is level with the red 

indicator line. 


Sight Glass Empty         Sight Glass Overfull       Sight Glass Correct                           Sight Glass        

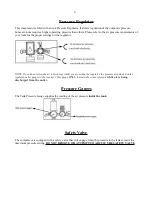
7) When the correct amount of oil has been added, screw the 

BREATHER PLUG SUPPLIED

 back 

into position as shown below. 

DO NOT OVERTIGHTEN.


                         Correct Positioning of Breather Plug

8)

Before connecting the compressor to the power outlet, check for broken components and any 
damage to the power cord.

9) Make sure the pressure switch is in the “On” or “Off” position.
10) Plug the unit into a properly fitted and earthed power outlet.
11) Attach the desired tool to the end of the air hose.
12) Turn the switch to the “I” or “On” position.

5

Summary of Contents for ProjectAir TA-COMP10

Page 1: ...TA COMP10 Direct Drive Compressor Operating Manual...

Page 2: ...Rules 3 Assembly Operating Instructions 4 5 Automatic On Off Switch 6 Overload Protection 6 Reset Procedure 6 Pressure Regulator 7 Pressure Gauges 7 Safety Valve 7 Shutting Down Your Compressor 8 Env...

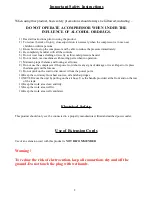
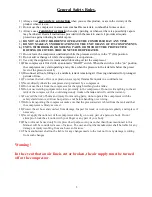
Page 3: ...per balance and footing at all times 8 Do not use the compressor if the power cord shows any signs of damage or wear Repair or replace the damaged cord before use 9 Do not yank on the cord to disconne...

Page 4: ...isk of fire or explosion never spray flammable liquids in a confined area 13 Never directly inhale the compressed air produced by a compressor 14 Do not use the air from the compressor for charging br...

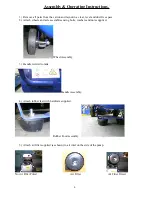
Page 5: ...ttach wheels and axle assemblies using bolts washers and nuts supplied Wheel Assembly 3 Handle welded to tank Handle Assembly 4 Attach rubber feet with hardware supplied Rubber Foot Assembly 5 Attach...

Page 6: ...EATHER PLUG SUPPLIED back into position as shown below DO NOT OVERTIGHTEN Correct Positioning of Breather Plug 8 Before connecting the compressor to the power outlet check for broken components and an...

Page 7: ...d the warranty of the product Overload Protection This compressor is equipped with overload protection In the event of a motor overload the compressor will cease to operate Possible Causes of Motor Ov...

Page 8: ...he air to discharge whilst you are setting the regulator the pressure as indicated on the regulated outlet gauge will be incorrect This gauge ONLY indicates the correct pressure while air is being dis...

Page 9: ...em as waste All tools hoses and packaging should be sorted taken to the local recycling centre and disposed of in an environmentally safe way Maintenance 1 The tank will require accumulated moisture t...

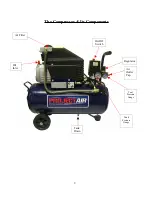
Page 10: ...The Compressor Its Components 9 Air Filter Tank Pressure Gauge Tool Pressure Gauge Regulator On Off Switch Oil Inlet Tank Drain Air Outlet Tap...

Page 11: ...part Tighten component Wheel or mounting feet loose Tighten component Trouble Possible Cause Possible Remedy Inability to retain required operating pressure Dirty air filter cartridge Clean air filte...

Reviews: