18
IP Camera User Manual
4.6
Network Setup
4.6.1
TCP/IP
Go to the Network Setup
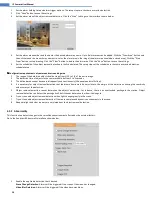
TCP/IP interface shown below. There are two ways for network connection.
Use IP address (take IPv4 for example) -
obtain a local IP address automatically through DHCP. A typical router has a DHCP server built in, and
therefore is able to assign an IP address to the camera.
Use PPPoE –
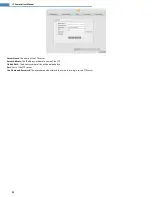
Click the “PPPoE Config” tab to go to the interface shown below. Enable PPPoE and then enter the user name and password from the ISP.
Either method of network connection can be used. If PPPoE is used to connect internet, the camera will get a dynamic WAN IP address. This IP address
will change frequently. To be notified, the IP change notification function can be used.
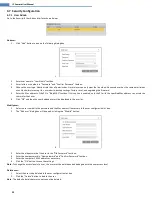
Click the “IP Change Notification” to go to the interface shown below.
Trigger Email
: when the IP address of the device is changed, the new IP address will be sent to the email address that has been set up.
Trigger FTP
: when the IP address of the device is changed, the new IP address will be sent to FTP server that has been set up.
4.6.2
Port
Go to the Network Setup
Port interface shown below. HTTP port, Data port and RTSP port can be set.
HTTP Port
: The default HTTP port is 80. It can be changed to any port which is not occupied.
Data Port
: The default data port is 554. Change it as necessary.
RTSP Port
: The default port is 9008. Change it as necessary.
4.6.3
DDNS
If the camera is set up with a DHCP connection, DDNS should be set for accessing the camera from the internet.


