Alignment
Note that the analyzer was adjusted to the mounting flange axis during specification.
4.5 Vacuum Installation
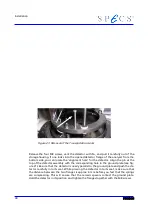
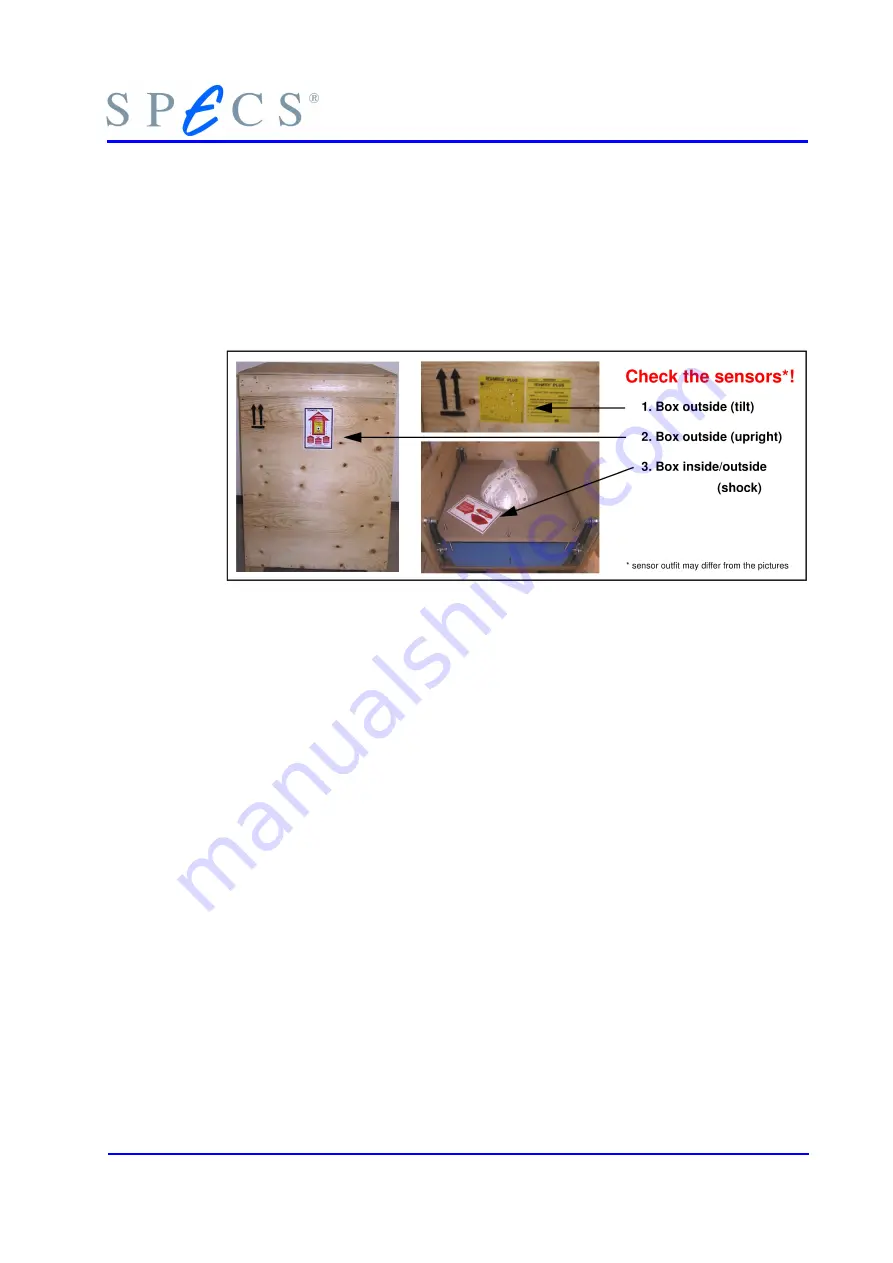
1. Open the transport box carefully.
2. Check the shock and tilt sensors. If any sensor is discolored, please inform SPECS
immediately and await further instructions.
3. Remove the shipping frame.
4. Carefully lift the analyzer out of the box. Be aware of outstanding parts while
pulling out the analyzer. In particular the rotary feedthroughs are sensitive to
physical jostling / bumping / vibrations. Because of the analyzer weight of ~ 65
(PHOIBOS100) / 95 kg (PHOIBOS150).
41
Summary of Contents for PHOIBOS 100
Page 1: ...PHOIBOS Hemispherical Energy Analyzer Series PHOIBOS 100 PHOIBOS 150 3 1...
Page 6: ...Table of Contents PHOIBOS...
Page 10: ...Introduction 4 PHOIBOS...
Page 13: ...Electrical Connections Figure 2 Connection Scheme PHOIBOS 7...
Page 14: ...Components and Connections Figure 3 Analyzer Housing PHOIBOS100 8 PHOIBOS...
Page 15: ...Electrical Connections Figure 4 Analyzer Housing PHOIBOS150 PHOIBOS 9...
Page 42: ......
Page 51: ...SpecsLab Hardware and Software Installation PHOIBOS 45...
Page 52: ......
Page 62: ......
Page 78: ...Analyzer Checks Figure 33 Schematics of the 12 pin Analyzer Feedthrough 72 PHOIBOS...
Page 80: ......
Page 86: ......
Page 92: ...List of Figures Figure 39 Alignment Pin 84 II PHOIBOS...
Page 93: ...List of Figures PHOIBOS III...
Page 94: ......
Page 96: ......
Page 98: ...Index PHOIBOS...

