XR 50
V3.1 | May 02, 2016
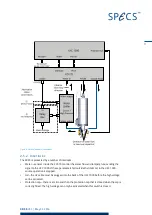
Vacuum—the UXC 1000 can be connected to a vacuum gauge measurement controller.
When the pressure interlock trips, the high voltage and filament are switched off. A
bridging connector is provided in case you do not need to use this interlock. Some form of
vacuum interlock is however recommended in order to protect the source from high pres-
sures.
If the XR 50 is correctly connected and the conditions described in this chapter are met, these
interlocks are safe and the XR 50 can be operated.
Caution!
Do not attempt to defeat the interlocks. Death, serious injury or severe dam-
age to the source can result if the interlocks are overridden.
2.6
Anode and Filament Conditioning
After baking out the XR 50, there will still be adsorbates on the working surfaces of the source.
These will cause outgassing and HV discharges when you try to operate the source. The con-
ditioning procedure removes these adsorbates by slowly ramping the source parameters up to
their operating values. By the end of the conditioning, the source should be ready for normal
use.
To condition the filament and anode:
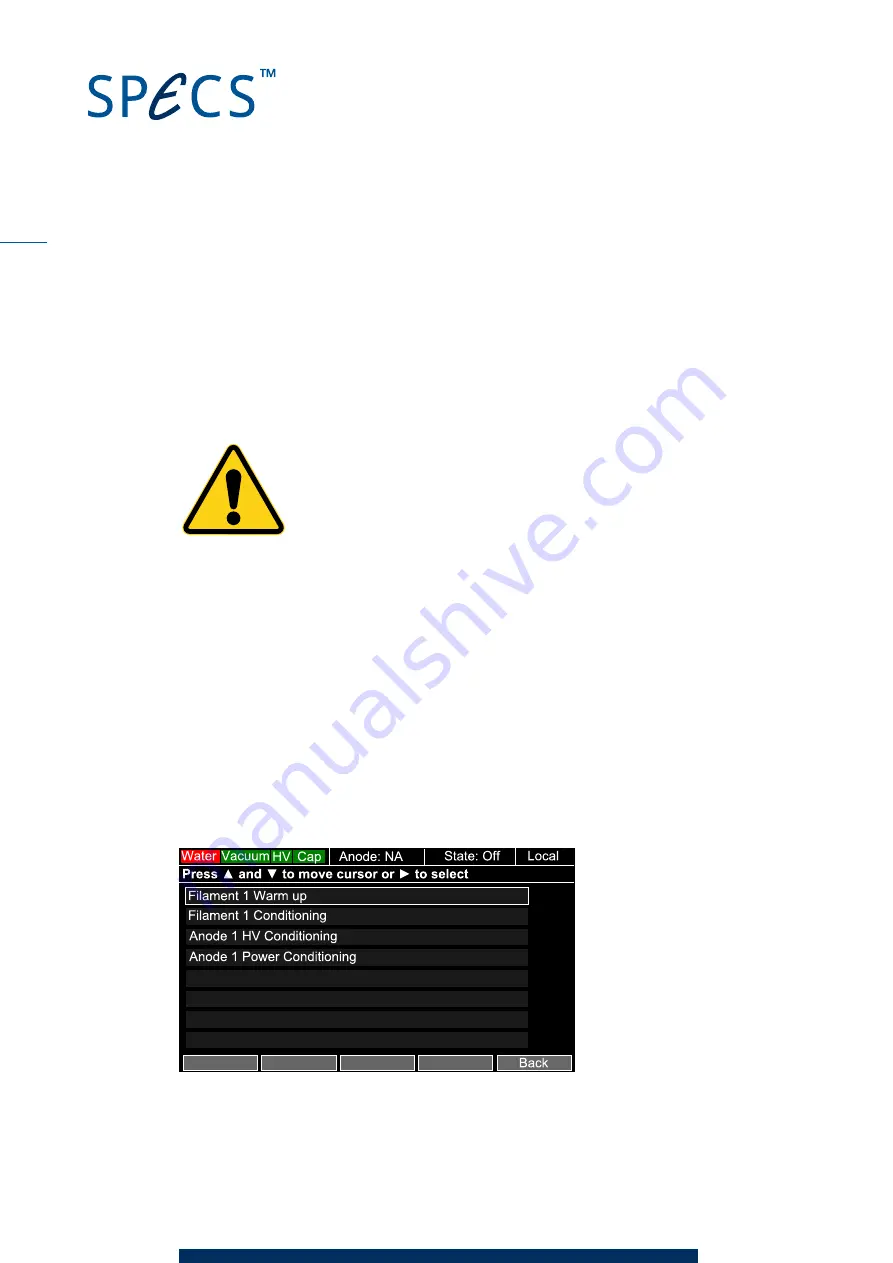
1. Switch on the UXC 1000. A splash screen will appear while the unit starts up. After a short
time. the main menu will appear. A rectangular cursor surrounds the item Anode 1 startup
procedures.
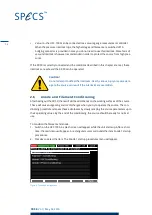
2. Press
►
to select the item. The Anode 1 startup procedures menu will appear.
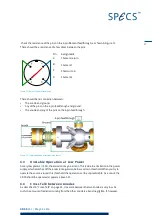
Figure 5: The source startup menu
12
Summary of Contents for XR 50
Page 1: ...XR 50 XR 50 NAP X Ray Source User Manual V3 1 May 02 2016...
Page 6: ...XR 50 V3 1 May 02 2016 This page intentionally left vi...
Page 20: ...XR 50 V3 1 May 02 2016 This page intentionally left 14...
Page 30: ...XR 50 V3 1 May 02 2016 This page intentionally left 24...
Page 38: ...XR 50 V3 1 May 02 2016 This page intentionally left 32...
Page 46: ...XR 50 V3 1 May 02 2016 This page intentionally left 40...
Page 58: ......


