31
XR 50
V3.1 | May 02, 2016
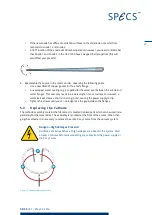
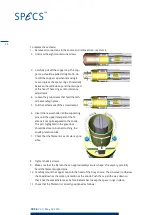
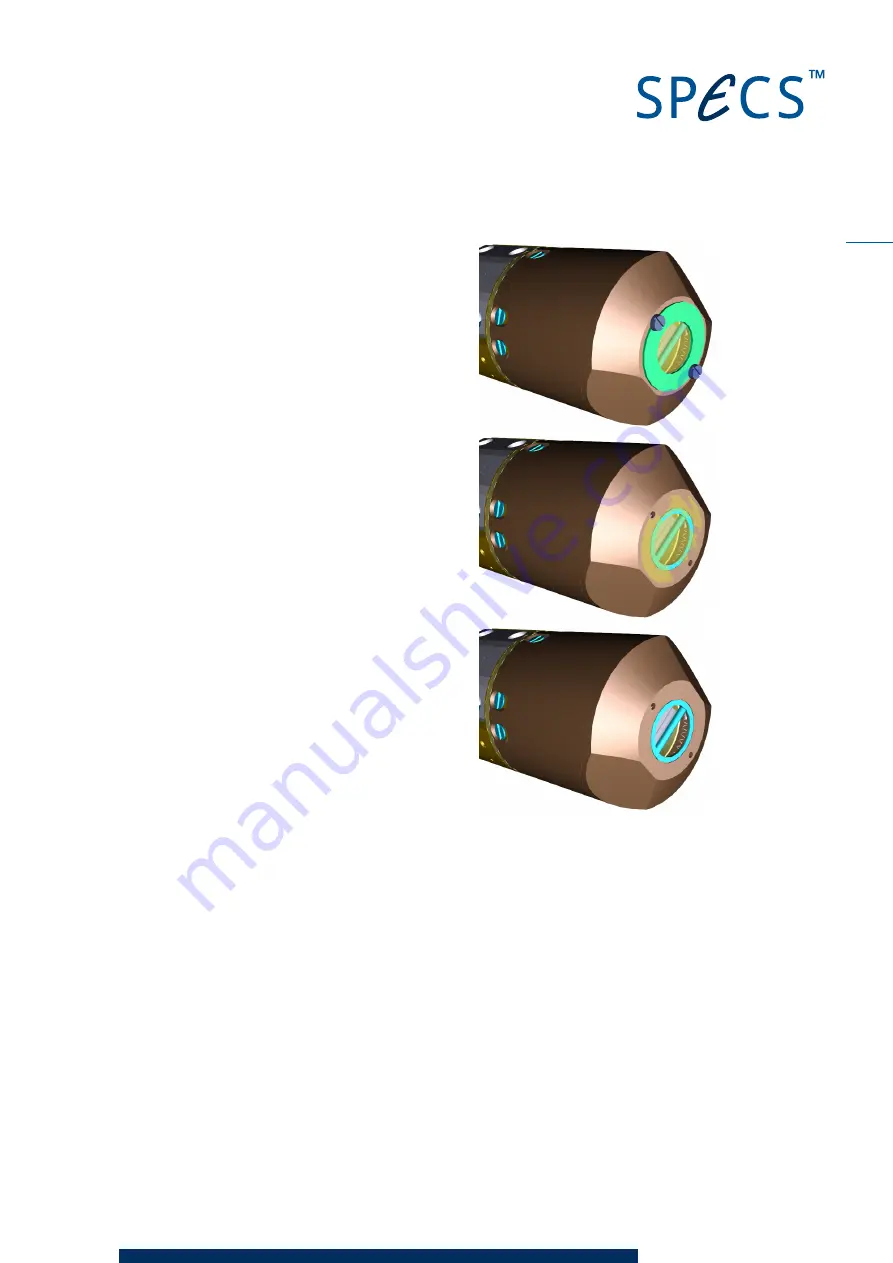
1. Remove all connections to the source and remove
the X-ray source.
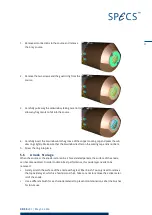
2. Remove the two screws and the guard ring from the
source.
3. Carefully pull away the old window, taking care not to
allow any fragments to fall into the source.
4. Carefully insert the Al window into the groove of the copper cooling cap and press the win-
dow ring slightly. Make sure that the Al window lies flat on the cooling cap and is not bent.
5. Screw the ring into place.
5.6
Anode Storage
When the source or the anode is stored in air for extended periods, the surface of the anode
can become oxidized. In order to obtain best performance, this oxide layer needs to be
removed:
Gently scratch the surface of the anode with a glass fiber brush. You only need to remove
the top oxide layer, which is a few microns thick. Take care not to remove the active mater-
ial of the anode.
Use a different brush for each anode material to prevent contamination. Label the brushes
for future use.
Summary of Contents for XR 50
Page 1: ...XR 50 XR 50 NAP X Ray Source User Manual V3 1 May 02 2016...
Page 6: ...XR 50 V3 1 May 02 2016 This page intentionally left vi...
Page 20: ...XR 50 V3 1 May 02 2016 This page intentionally left 14...
Page 30: ...XR 50 V3 1 May 02 2016 This page intentionally left 24...
Page 38: ...XR 50 V3 1 May 02 2016 This page intentionally left 32...
Page 46: ...XR 50 V3 1 May 02 2016 This page intentionally left 40...
Page 58: ......


