XR 50
V3.1 | May 02, 2016
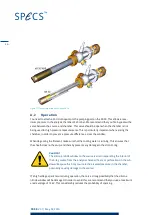
Anode" on page 26 for a description of how to remove the anode section) and wipe
away any fragments of the window using a soft cloth or brush.
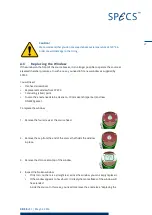
5. Replace the window, then fit the Viton seal and screw the cap into place.
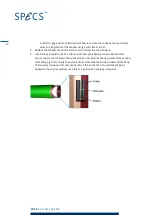
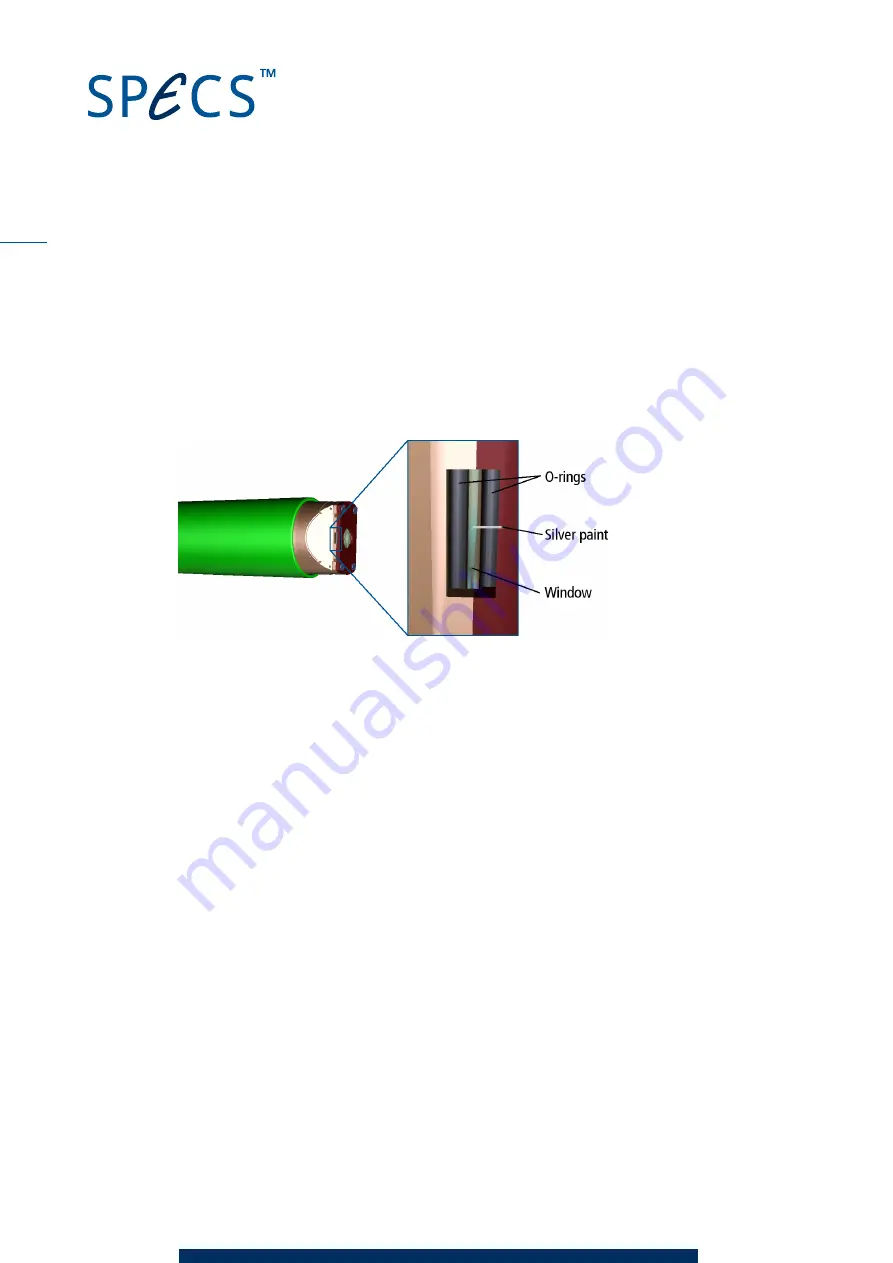
6. Use a fine paintbrush to paint a thin strip of silver paint between the window and the
source cap (or source body). The window has an aluminium coating to prevent the window
from charging. There needs to be an electrical contact between the window and the body
of the source; however, this only needs to be a thin connection. You will see the paint
applied to the original window—use this as a guide when applying new paint.
48
Summary of Contents for XR 50
Page 1: ...XR 50 XR 50 NAP X Ray Source User Manual V3 1 May 02 2016...
Page 6: ...XR 50 V3 1 May 02 2016 This page intentionally left vi...
Page 20: ...XR 50 V3 1 May 02 2016 This page intentionally left 14...
Page 30: ...XR 50 V3 1 May 02 2016 This page intentionally left 24...
Page 38: ...XR 50 V3 1 May 02 2016 This page intentionally left 32...
Page 46: ...XR 50 V3 1 May 02 2016 This page intentionally left 40...
Page 58: ......


