English
4
•
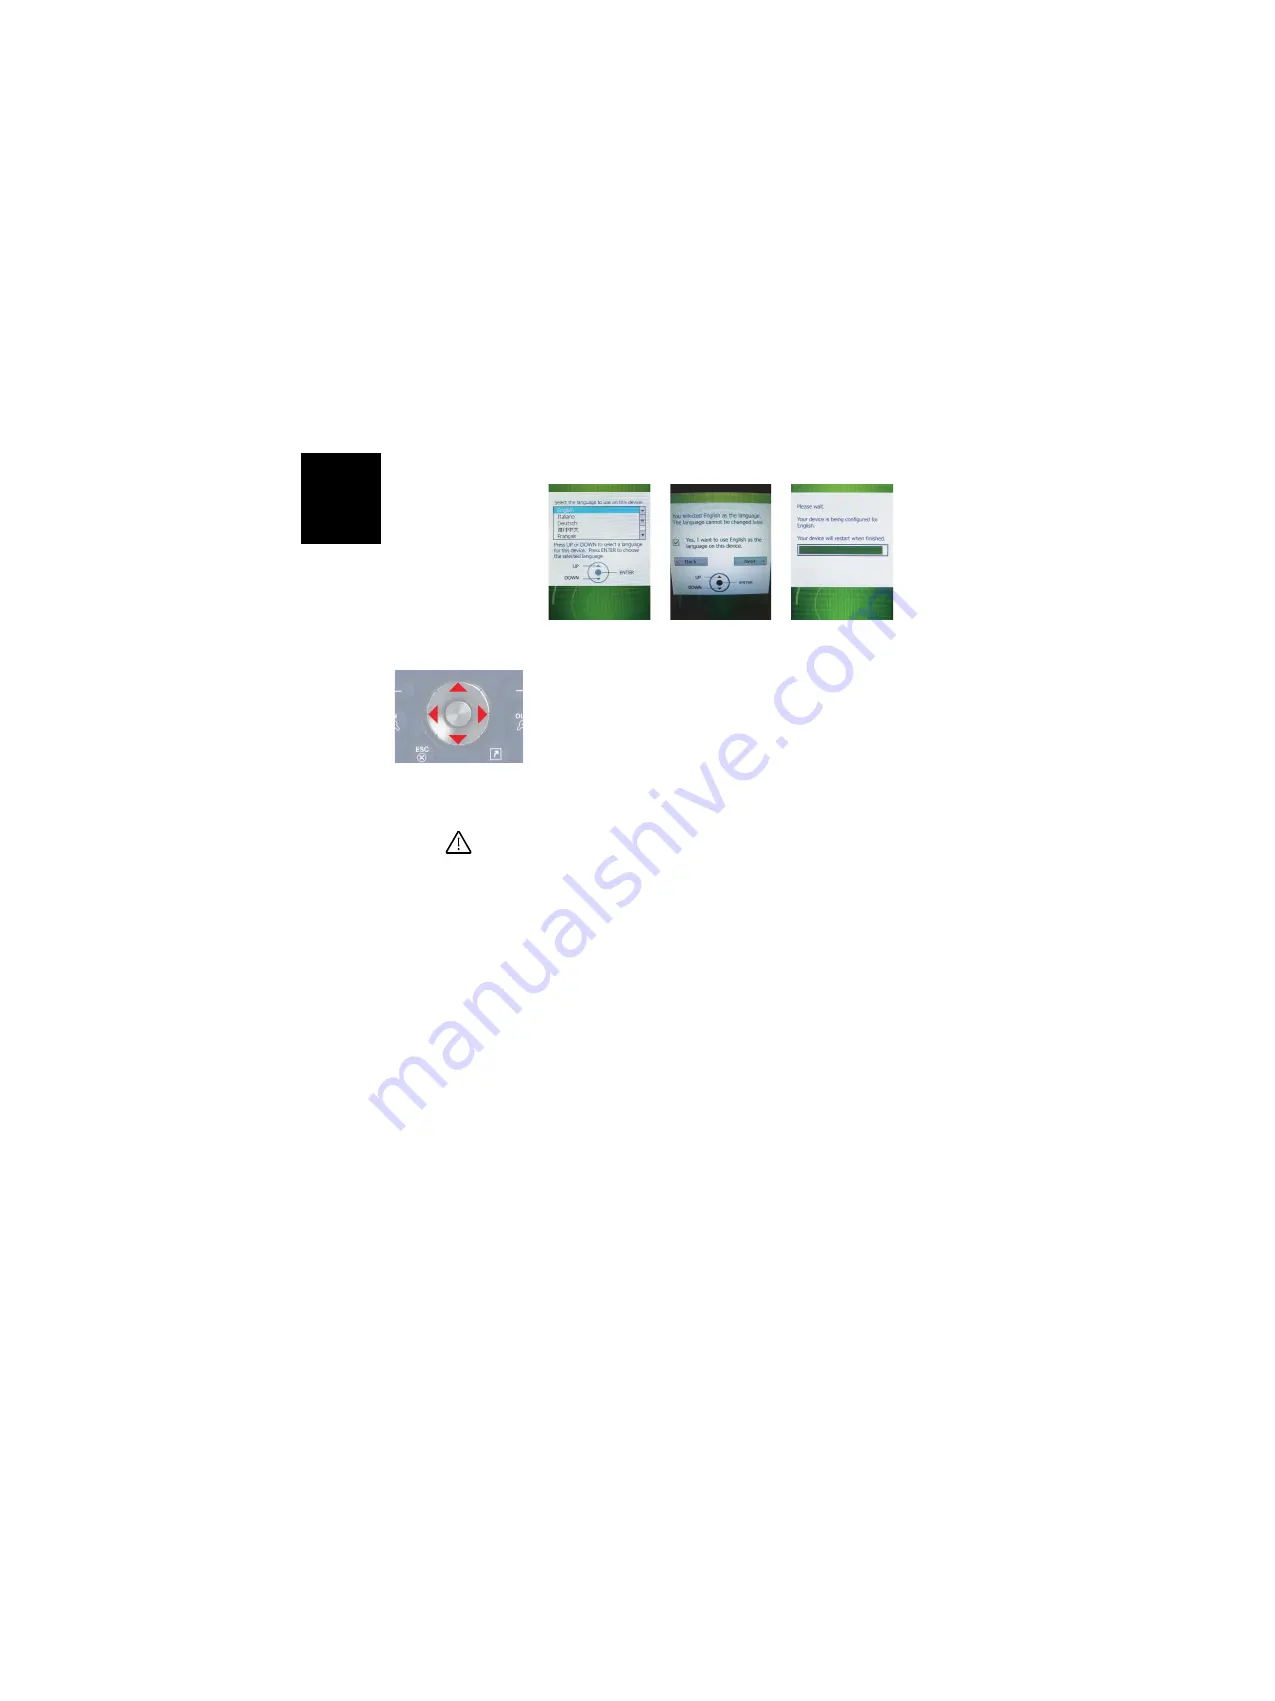
Browse the list of available languages using the
Up
or
Down
key, until the desired language is selected.
•
Press the
Enter
key to pre-select this language. Screen [2]
is now displayed (see above).
•
Press the
Up
key to access the check button setting on the
screen.
•
Press
Enter
again to activate the check button.
•
Press the
Down
key then the
Right
key to select the
Next
button on the screen.
Warning!
You are now ready to install the selected
language.
Once the installation is started, you will no
longer be given the opportunity to install another
language
.
(So if you realize at this point that you selected the wrong language, you may
still revert to the language selection screen by pressing the Left key, then the
Enter key. This will take you back to screen [1] from which you can resume
the language installation step from the beginning.)
•
Press the
Enter
key again to start the language
installation. Screen [3] is now displayed.
Let the receiver complete the language installation. The
operating system will then automatically start installing
the applications from the SD card (in the same language
as the one you selected for the operating system).
Once the applications are installed, the receiver will be re-
booted (blank screen for a few seconds). Then the
operating system will ask you to initialize the receiver
(screen calibration, time zone, date and time). Follow the
instructions on the screen to complete this step.
NOTE: The receiver will also re-boot after language
installation so it’s better to wait for the second re-boot
before you start initializing the receiver.
[1]
[2]
[3]
Up
Down
Left
Enter
Right


