1.
Navigate to the
MANAGEMENT > Network Setup
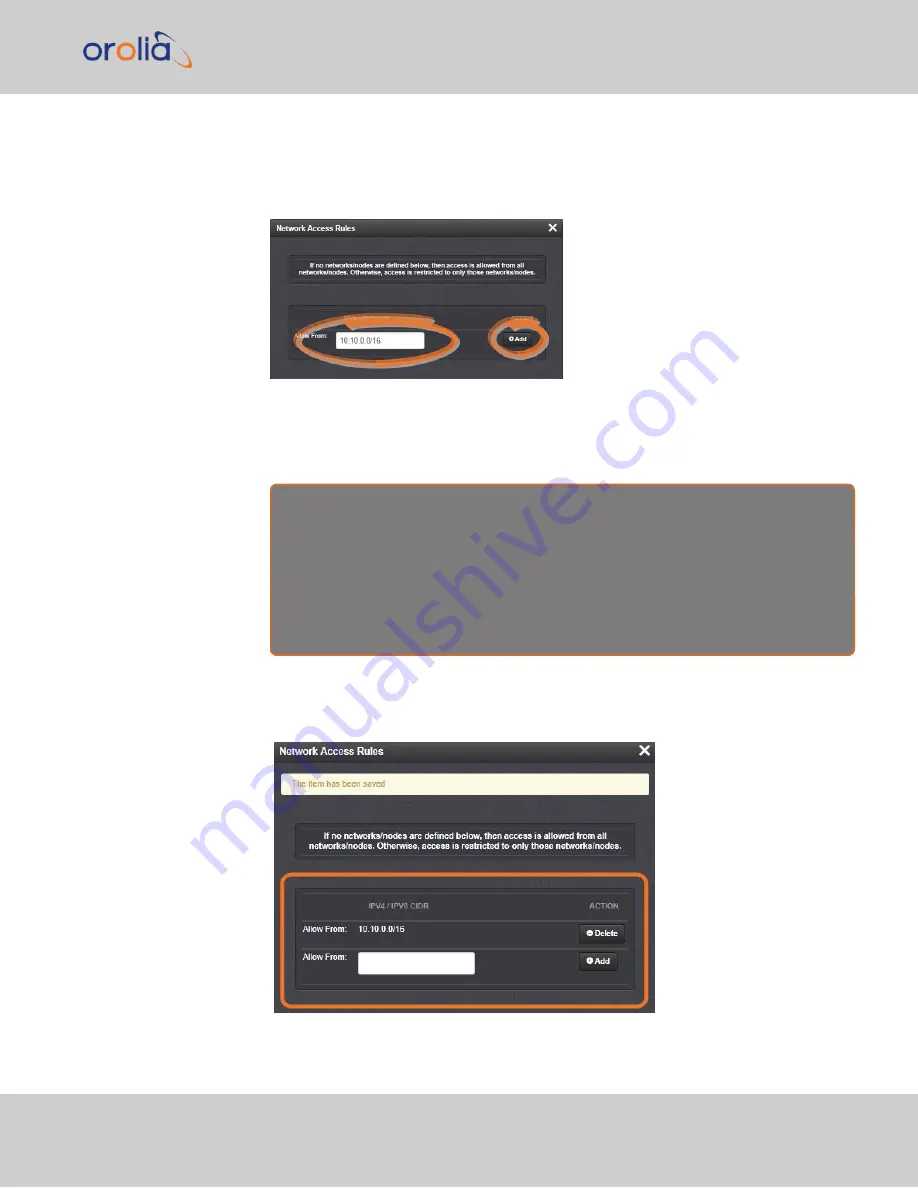
screen.
2.
In the
Actions
panel on the left, click on
Access Control.
3.
The
Network Access Rules
window displays:
4.
In the
Allow From
field, enter a valid IP address. It is not possible, however, to
add direct IP addresses, but instead they must be input as blocks, i.e. you need to
add
/32
at the end of an IP address to ensure that only that address is allowed.
Example:
10.2.100.29/32
will allow only
10.2.100.29
access.
I P a d d r e s s n o m e n c l a t u r e :
IPv4—
10.10.0.0/16
, where
10.10.0.0
is the IP address and
16
is the subnet
mask in prefix form. See the table
"Subnet Mask Values" on page 35
for a list of
subnet mask values.
IPv6—
2001:db8::/48
, representing
2001:db8:0:0:0:0:0:0
to
2001:d-
b8:0:ffff:ffff:ffff:ffff:ffff.
5.
Click the
Add
button in the
Action
column to add the new rule.
6.
The established rule appears in the
Network Access Rules
window.
Click the
Delete
button next to an existing rule, if you want to
delete
it.
2.9 Configuring Network Settings
CHAPTER
2
•
VelaSync User's Manual Rev. 3
49
Summary of Contents for VelaSync 1225
Page 2: ......
Page 4: ...Blank page II VelaSync User s Manual...
Page 12: ...BLANK PAGE X VelaSync User s Manual TABLE OF CONTENTS...
Page 28: ...16 CHAPTER 1 VelaSync User s Manual Rev 3 1 7 The VelaSync Web UI...
Page 34: ...BLANK PAGE 1 9 Regulatory Compliance 22 CHAPTER 1 VelaSync User s Manual Rev 3...
Page 104: ...BLANK PAGE 2 11 Configuring PTP 92 CHAPTER 2 VelaSync User s Manual Rev 3...
Page 251: ...Server management System specifications VelaSync User s Manual 239 APPENDIX...
Page 267: ...VelaSync User s Manual 255 APPENDIX...


