2.9.2
Network Ports
Ports act as communication endpoints in a network. The hardware configuration of your
unit will determine which ports (e.g., Eth0, Eth1, ...) are available for use. Before using a
port, it needs to be enabled and configured.
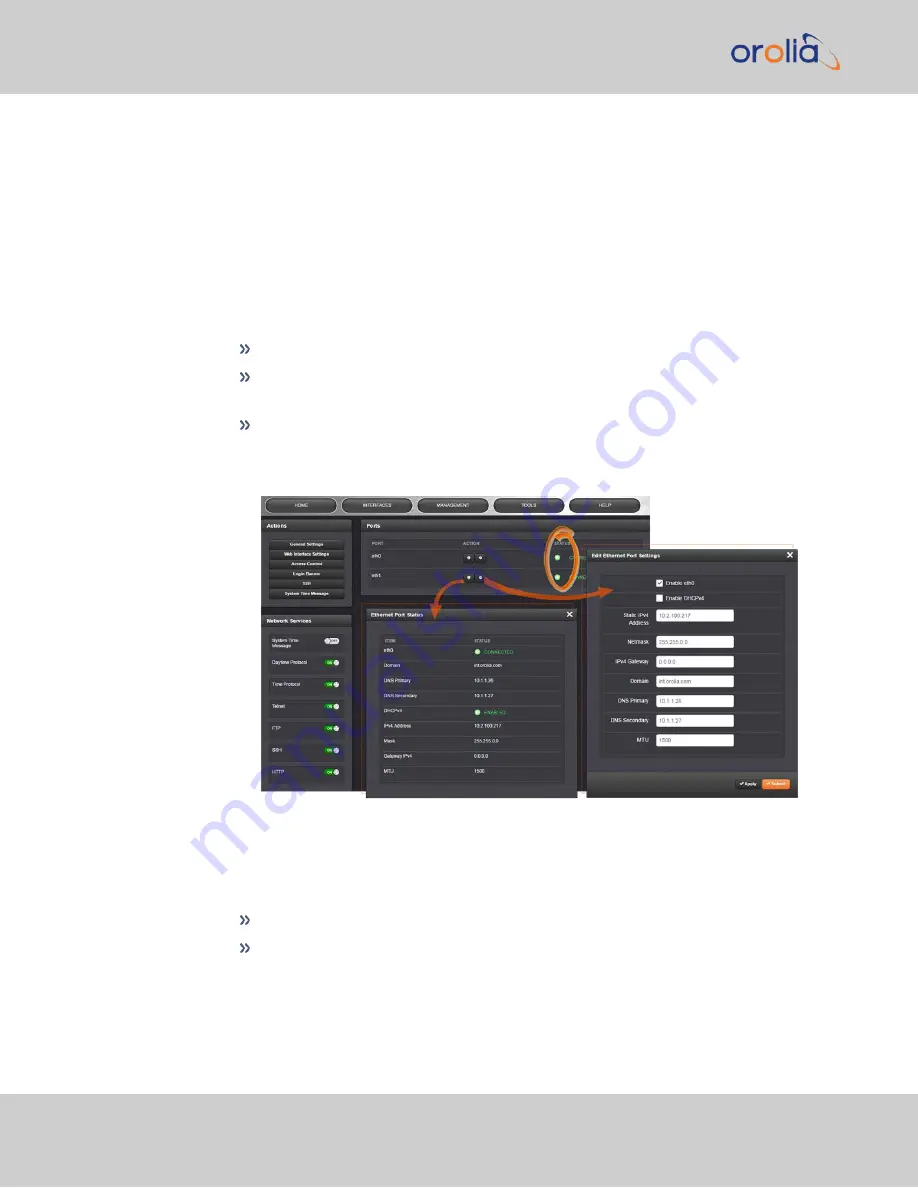
To enable & configure, or view a network port:
1.
Navigate to
MANAGEMENT > NETWORK: Network Setup
.
2.
The
Ports
panel on the right side of the screen lists the available Ethernet ports,
and their connection STATUS:
Green
: CONNECTED
(showing the connection speed)
Yellow
: CABLE UNPLUGGED
(the port is enabled but there is no cable
attached)
Red
: DISABLED
.
Locate the port you want to configure and click the GEAR button to enable
& configure the port, or the INFO button to view the port status.
3.
If the port is not already enabled, in the
Edit Ethernet Ports Settings
window,
click the
Enable
check box. The
Edit Ethernet Ports Settings
window will
expand to show the options needed to complete the port setup.
Fill in the fields as required:
Enable eth0
: [Checkbox]
Enable DHCPv4
: [Checkbox] Check this box to enable the delivery of IP
addresses from a DHCP Server using the DHCPv4 protocol.
46
CHAPTER
2
•
VelaSync User's Manual Rev. 3
2.9 Configuring Network Settings
Summary of Contents for VelaSync 1225
Page 2: ......
Page 4: ...Blank page II VelaSync User s Manual...
Page 12: ...BLANK PAGE X VelaSync User s Manual TABLE OF CONTENTS...
Page 28: ...16 CHAPTER 1 VelaSync User s Manual Rev 3 1 7 The VelaSync Web UI...
Page 34: ...BLANK PAGE 1 9 Regulatory Compliance 22 CHAPTER 1 VelaSync User s Manual Rev 3...
Page 104: ...BLANK PAGE 2 11 Configuring PTP 92 CHAPTER 2 VelaSync User s Manual Rev 3...
Page 251: ...Server management System specifications VelaSync User s Manual 239 APPENDIX...
Page 267: ...VelaSync User s Manual 255 APPENDIX...


