SpectraPure
SpectraPure®Inc.
480.894.5437 Call us toll-free 1.800.685.2783
2167 East Fifth St, Tempe, Arizona 85281
®
12
INSTALLING BALL VALVE ON TANK
STEP 1. If there is not Teflon tape applied to the nipple on the tank, wrap (7-12 turns)
around the pipe threads (MPT)
on the Stainless Steel fitting.
STEP 2. Thread the Ball Valve (supplied in the parts bag) onto the stainless steel nipple
on top of the tank. Hand tighten only.
NOTE: The storage tank is pressurized with air at the factory to 6 psi with the
tank totally drained. Over a period of time, air may leak out causing the delivery
TANK INSTALLATION for MPDW
STEP 1. Position tank in desired location. Stand it upright (using the black plastic stand). Measure the Blue tube from
the RO system over to the tank and cut it to length.
STEP 2. Slip the Compression Nut onto the Blue tube and connect to one side of the tee that is attached to the
Right-Angle Ball Valve on top of the tank.
STEP 3. Connect the rest of the Blue tubing to the other side of the tee and attach to the faucet. (refer to Fig 6)
STEP 4. Cut Blue tube that connects the faucet to the tank in half. Connect the cut ends to the Inline Carbon so
that the arrow (FLOW) is pointing towards the faucet.
NOTE: WHEN REPLACING THE INLINE CARBON FILTER KEEP THE (2) THREADED PUSH FITTING TO REUSE WITH
THE NEW FILTER REPLACEMENT
rate of the stored water to decrease. If this occurs, verify correct tank pressure using a low pressure air gauge
on the tire valve stem located on the bottom, or near the flange at the top of the tank with tank completely
empty of water.
Refer to operation and maintenance on page 14.
TANK INSTALLATION for DWS &DWS-PP
STEP 1. Position tank in desired location. Stand it upright (using the black plastic stand). Measure the Blue tube from
the RO Membrane over to the tank and cut it to length.
STEP 2. Connect the Blue tube to the Righ-Angle Ball Valve that is attached to the top of the tank.
STEP 3. Connect the 3/8” Blue tube that is connected to the Quick connect plasitc tubing adapter on the
Threaded Shaft of the faucet (Page 9), to the Carbon Post-Filter ( 3rd filter on the right).
STEP 4. Connect the 3/8” Black tube to the Drain Saddle.
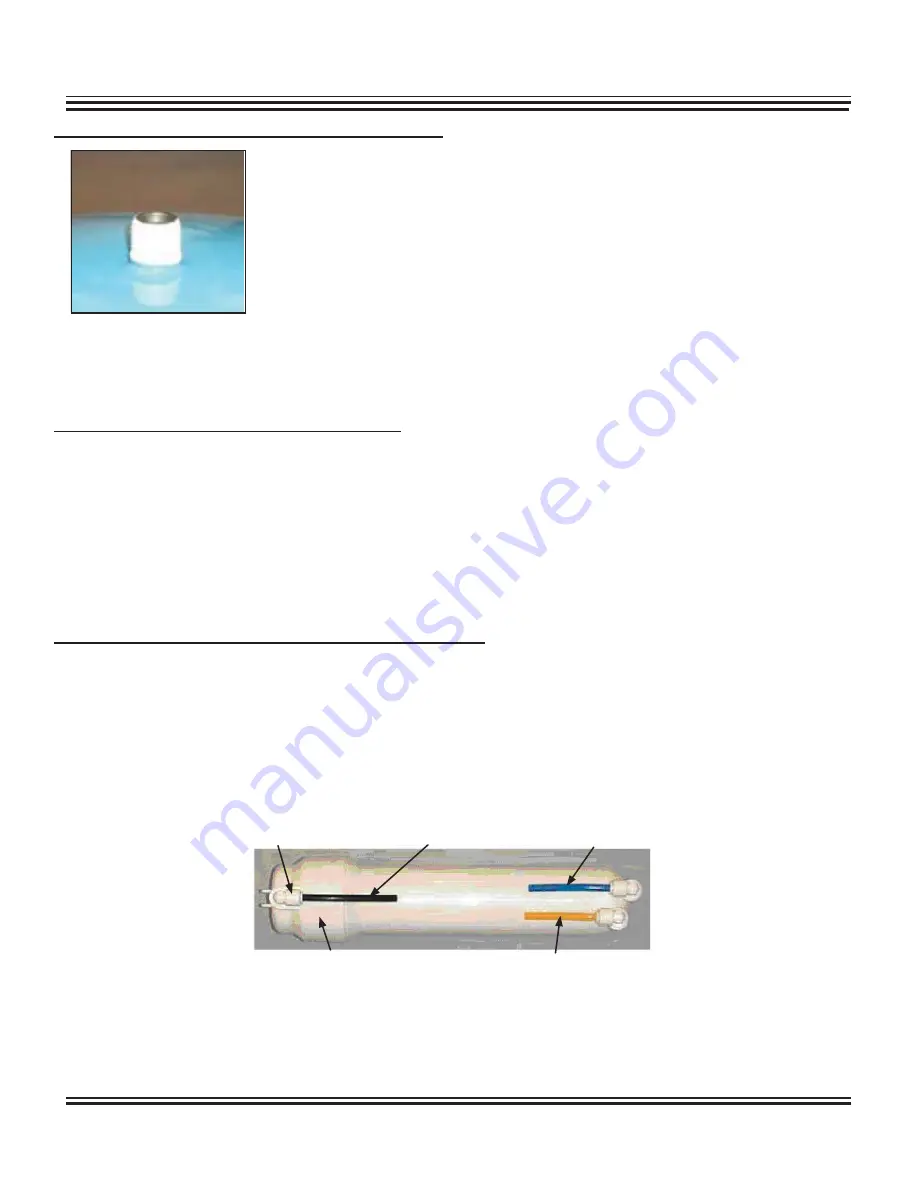
blue product
water tubing
black feed tubing
membrane feed
push-fitting
membrane housing lid
yellow concentrate tubing
Tubing Connections to Membrane


