SpectraPure
®
SpectraPure
®
Inc.
480.894.5437 Call us toll-free 1.800.685.2783
2167 East Fifth St, Tempe, Arizona 85281
7
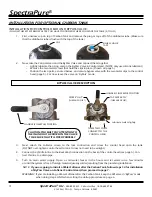
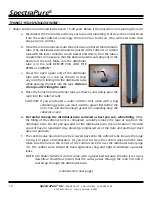
INSTALLATION FOR CONTROL HEAD ON WATER SOFTENER:
FOLLOW THE STEPS BELOW AFTER YOU HAVE POSITIONED THE TANK(S) WHERE YOU WANT THEM TO GO
1. Follow steps 1-3 listed on page 4 for installation
of ByPass Valve and Control Head.
2. If you installed a Carbon Tank in front of
the Water Softener, keep its ByPass Valve in
“service” mode.
3. (Make sure you leave the bypass valve, that
is installed on the water softener head, on
“bypass” for this step). Turn on the main water
supply. Open a cold soft water tap nearby and
let water run a few minutes or until the system
is free of foreign material (usually solder)
resulting from the plumbing installation. Close
the water tap when water runs clean.
4. Follow steps below on installation for Brine Tank and plug both valves into an approved power source.
(FYI: When the valve has power it will drive the Bypass Valve to the “Service” mode.)
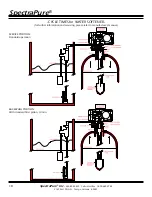
FLEX 5600SE Water Softener
Head with collector screen
BRINE LINE CONNECTION
FROM WATER SOFTENER
CONTROL HEAD
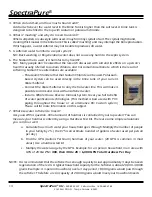
INSTALLATION FOR BRINE TANK:
1. Be sure that the floor under the Brine Tank is stable, clean and level.
2. Connect Brine Tube to compression nut fitting (diag on page 8) on both the
Brine Tank and Control Head. (Located on the Safety Brine Valve and the side of
the Control Head).
3. Place approximately 1” (25 mm) of water above the grid plate. If a grid is not
utilized, fill to the top of the air check in the Brine Tank. (The air-check is a gray
valve that is located inside the Brine Draw Tube at the bottom.)
NOTE: DO NOT ADD SALT OR POTASSIUM AT THIS TIME
4. Place the ByPass valve in “Service” mode and let water flow into brine tank. When
water flow stops, slowly open a cold water tap nearby and let water run until air
is purged.
5. Close tap.
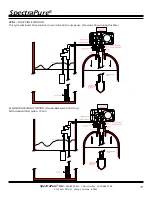
LINE CONNECTION
FROM WATER SOFTENER
CONTROL HEAD
BRINE DRAW TUBE
1. SAFETY BRINE VALVE
2. GROMMET
3. FLOAT ASSEMBLY
4. AIR-CHECK ASSEMBLY


