background image

EVER

PREPARATION OF THE LOG

Both ends of the log should be cut as square as possible to help prevent the log from riding out of the splitter during

operation. Do not split logs greater than 26 in. in length.

WORK AREA

NEVER

 operate the log splitter on slippery, wet, muddy or icy ground.

ONLY

 operate your log splitter on level ground. Operating on a slope could cause the log splitter to roll over or logs to fall 

off.

NEVER 

operate your log splitter in an enclosed area. Exhaust fumes contain carbon monoxide which can be deadly when 

inhaled.

NEVER 

attempt to move your log splitter over hilly or uneven terrain without a tow vehicle or adequate help. 

ALWAYS

 block the wheels to prevent movement of the log splitter while in operation.

ONLY

 operate your log splitter in daylight or under good artificial light.

ALWAYS

 keep the work area clean. Remove split wood around your log splitter immediately so that you don’t stumble

over it.

OPERATION OF THE LOG SPLITTER

ONLY 

operate the log splitter from the operator zone.

KNOW

 how to stop the log splitter and disengage the controls before operating it.

NEVER

 place hands or feet between the log and splitting wedge during forward or reverse stroke. Serious injury or death 

could result.

NEVER 

straddle or step over the log splitter during operation.

NEVER

 reach or bend over the log splitter to pick up a log.

NEVER

 try to split two logs on top of each other.

NEVER

 try to cross split a second log. 

NEVER

 allow one person to operate the valve while another is positioning the log.

NEVER

 attempt to load your log splitter when the ram or wedge is in motion.

ALWAYS

 use your hand to operate the control lever on the valve. NEVER use your foot, a rope or any extension device.

Shut off the engine even if you are leaving the log splitter for a short period of time.

Page 3

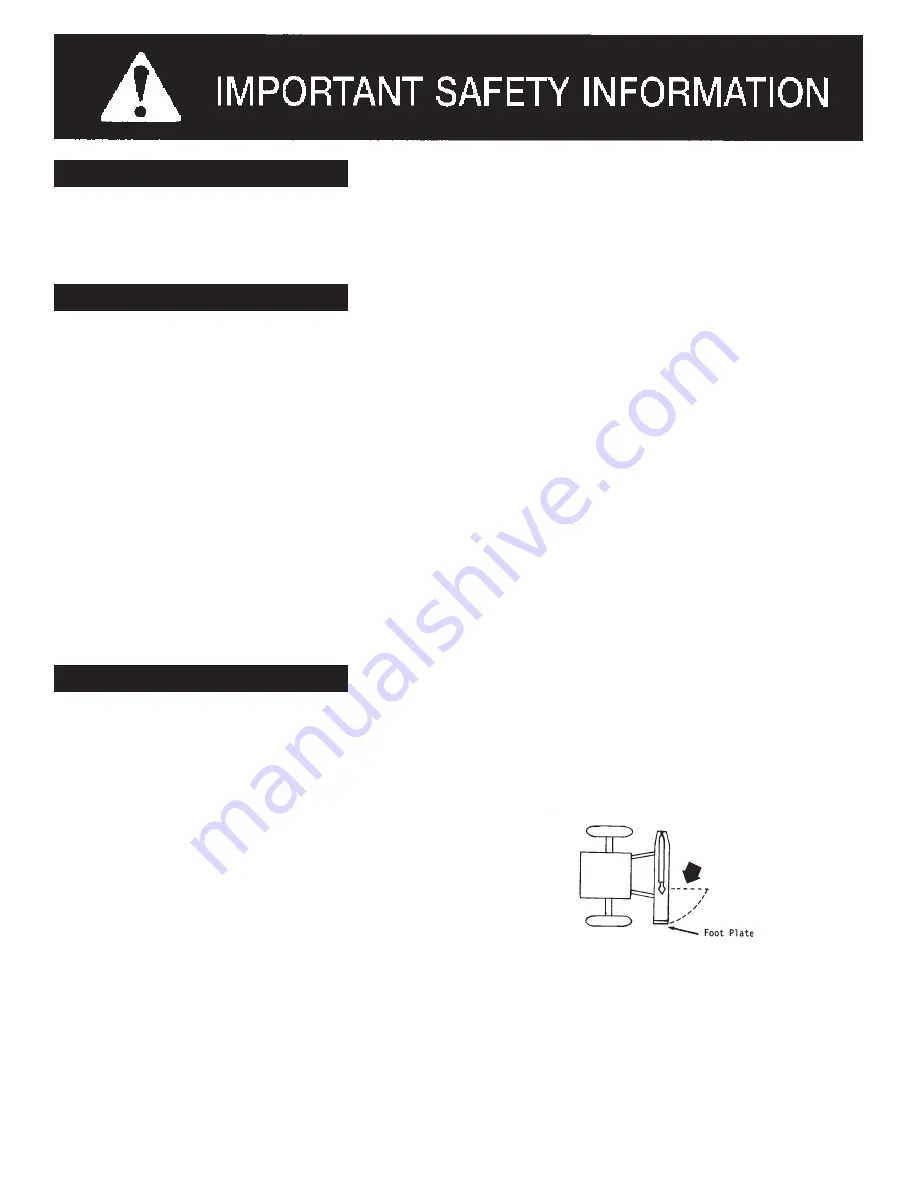
Operator 

Zone

Summary of Contents for splitMaster S400197N0

Page 1: ...S400197N0 3 POINT HITCH VERTICAL HORIZONTAL LOG SPLITTER WARNING All operators must read this manual before operating this log splitter Follow the safety instructions in the manual and in decals attached to the product Failure to do so could result in serious injury or death TM ...

Page 2: ...ety Decals 2 Preparation of the Log 3 Work Area 3 Operation of the Log Splitter 3 Repair and Maintenance Safety 4 Hydraulic Safety 4 Assembly Instructions 5 Operating Instructions 6 Maintenance 6 Parts List for 3 Point Hitch Log Splitter 7 Parts Breakdown Illustration for 3 Point Hitch Log Splitter 8 Specifications Back Cover ...

Page 3: ...les or safety glasses steel toed shoes and tight fitting gloves without loose cuffs or draw strings Always wear a protective hearing device when operat ing this log splitter NEVER wear loose clothing or jewelry that can be caught by moving parts of the log splitter Keep clothing and hair away from all moving parts when operating this log splitter PERSONAL PROTECTIVE EQUIPMENT INTENDED USE Page 1 G...

Page 4: ... call 1 800 525 8322 and they will be sent to you at no charge PART NUMBER 52024000 LOCATION TOP OF A FRAME HITCH ASSEMBLY PART NUMBER S52062100 LOCATION TOP OF HYDRAULIC CYLINDER PART NUMBER S52062200 LOCATION TOP OF CYLINDER PART NUMBER S52062300 LOCATION STRIPPER PLATE OPERATOR SIDE PART NUMBER S52062600 LOCATION STRIPPER PLATE NON OPERATOR SIDE ...

Page 5: ...LWAYS keep the work area clean Remove split wood around your log splitter immediately so that you don t stumble over it OPERATION OF THE LOG SPLITTER ONLY operate the log splitter from the operator zone KNOW how to stop the log splitter and disengage the controls before operating it NEVER place hands or feet between the log and splitting wedge during forward or reverse stroke Serious injury or dea...

Page 6: ...along with the mechanical parts Be sure to replace frayed kinked cracked or otherwise damaged hydraulic hose and components NEVER check for leaks of hydraulic fluid with your hand Fluid escaping from a small hole can be almost invisible Escaping fluid under pressure can have sufficient force to penetrate skin causing serious personal injury or even death Leaks can be detected by passing a piece of...

Page 7: ...e point hitch implements and be equipped with a four way valve for double acting cylinders and hydraulic outlets The tractor owner s manual should be consulted for instructions on tractor operation safety and auxiliary hydraulic systems pumping and return flow hookups Determine the easiest position to lock the tractor s valve lever in the operating position Then locate the pressure and return port...

Page 8: ...reached the end of its extension retract the cylinder IMPORTANT Leaving the valve in the actuate position at the end of the stroke may damage the pump Always use extra care when splitting logs with unsquare ends IMPORTANT TO EXTEND THE LIFE OF THE HYDRAULIC CYLINDER AVOID BOTTOMING OUT WEDGE PLATE TO THE FOOT PIECE TO CONFORM WITH INDUSTRY SAFETY RECOMMENDATIONS THE WEDGE STOPS 2 INCHES FROM THE E...

Page 9: ... 1 17 O L 3 32 in Clip Pin 2 18 S400163CH 3 Point A Frame 1 19 S070208A0 7 8 in Diameter Draw Pin 2 20 O L 7 8 in Lockwasher 2 21 O L 7 8 in NF Hex Nut 2 22 S07090400 1 4 in Lynch Pin 1 23 S070801A0 7 8 in Stabilizer Pin 1 24 O L 5 8 in Lockwasher 1 25 O L 5 8 in NF Hex Nut 1 26 S400164CH 3 Point Leg for A Frame 4 28 O L 5 16 in NC x 1 in Hex Cap Screw Grade 5 8 29 O L 5 16 in Lockwasher 8 30 O L ...

Page 10: ...Page 8 3 POINT HITCH LOG SPLITTER Valve Assembly ...

Page 11: ...s under 3200 psi Warranty will be voided if used on tractors that exceed pressure settings of 3200 psi Do not exceed the pressure rating of the cylinder and valve manufacturers Tractor Categories 1 and 2 Maximum Splitting Force Depends on tractor Cycle Time Depends on tractor Maximum Log Length 26 Cylinder 4 diameter x 24 stroke Valve Auto return Beam Size 6 x 9 Wedge 7 high with spreader wings Hi...

Reviews: