12
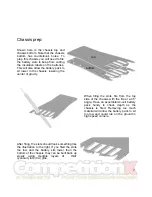
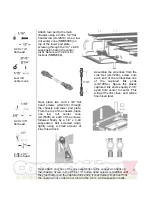
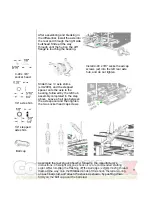
Because every servo is slightly
different in size, drilling mounting holes
for the servo is left to the builder. To
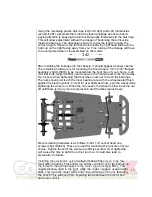
locate the holes to mount the servo,
place a piece of masking tape just
behind the suspension arms as shown.
Locate the center of the chassis on the
tape, and draw a line from front to back
as shown.
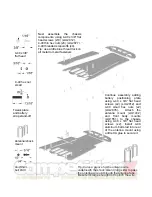
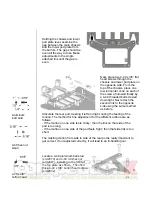
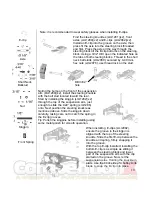
Place the servo assembly on the
chassis. Use the line drawn to
center the servo saver on the
chassis, as far forward as possible.
Be sure to have the servo as
square to the chassis as possible,
too. Locate on the tape, the holes
to mount the servo.
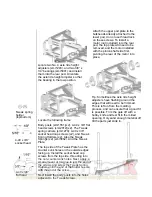
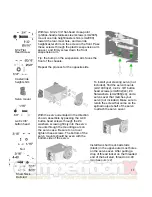
The line drawn across the chassis
should be the same line for both holes,
as the servo should be mounted
square to the chassis.
Drill two 1/8” holes, and countersink
the holes from the bottom side of the
chassis with an 82°countersink until the
4-40 x 3/8” flat head screws (x2) sit
flush with the bottom of the chassis.
Tip: pilot drill the holes slowly with a smaller drill bit to help locate the holes
more precisely, this will keep the larger drill bit from 'walking' away from the
intended location.
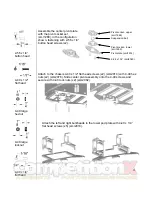
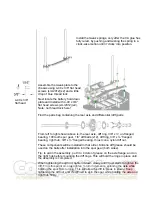
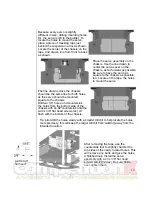
After removing the tape, use the
countersink tool to slightly chamfer the
top sides of the newly located holes. This
will remove any burrs and give the holes
a finished look. Install the servo
assembly with 4-40 x 3/8” flat head
screws (smr2012)(x2). Be sure not to
over-tighten them.
4-40 x 3/8”
flat head

