7
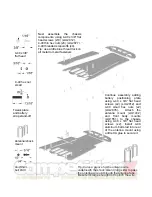
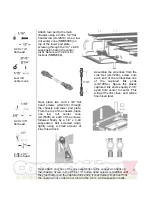
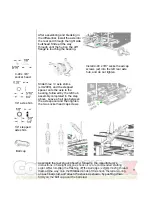
Attach the upper pod plate to the
bulkheads already attached to the
lower pod, do not use thread lock
on these screws. To install a
motor (not included) into the rear
pod, the top plate will need to be
removed, and the motor installed
with the pinion shaft side first,
pivoting the rear of the motor into
place.
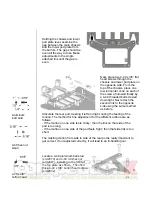
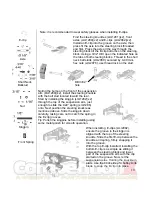
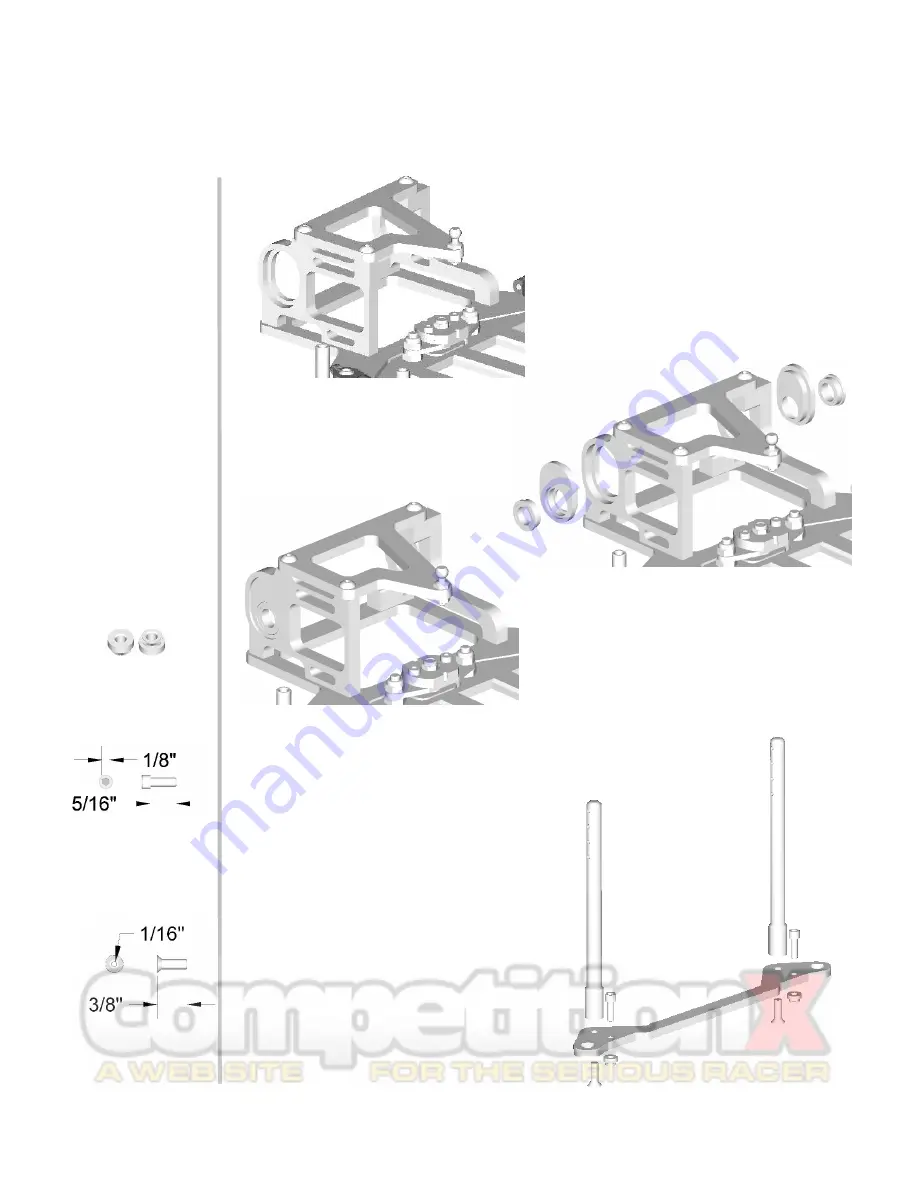
Locate two No. 4 axle ride height
adjusters (smr1293), and two 3/8” x
1/4” bearings (smr5001) and install
them into the rear pod. Orientate
the axle ride height adjuster so that
the bearing in the low position.
Tip: Sometimes the axle ride height
adjusters have flashing around the
edges that will need to be trimmed.
This is left on from the molding
process, and can ensure that a good fit
is possible. Trim the gate off with a
hobby knife and test fit in the milled
opening. Only sand enough material off
till the parts just slide in.
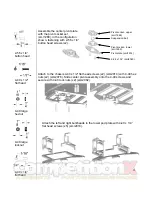
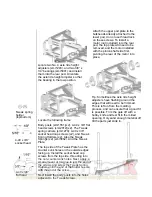
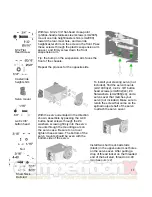
Locate the following items:
Body posts (smr1551)(x2), 4-40 x 3/8” flat
head screws (smr2012)(x2). The Tweak
spring carriers (smr1279): 4-40 x 3/8”
socket head cap screws (x2), and Tweak
Spring Holders (x2). Also the Tweak
Springs (x2) (smr5062). And the Tweak
Plate.
The top side of the Tweak Plate has the
counter sunk holes on the outside edges
facing up. Install the socket head cap
screws from the top side, threading into
the non-countersunk holes. Next, apply a
small amount of CA glue to just the end of
the screws and screw the Tweak Spring
Holders until the end of the holder is even
with the end of the screw.
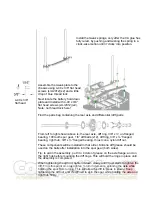
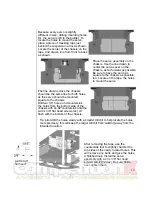
Next install the body posts into the holes
adjacent to the Tweak Screws.
4-40 x 3/8”
flat head
4-40 x 3/8”
socket head
Tweak spring
holder
(top/bottom)

