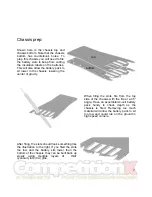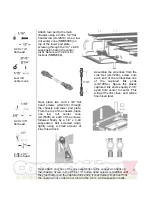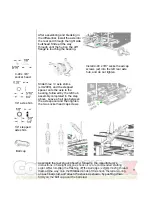
Install the tweak springs, only after the CA glue has
fully cured, by pushing and twisting the spring in a
clock-wise motion until it ‘clicks’ into position.
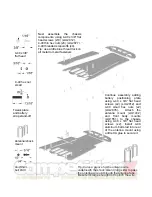
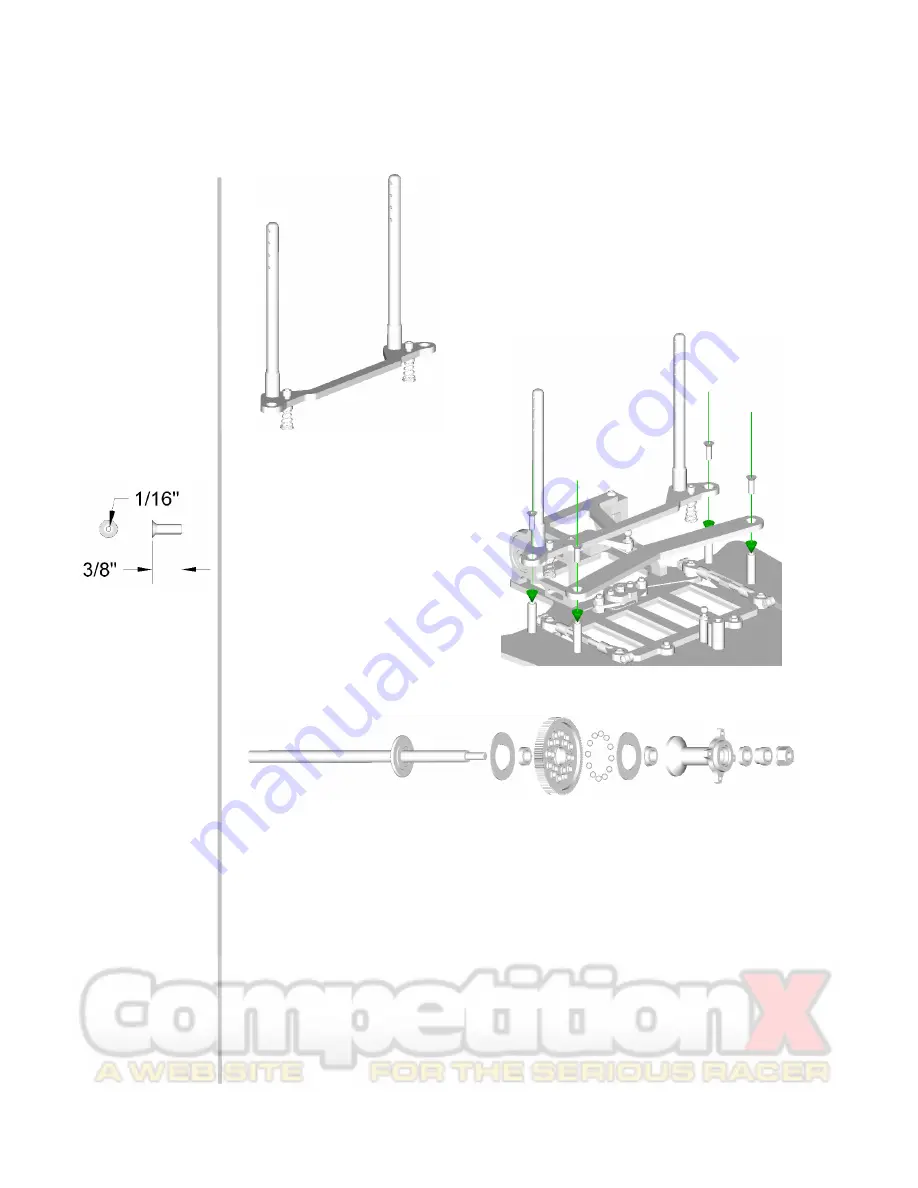
Assemble the tweak plate to the
chassis using 4-40 x 3/8” flat head
screws (smr2012)(x2) and a little
drop of blue thread lock.
Next locate the battery hold down
plate and install with 4-40 x 3/8”
flat head screws (smr2012)(x2).
Note: no thread lock here!
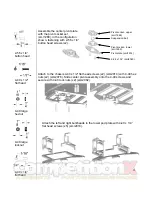
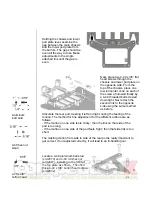
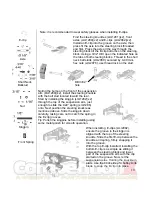
Find the parts bag containing the rear axle and differential (diff) parts.
From left to right shown above is; the rear axle, diff ring, 3/8” x ¼” un-flanged
bearing, 100 tooth spur gear, 1/8” diff balls (x12), diff ring, 3/8” x ¼” flanged
bearing, right hub, 3/8” x ¼” flanged bearing, thrust cone, nylon diff nut.
These components will be installed in that order. Silicone diff grease should be
used on the balls after installation into the spur gear (both sides).
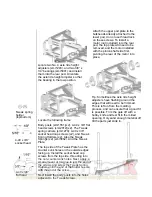
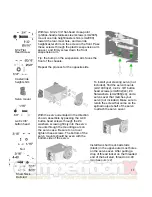
Tip: to aid in the assembly, put 3 to 4 dots of grease on the axle flange, and on
the right hub before mounting the diff rings. This will hold the rings in place until
the assembly is completed.
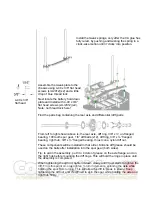
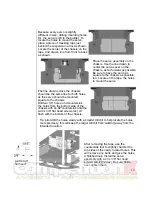
When tightening the diff nut, tighten it down slowly until it just starts to tighten the
diff. From this point on, only tighten ¼ turn increments, spinning the axle while
holding the spur from turning. This will allow the diff to break in slowly. Keep
tightening the diff nut until it’s difficult to spin the spur while holding the axle and
right hub firmly.
4-40 x 3/8”
flat head

