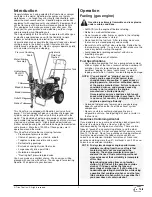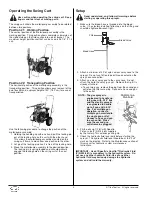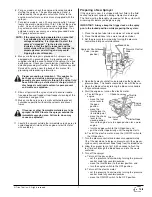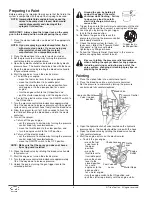
© Titan Tool Inc. All rights reserved.
7
6. For gas models, check the engine oil level daily before
starting the sprayer. The gasoline engine oil level is
determined by the engine manufacturer. Refer to the
engine manufacturer’s service manual supplied with this
sprayer.
7. For electric models, use a 20 amp service outlet. Always
locate the electric model within 10 to 15 feet of the service
outlet. Use a short electric cable and a long paint hose.
Any extension cord will create some voltage drop. If an
extension cord is necessary, use only a grounded 3-wire
#12 gauge extension cord.
8. Make sure the sprayer is grounded. All sprayers are
equipped with a grounding lug. A grounding cable (not
supplied) should be used to connect the sprayer to a true
earth ground. Check your local electrical regulations for
detailed grounding instructions. See the Accessories and
Service Kits section near the back of this manual for
grounding cable ordering information.
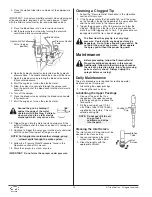
Proper grounding is important. This applies to
both gas and electric powered models. The
passage of some materials through the nylon fluid
hose will build up a static electric charge, which if
discharged, could ignite solvent vapors present
and create an explosion.
9. Strain all paints with a nylon strainer to ensure trouble
free operation and freedom from frequent cleaning of the
inlet screen and gun filter.
10 Make sure the spray area is well ventilated to prevent
hazardous operation with volatile solvents or exhaust
fumes.
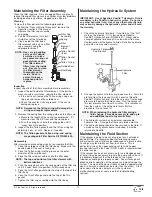
If lacquer or other flammable materials are to be
sprayed, ALWAYS locate the sprayer outside the
immediate spraying area. Failure to do so may
cause an explosion.
11. Locate the sprayer outside the immediate spraying area to
avoid clogged air intake of the engine or electric motor
with overspray.
NOTE: If the sprayer is being operated in an area that
is overloaded by other appliances or low
voltage conditions, it is important to start the
sprayer "unloaded." Tip the electric motor
forward so that the belt is loosened and the
motor starts without full load. This reduces the
amperage draw on starting and may avoid
tripping the circuit breaker.
Preparing a New Sprayer
If this sprayer is new, it is shipped with test fluid in the fluid
section to prevent corrosion during shipment and storage.
This fluid must be thoroughly cleaned out of the system with
mineral spirits before you begin spraying.
IMPORTANT: Always keep the trigger lock on the spray
gun in the locked position while preparing the system.
1. Place the siphon tube into a container of mineral spirits.
2. Place the bleed hose into a metal waste container.
3. Set the pressure to minimum by turning the pressure
control knob fully counterclockwise.
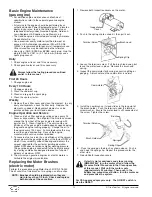
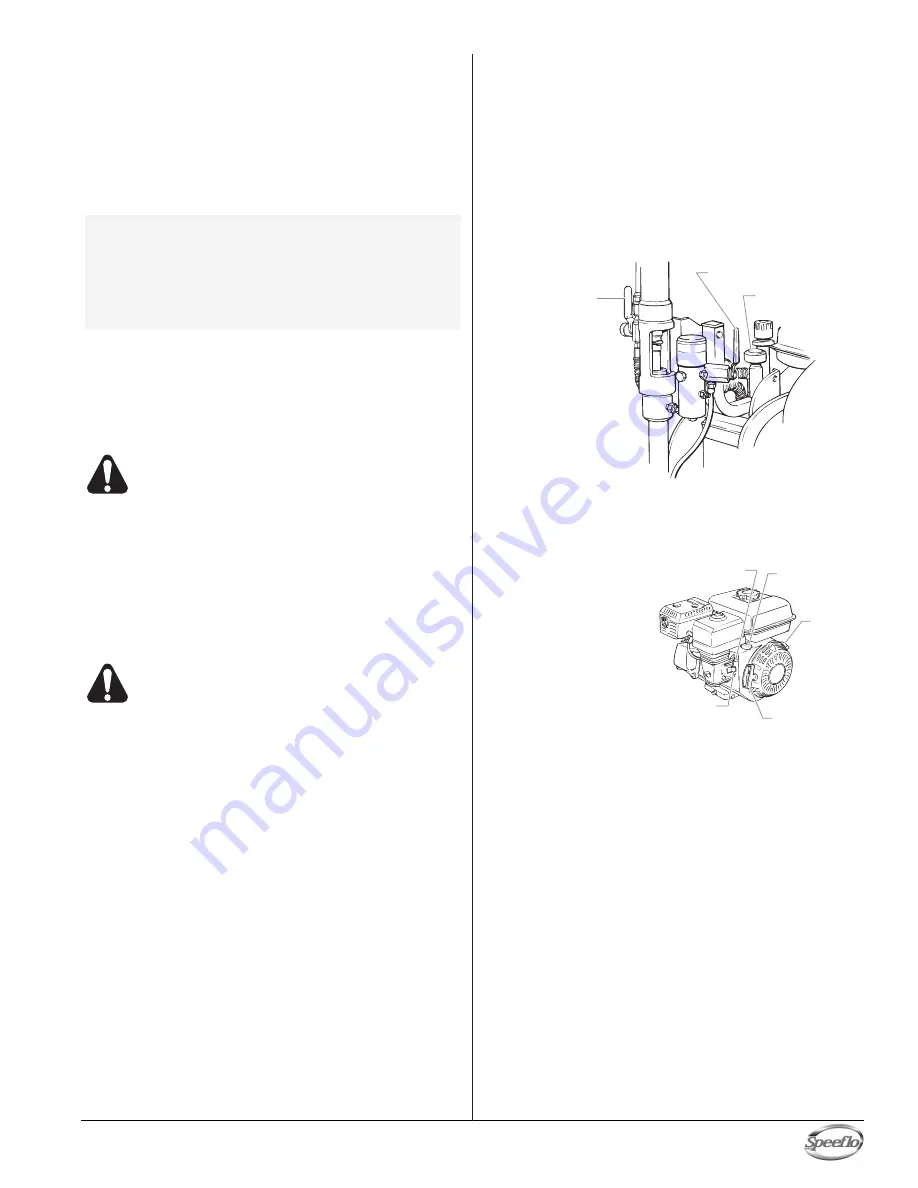
4. Open the hydraulic shut-off valve located on the hydraulic
pressure hose. The handle should be in line with the hose.
5. Open the bleed valve by rotating the bleed valve handle
fully counterclockwise.
6. Start the engine or turn on the electric motor.
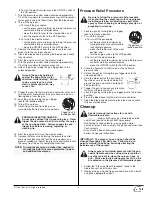
a. To start the gas
engine,
• move the fuel
valve lever to
the open
position,
• move the
throttle lever to
its middle point,
• move the choke
lever to the
closed position
for a cold engine or to the open position for a warm
engine,
• turn the engine switch to the ON position, and
• pull the starter rope briskly until the engine starts.
b. To start the electric motor, move the ON/OFF switch to
the ON position.
7. Turn the pressure control knob clockwise approximately
1/3 of the way down to increase pressure until the sprayer
cycles evenly and solvent flows freely from the bleed hose.
8. Allow the sprayer to run for 15–30 seconds to flush the
test fluid out through the bleed hose and into the waste
container.
9. Turn off the sprayer.
a. To turn off the gas engine,
• set the pressure to minimum by turning the pressure
control knob fully counterclockwise,
• move the throttle lever to the slow position, and
• turn the engine switch to the OFF position.
b. To turn off the electric motor,
• set the pressure to minimum by turning the pressure
control knob fully counterclockwise,
• move the ON/OFF switch to the OFF position.
Fuel Valve
Lever
Choke Lever
Engine
Switch
Throttle
Lever
Starter Rope
Hydraulic Shut-off
Valve (in open
position)
Pressure Control
Knob
Bleed Valve

