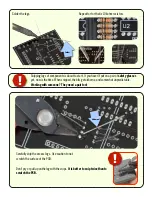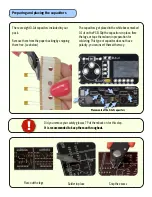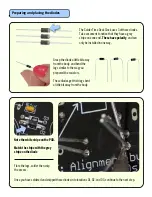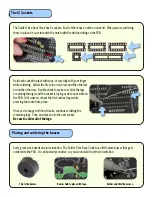
The IC Sockets
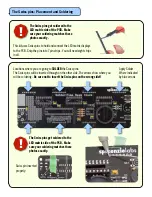
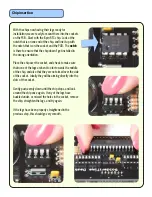
The Solder Time Desk Clock has 5 sockets. Each of them has a notch on one end. When you are soldering
these in place, be sure to match the notch with the white printing on the PCB.
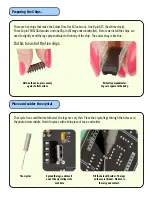
Hold each socket in place with tape, or carefully with your finger
while soldering. Solder the first pin on one row, and then the last
pin on the other row. Double check to make sure all of the legs
are poking through, and the socket is laying as flat as possible on
the PCB. If it’s uneven, reheat the first and last legs while
pressing the socket into place.
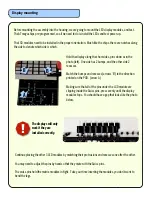
Once you’re happy with how it looks, continue soldering the
remaining legs. Trim, and move on to the next socket.
Be sure to solder all of the legs.
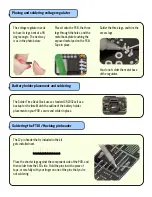
Placing and soldering the buzzer
Every great clock needs an alarm function. The Solder Time Desk Clock has a little piezo buzzer that gets
soldered to the PCB. It is not polarity sensitive, so you can install it in either orientation.
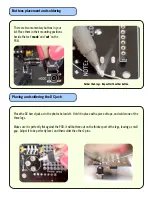
Buzzer held in place with tape.
Solder and trim the excess.
This is the buzzer.


