Attaching the PCB assembly
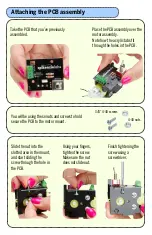
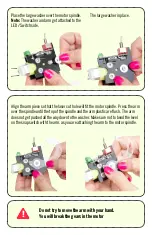
Take the PCB that you’ve previously
assembled.
Place the PCB assembly over the
motor assembly.
Note how the acrylic tabs fit
through the holes in the PCB.
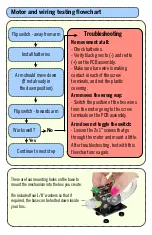
You will be using these nuts and screws to hold
secure the PCB to the motor mount.
3/8” 4-40 screws
4-40 nuts
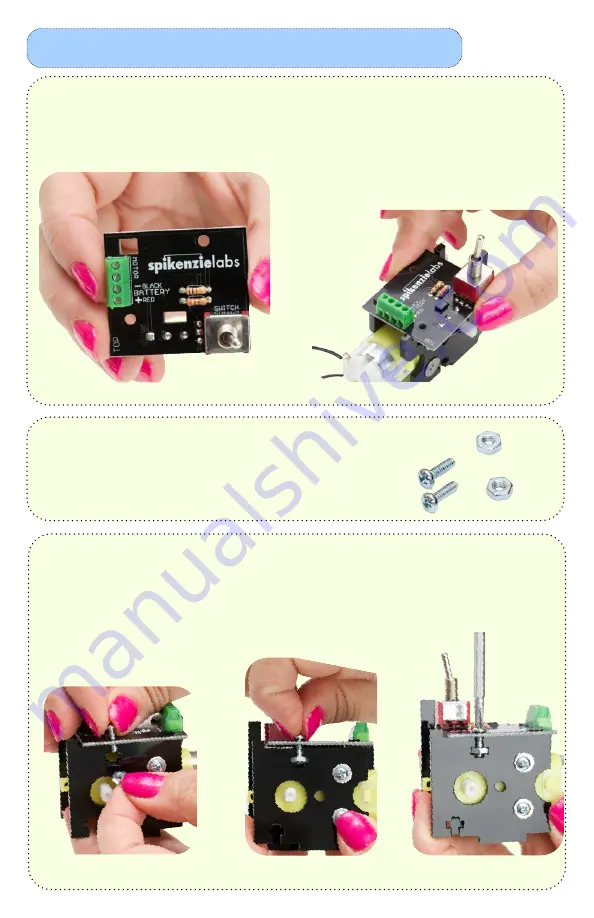
Slide the nut into the
slotted area in the mount,
and start sliding the
screw through the hole in
the PCB.
Using your fingers,
tighten the screw.
Make sure the nut
does not slide out.
Finish tightening the
screw using a
screwdriver.

