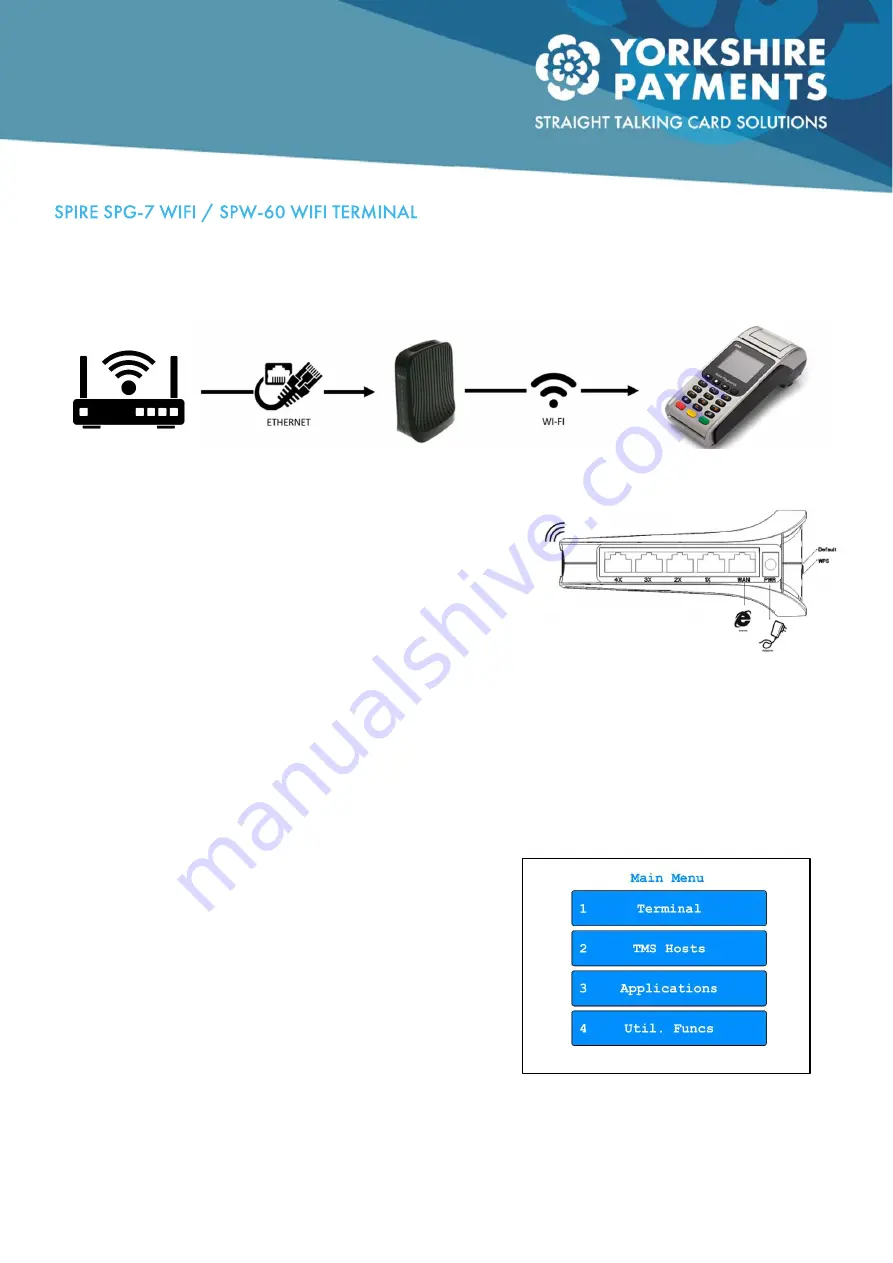
The Spire WIFI Terminal (hereafter just referred to as “the terminal”) can communicate via the internet via
your own WIFI router or a Netis Access Point sometimes provided with the machine as standard, this
guide will cover how to install both comms means.
Connection via Netis Access Point
The Netis Access Point acts as the primary source of
communication for a Spire WIFI terminal if it was installed with
one originally. Unlike a standard router from an internet provider
the Netis Access Point is not provided with WIFI connection
credentials, in other words only the terminal can connect to it.
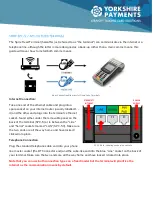
Setup is simply a case of connecting the Access Point from its
WAN socket to one of your router’s LAN sockets (usually
labelled 1 – 4) via an ethernet cable and power it up (see
picture). Once the Access point is fully powered the terminal will
connect to it.
Connection directly to your router
Connecting to your router requires quite a few steps but is not overly complicated so long as they are
followed clearly:
1.
Make sure the terminal is switched on and displays
the “Enter Amount to Start Payment” screen (if the
Yorkshire Payments screen saver is displayed, clear it
by pressing any key).
2.
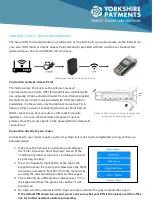
Press the Square Symbol button at the top of the
keypad to access the main menu. Now press the Right
Arrow key and select “Function” from the menu list by
pressing the corresponding number on the keypad.
3.
This will bring up a little text box, please press “3” on
the keypad and then the green enter button. It will
prompt you
4.
for a pin, which by default is 0000, input your pin and press the green enter button again.
If the default PIN doesn’t work and you are not sure what your PIN is then please call the office
line for further assistance before proceeding.
WIFI terminal setup with Netis Access Point
Back of a Netis Access Point, models vary but the
socket layout remains the same.
Engineer's Menu


