
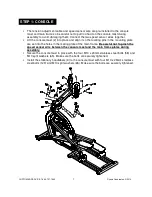
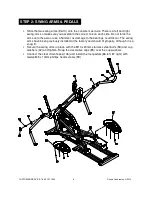
CUSTOMER SERVICE 1-888-707-1880
4
Dyaco Canada Inc. ©2013
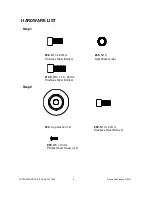
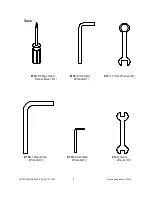
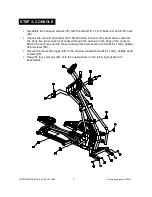
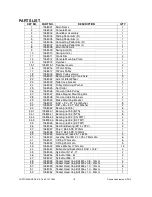
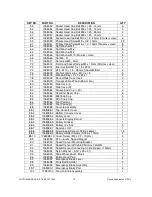
HARDWARE LIST
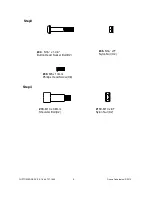
Step1
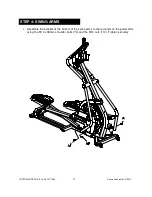
Step2
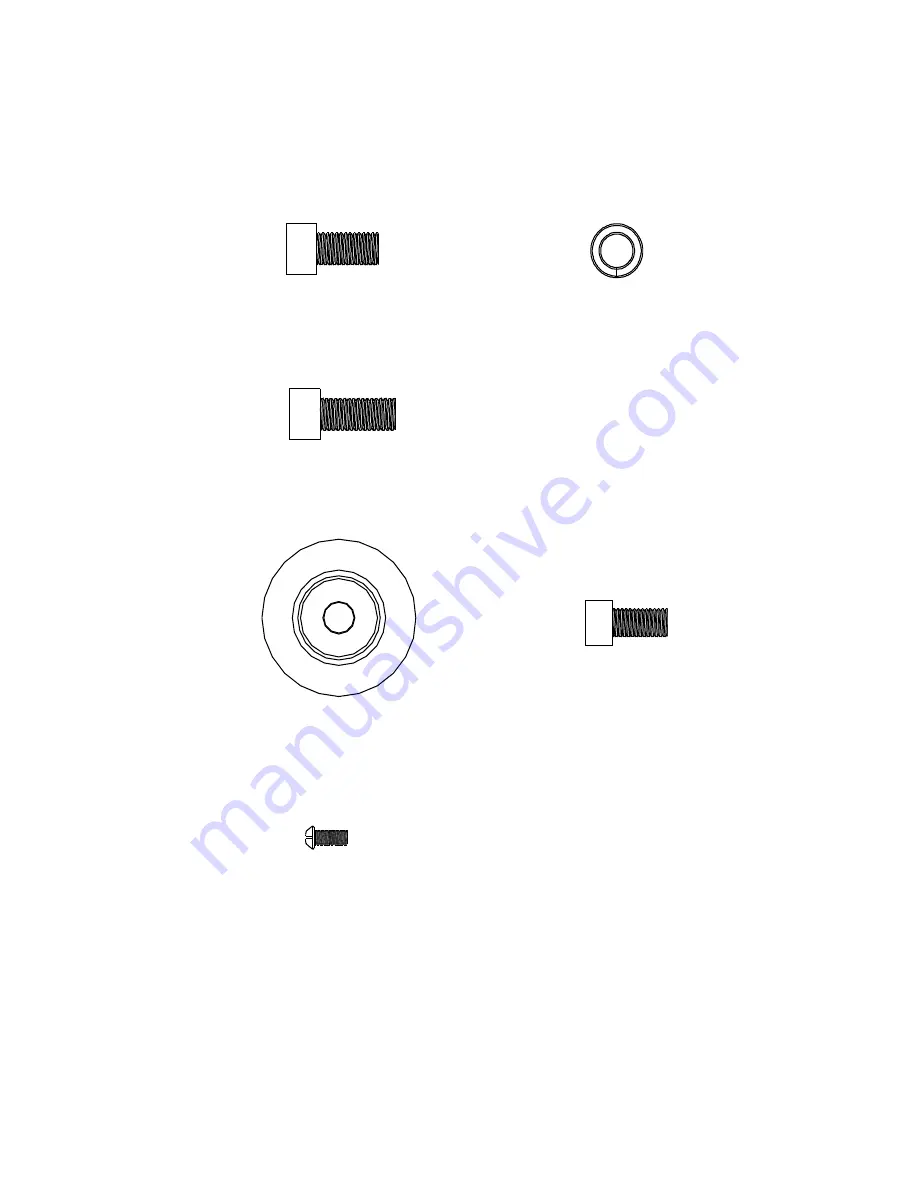
#65.
M10
Split Washer (x8)
#32.
Cup washer (x2)
#58.
M10 x 20mm
Stainless Steel Bolt (x2)
#58.
M10 x 20mm
Stainless Steel Bolt(x4)
#59.
M5 x 10mm
Phillips Head Screw (x12)
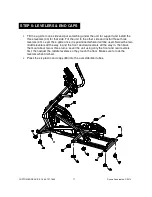
#129.
M10 x 1.5 - 25mm
Stainless Steel Bolt(x4)


