background image


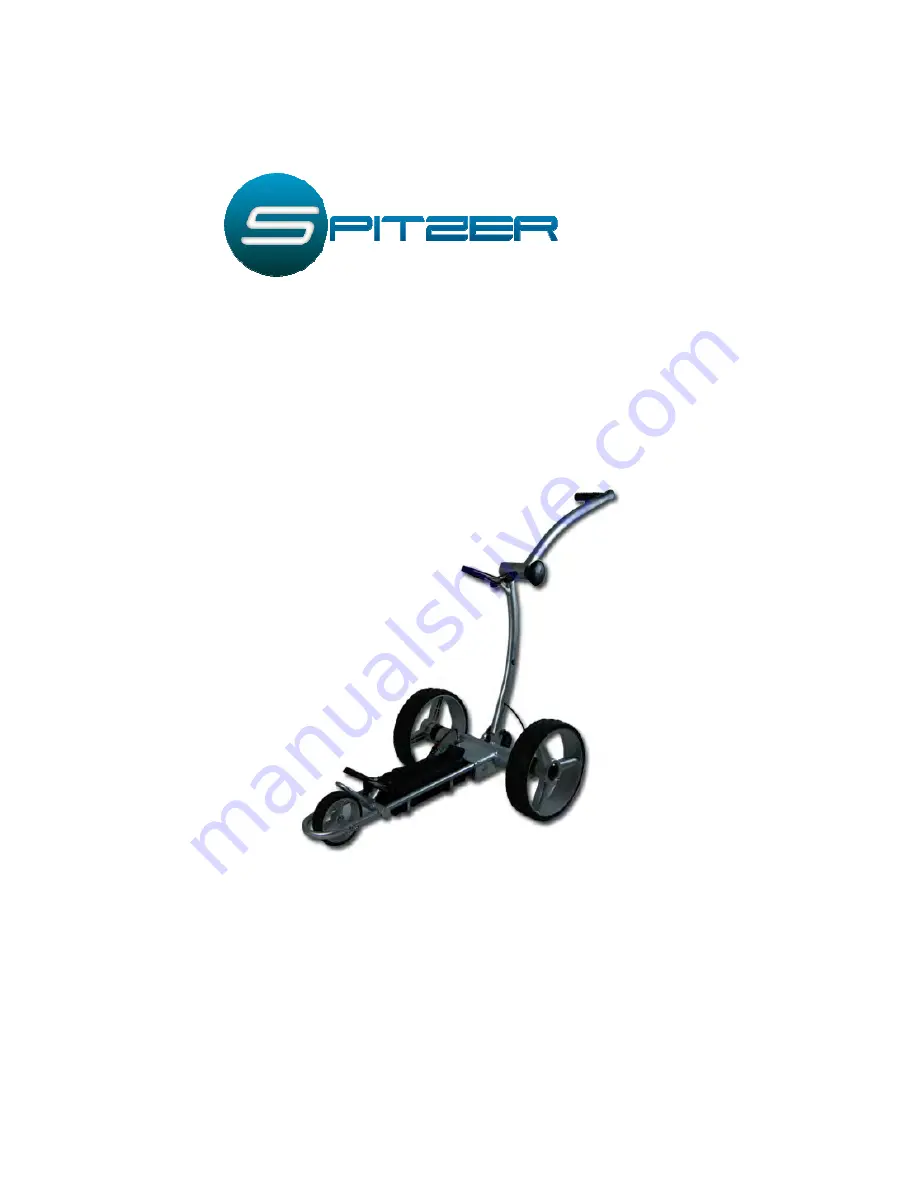
SPITZER RL150 

Remote Controlled Electric Golf Caddy 

User Manual


WARNING: PLEASE FOLLOW ALL ASSEMBLY INSTRUCTIONS AND READ 

AND UNDERSTAND THE OPERATING INSTRUCTIONS BEFORE YOU 

OPERATE THE CADDY, EITHER MANUALLY OR BY REMOTE CONTROL. 

User Manual version 2.1 

Summary of Contents for RL150

Page 1: ...rolled Electric Golf Caddy User Manual WARNING PLEASE FOLLOW ALL ASSEMBLY INSTRUCTIONS AND READ AND UNDERSTAND THE OPERATING INSTRUCTIONS BEFORE YOU OPERATE THE CADDY EITHER MANUALLY OR BY REMOTE CONTROL User Manual version 2 1 ...

Page 2: ...tive Or for fast response email us at support spitzerproducts com DISCLAIMER SAFETY WARNING OPERATORS ARE SOLELY RESPONSIBLE FOR SAFE OPERATION and MAINTENANCE OF THIS DEVICE AS A REMOTELY CONTROLLED DEVICE EXTREME CAUTION AND CARE MUST BE TAKEN TO AVOID INJURIES DAMAGE OR LOSS UNDER NO CIRCUMSTANCES DOES SPITZER GOLF ASSUME ANY RESPONSIBILITY FOR OPERATOR SAFETY INJURIES OR PRODUCT LOSS ...

Page 3: ... 1 Battery Charging Maintenance 13 6 0 Caddy Self Test IMPORTANT 14 6 1 Non Moving Test Initial Test 14 6 2 Moving Test Prior to each use 15 6 3 Recommendations for Efficient and Safe Operation 16 7 0 Additional Functions 17 7 1 Free Wheel Mode 17 7 2 Controller Remote Frequency Adjustment 17 7 3 Tracking Adjustment 18 8 0 General Maintenance 19 9 0 Electronic Systems 20 10 0 Technical Specificati...

Page 4: ...emote control the cart by means of a wireless handheld remote control 1 2 Packing List The following is a list of parts that the package should normally contain If your package is missing any parts please contact support spitzerproducts com immediately Standard Parts 1 x Caddy Frame 1 x Anti Tip Wheel 2 x Rear Wheels 1 x Battery Pack Battery Bag Leads 1 x Charger 1 x Tool Kit 1 x Remote Control in...

Page 5: ...Bag Support Strap 11 Upper Arm Frame Lock Knob 4 Battery with Bag may not be exactly as shown 12 Manual Handle Controls 5 Rear Wheel 13 Battery plug 6 Wheel Cap 14 Front wheel Adjustment bolt 7 Rear Wheel Quick Release Catch 15 Score Card Holder optional 8 Dual Motors 16 Lower Frame Lock Knob ...

Page 6: ... outside of the wheel pushed in during this process in order to enable the axle extensions including the two pins to be inserted all the way into the wheel If not locked in the wheel will not be connected to the clutch and will not be propelled Test the lock by trying to pull the wheel out To disassemble the wheels proceed in reverse order 3 Erect Frame by unfolding and locking the lower support s...

Page 7: ...attery plug into caddy outlet Note BEFORE CONNECTING make sure that Main On Off switch on handle is in OFF 0 position and the remote control is stored securely 6 Insert anti tip wheel into frame and secure with pin 7 Install Scorecard Holder and other accessories such as beverage or umbrella holder below handle in the foreseen places or receptors Optional Accessories ...

Page 8: ...8 Unpack remote control and install batteries as indicated in the diagram in the receiver compartment of the unit Now you are ready to learn and understand the functions of the manual and remote controls ...

Page 9: ...e button and the caddy will automatically travel at the same speed that it was previously set at except if you change the variable speed control knob position Power On Off Button controls the caddy s power supply Press for 2 seconds in order to switch the caddy ON or OFF similar to a mobile phone operation After connecting the battery you need to press ON and the battery LED will illuminate Your c...

Page 10: ...the cart when you are walking Turn the knob forward clockwise to control the forward movement speed of the caddy The maximum speed of the knob is set when the knob is at the 150 degree position To slow down or stop the caddy Turn the knob backwards counterclockwise to slow down or stop the caddy when the knob reaches the 0 degree position Counterclockwise to slow stop speed Clockwise to increase s...

Page 11: ... the back arrow will set the caddy in backward motion Increase speed by pushing multiple times D Forward Arrow Pushing the forward arrow will set the caddy in forward motion Pushing multiple times will increase the speed E Left Arrow initiates left turns When the arrows are released the caddy stops turning and continues straight with the original speed prior to turning F Right Arrow same as left a...

Page 12: ...en up the battery compartment cover and place the batteries according to the diagram in the battery compartment The remote control system is designed so it does not interfere with other electric caddies The maximum range of the remote control varies between 80 120 yards depending on the battery charge obstacles atmospheric conditions power lines and the topography of the course It is strongly reco...

Page 13: ...the blinking green light or the red light will turn into a steady green light It is now suitable to unplug the charger and battery for reuse The charging cycle can last up to 10 hours depending on the level of discharge Normally the battery will hold its charge for several months and it does not have a memory effect and therefore can be recharged at any discharge level It is not recommended to ful...

Page 14: ...ate the golf cart elevated at the drive wheels to familiarize yourself with how the cart works for both remote and handle control functions Elevate your cart with a paint can or a similar sized and strength item allowing your cart s drive wheels to freely move without touching the ground The pictures below illustrate an example of how the cart can be elevated for this test Follow the steps in Sect...

Page 15: ... counterclockwise b Remote Control Operation Make sure you are close to the caddy at all times while testing it and familiarizing yourself with the remote control Now turn on the main power switch I and make sure that the rheostat control knob is in 0 position One touch of the Forward Backward arrows on the remote control starts the caddy in either direction Further pushes increase the speed In or...

Page 16: ...ing ranges putting greens and practice areas pro shops restaurants starter areas and other areas where people or items could be harmed through an error or lack of skill in operation In such situations the caddy should be best operated with its manual controls or without power Also please make sure to always switch off the power 0 and secure the caddy when you park and leave the unit for any reason...

Page 17: ... freewheeling mode on some models can also be activated by pulling out both rear wheels by an inch 2cm and relocking them back into the second axle groove Some models are equipped with both options 7 2 Controller Remote Frequency Adjustment Turn the main switch to ON position and press and hold the forward for 6 10 seconds The cart will move forwards once it synchronizes the remote and controller ...

Page 18: ...ened When the front wheel is loose you can adjust it left or right When the wheel is aligned tighten the nut 3 on the axle but still keep the alignment bar s nuts loose Test the cart to make sure it goes straight on an asphalt cement flat road or pathway If it does not re adjust the front wheel ONLY AFTER when the cart is going straight do you start tightening the nuts 1 and 2 on the alignment bar...

Page 19: ...ag You might also apply some lubricant such WD 40 to keep moving parts smooth and corrosion free 4 A four five hour round of golf played once a week for 12 months is equivalent to four years use of a lawnmower so please inspect your cart at least once a year thoroughly and if you notice any symptoms of wear contact your SPITZER Service Center Alternatively you can have your caddy inspected and tun...

Page 20: ...When you connect the battery the electronics system will automatically run through a start up routine Then you can press the main OFF ON switch on the handle The battery charge indicator lights will show you the charge level of the battery from green fully charged to red discharged Important The electronics controller box contains no user serviceable parts Therefore it is sealed to reduce the risk...

Page 21: ...s Charger Input 100 240V AC Output 24V 2A DC Trickle Charger Weight Net Weight Caddy 24 0 Lbs 11 kg Net Weight Battery 6 Lbs 3 kg Total Net Weight 30 Lbs 13 kg Speed 5 4 m h 8 6 km h Distance Range 18 Holes Maximum Load 55 Lbs 25 kg Climbing Ability 35 degrees Dimensions Full Folded Length 42 33 Width 21 21 Height 35 10 Rear Wheels Airless stabilizing wheel Front Wheels Airless rubberized tread Ma...

Page 22: ...22 Rain Cover Scorecard Holder Warranty 1 Year on Parts Packaging Type Cardboard Box Styrofoam or Cardboard Cushioning Dimensions 34 x 24 x 13 88 x 60 x 31 cm Gross Weight 20 kg ...

Page 23: ...he back of the handle with a screwdriver Make sure the handle line plug is in the right position on the handle electronic board It will happen when the line of the caddy is not connected in right the position 3 Question The caddy s main switch is on and all battery indicator lights are on but the caddy does not run or one motor does not run Reply Please check the motor connectors on the controller...

Page 24: ...y does not receive a signal for a while 7 Question The caddy tracks to one side Reply Please make sure that the weight distribution of your golf bag is balanced on the caddy To adjust the tracking loosen the axle screw of the front wheel on the right side and adjust the wheel position accordingly Tighten the axle screw after the adjustment to make sure the front wheel stays in the desired position...

Page 25: ...12 0 Support Information SUPPORT INFORMATION FOR ANY FURTHER INFORMATION OR SUPPORT ISSUES PLEASE CALL SPITZER GOLF AT 1 800 814 6536 OR EMAILS WILL BE PROMPTLY RESPONDED TO AT SUPPORT SPITZERPRODUCTS COM ...

Reviews: