


23
11.0 Frequently Asked Questions (FAQ)
1.
Question
: I lost my remote control handset. What shall I do?
Reply
:
You can purchase a new remote handset from
www.spitzergolf.com
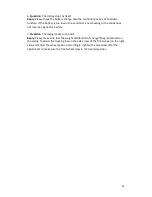
. After you
receive your new remote control, please connect the battery to the trolley. Turn the
main switch to ON position and press and hold the forward for 6-10 seconds. The
cart will move forwards once it synchronizes the remote and controller. Your new
remote control should now be tuned to your caddy.
2.
Question
: When I connect the battery plug to the caddy and turn the main switch
on, the battery indicator lights do not come on.
Reply
: a) Inspect if the fuse in the battery case is still good, and if the battery leads
are well connected to the battery.
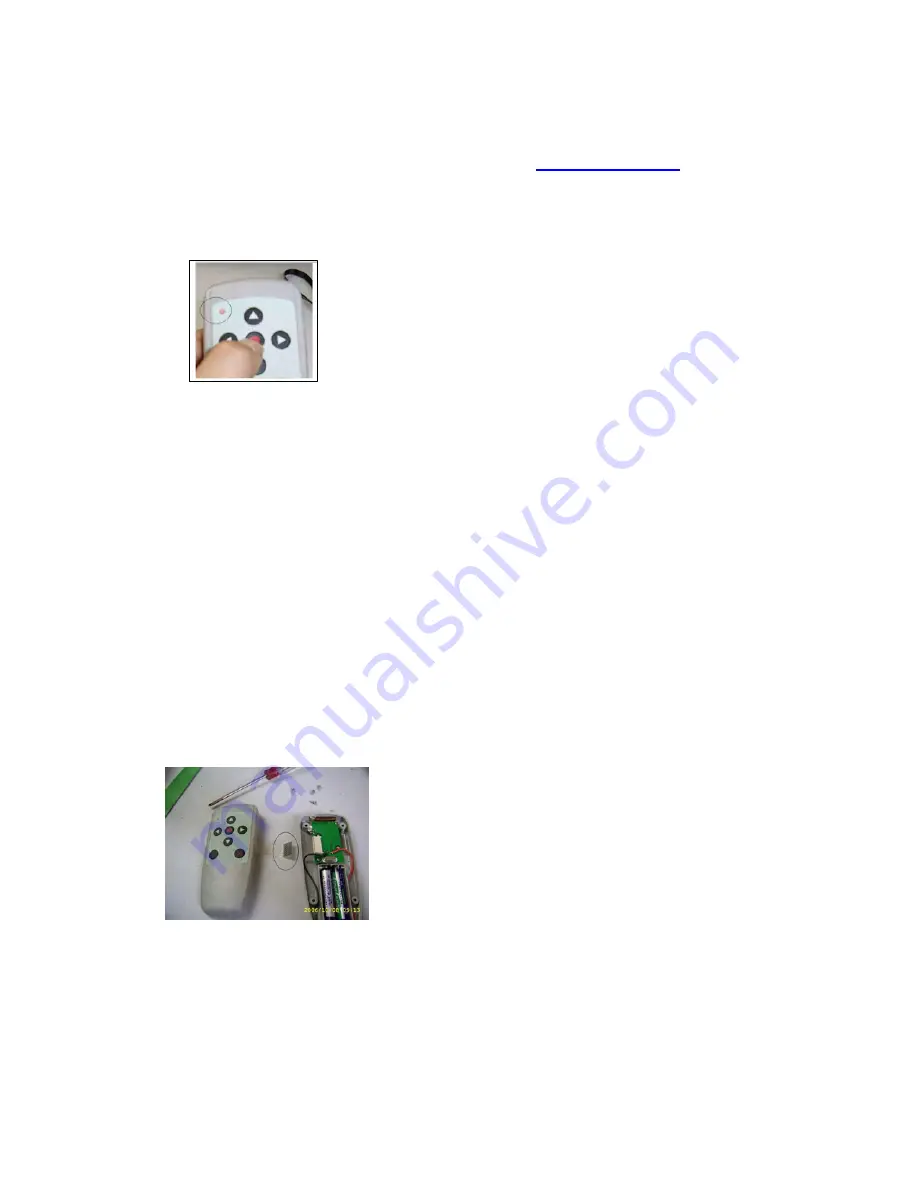
b) Open the back of the handle with a screwdriver. Make sure the handle line plug is
in the right position on the handle electronic board. It will happen when the line of
the caddy is not connected in right the position.
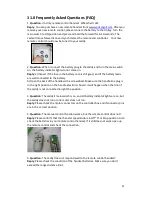
3.
Question
: The caddy’s main switch is on, and all battery indicator lights are on, but
the caddy does not run or one motor does not run.
Reply
: Please check the motor connectors on the controller box and if connector pins
are in the correct position.
4.
Question
: The manual control function works, but the remote control does not?
Reply
: Please confirm that the rheostat speed knob is in Off “0” or Stop position. Also
check the batteries in your remote control handset. If it still does not work open up
the remote control and check the connection.
5
. Question
: The caddy does not respond well to the remote control handset?
Reply
: Please check the condition of the handset batteries. Make sure you don’t
exceed the range distance limit.


