Installation and Reference Manual
Configuring PBX functionality
114
Installation and Reference Manual v3.2/0410/6
Working with Dial Plans
Dial Plans determine how digits dialled on a User’s extension are handled. A Dial Plan will allow you to
create speed dials, short codes to system features and set up call barring. A Dial Plan can be assigned to
one or many Users. Multiple Dial Plans can be created to allow or disallow certain functionality for
specific Users or where Users belong to different Companies (please refer to the Working with
Companies section from page 155 for further details).
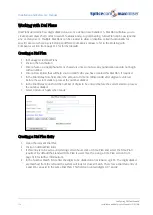
Creating a Dial Plan
1
In Manager select Dial Plans
2
Click on the Add button
3
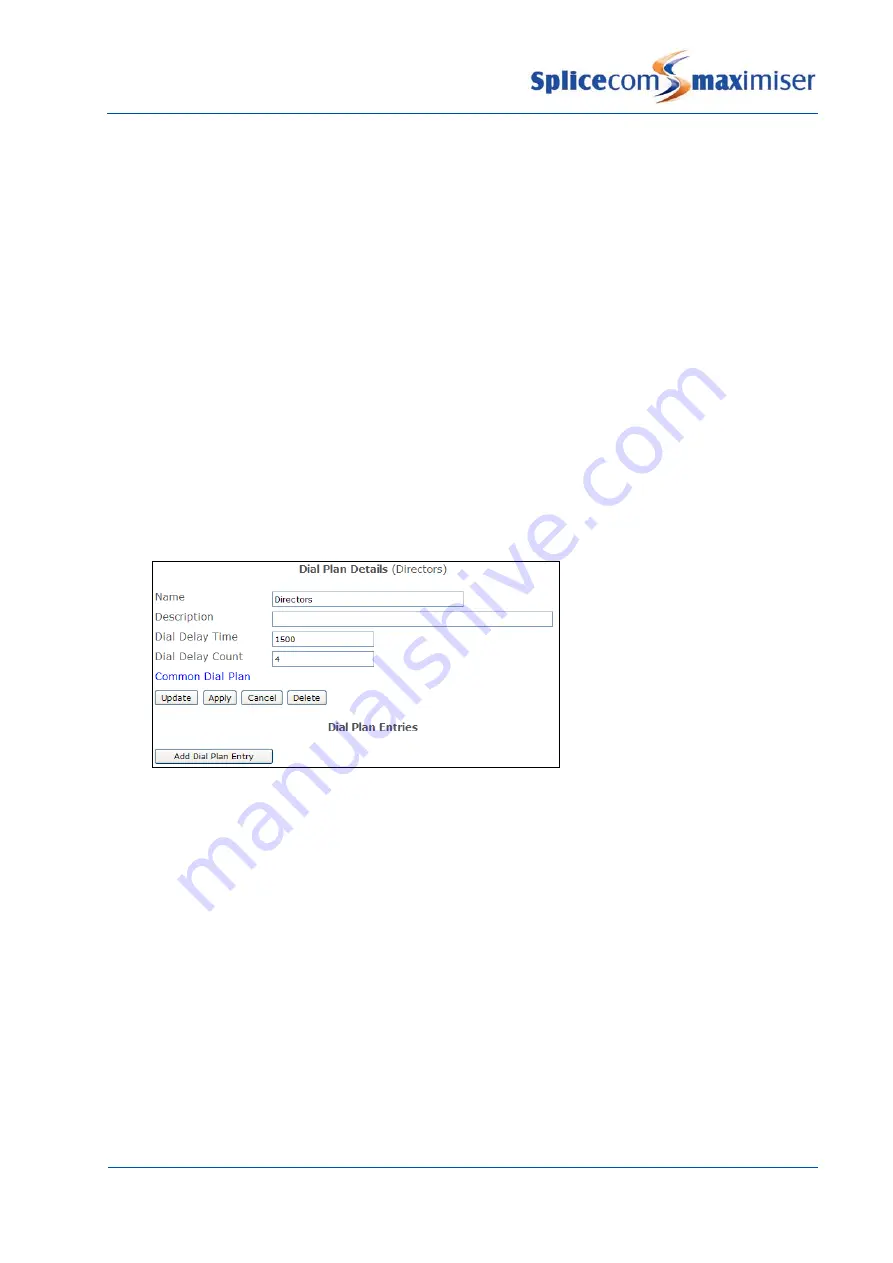
Enter a Name, using alpha-numeric characters only, do not use any punctuation and do not begin
with a number.
4
Enter a Description that will help you to identify why you have created this Dial Plan, if required
5
In the Dial Delay Time field enter the amount of time (in milliseconds) after digits are entered
before the system starts to process the number dialled.
6
In the Dial Delay Count field the number of digits to be entered before the system starts to process
the number dialled.
7
Select Update or Apply when ready
Creating a Dial Plan Entry
1
Open the relevant Dial Plan
2
Click on Add Dial Plan Entry
3
If this entry is to be active only during certain hours click on Time Plan and select the Time Plan
required. By default the Standard Time Plan is used. (See the Using a Time Plan section from
page 148 for further information).
4
In the Number Match field enter the digits to be dialled on an extension eg 456. The digits dialled
are matched from the left and the system will look for closest match. Therefore a Dial Plan entry of
2 and 256 can exist in the same Dial Plan. This field can contain digits 0-9, * and #.

