4
EN
INSTRUCTION MANUAL
CAUTION:
-Prior to starting any training with this device, please read this instruction manual carefully and keep it for future reference.
-We do not hold any responsibility for any injuries or damages to objects being the consequence of an inappropriate use of this product.
-Injuries may be the consequence of an inappropriate or too intensive training.
IMPORTANT SAFETY INFORMATION
1. The information covered in this manual should always be followed to ensure proper use of pedometer
2. Please contact your General Practitioner before you start training with pedometer or loosing weight.
3. Keep away from children! Pedometer is directed for adult use only. Pedometer contains small parts which could be swallowed by children and could
endanger suffocation. In case of swallowing any part of pedometer, please contact the nearest medical service instantly.
4. Do not use pedometer for other purposes than it was designer for.
5. Please remove batteries and parts in accordance with legal requirements of your country. Otherwise it may result in contamination of the
environment.
6. Do not throw batteries into the fire! Battery might explode.
GEENERAL DESCRIPTION
Pedometers covered in this manual are precise and solid. These devices are perfect not only for walking but also for running.
PARAMETERS
Unit net weight of pedometer
: 74 g
Battery type:
1 x CR2032 (3V)
Included to pedometer:
double clip to adjust display position
BASIC FUNCTIONS:
steps counting
- Time, Chronograph
distance tra calories Burnet
- Pulse sensor
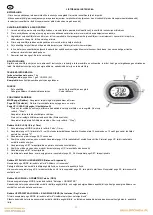
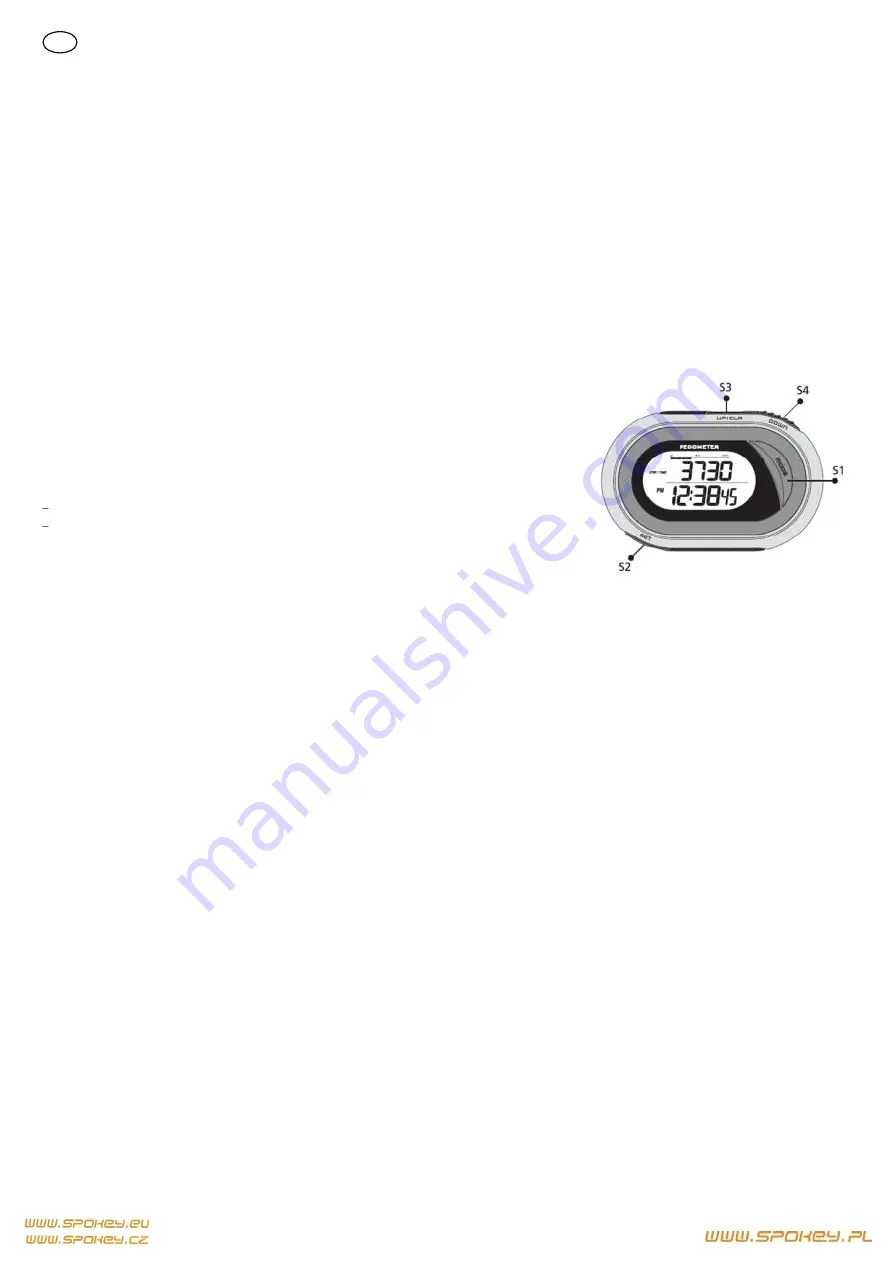
BUTTONS OPERATING
Button MODE -
Press to change between different modes
Button SET -
Press to set time, stride length and user weight
Button UP / CLEAR
Press to reset the counted values of steps, distance travelled, calories Burnet and chronograph (only in mode-
“Step”).
Press to increase values for data presetting
Press to turn on the Distance Units.
Press to change Distance Units (only in mode; „Step”)
Mode : Step / Time
1. Press MODE button to enter TIME mode.
2. Press UP button to chose 12- hour or 24- hour time display. Afternoon hours will be marked with P letter for 12-hour display.
3. Press button SET and keep it pressed for around 3 seconds.
4. Digits standing for minutes will start flashing. Press UP to increase the value of these digits. Keep UP button pressed for some longer
moment and the increase of digits will become much faster for quicker time setting .
5. Press SET again to confirm the adjustment of minutes and to move for setting of hours.
6. Digits standing for hours will start flashing. Press UP button to adjust the hours.
7. Press SET again to confirm the final time setting.
8. Presetting of user data: body weight, stride length
– press S3, S4.
Press S2 again to confirm.
Mode: Distance / Stopwatch
Press MODE button to enter Distance/ Stopwatch mode.
Distance travelled is displayed in the upper line of the display and the stopwatch values are displayed in the lower line.
Stopwatch: Press S2 button to start counting. Press S2 again to stop counting. Press S3 button to reset the counted values.
Mode: Calorie / ODO
Calories burned are displayed in the upper part of the display and the total distance travelled is displayed in the lower part. Value of the total distance
travelled may be reset only after the replacement of batteries.
Mode: Set calories / Day Calories
Press MODE button three times to enter mode:
Set calories / Day Calories.
The target value of calories burned is showed in the upper part of the display and the real value of calories burned per day is showed in the lower part.
The upper edge of the display is equipped with the measure tape which shows how many % of the target calories were daily burned in reality by a user.
The value of calories burned per each day and the measure tape value is reset at the end of a day.
Press S2 button to enter the setting of target calories burned. The first digit on the left will start flashing. Press S3 or S4 button to make setting. Press
S2 button to enter setting for the next digit. Press again S2 button to confirm the setting made.
Summary of Contents for 83512
Page 9: ...8 5 6 1 2 3 4 5 6 7 8 WEEE...


