7
Boats with Aluminum Floor
1.
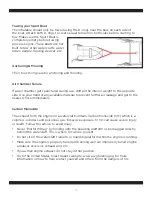
Identifying numbers on floor boards must face upwards.
2.
Insert floor board #1 in bow of boat.
3.
Insert floor board #4 in transom of boat.
4.
Insert floor board #2 into floor board #1.
5.
Insert floor board #3 into floor boards
#2 and #4 and press down until flat.
Side joiner Assembly
1.
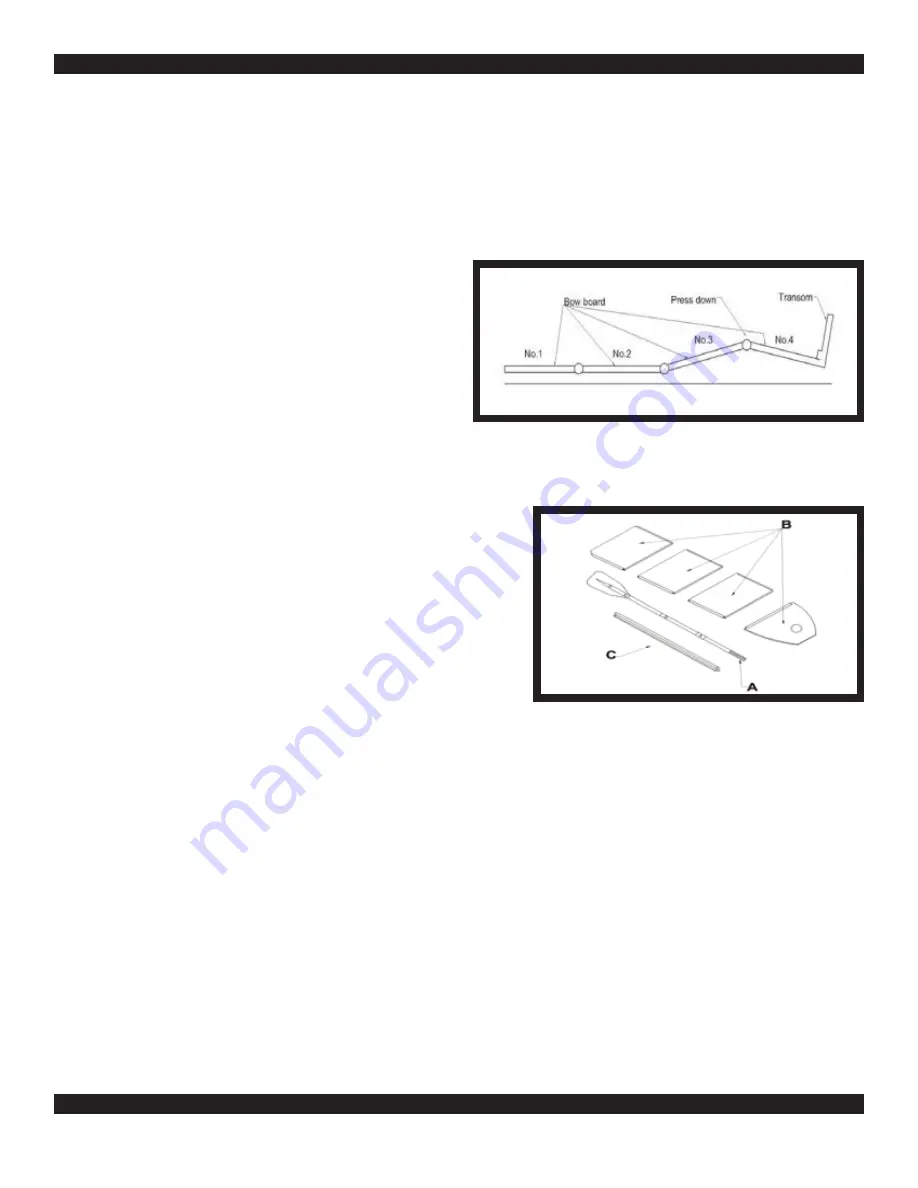
once the tube is 50% inflated, use an oar (a) to prop up the bottom to raise the floor
boards (b) about 1-2 inches off the flat surface. Attach side joiners (c). Repeat the
procedure on opposite side of the boat. If you
have more than one joiner on each side, start
with one long, one short joiner on one side and
with one short and one long on the other side.
(asymmetric)
2.
finish inflating the tube one after the other in
order to maintain equal amount of air. Do not
fully inflate any chamber at one time. Make sure
the tube is 100% inflated and firm. An under
inflated tube will cause the boat to not work properly and could potentially
damage the product and cause injury risk.
3.
Inflate the keel and close valve caps. Close valve properly by making sure the spring
inside is popped completely out. no air should be coming out of the valve before
placing the cap back on.
Your Inflatable Sport Boat is ready to go!
7
Step by step Assembly:
1.
Remove the boat from the box and lay it out on a clean flat surface with no
sharp objects. Make sure the boat is completely spread out with nothing on it
or below it before assembly.
2.
Remove the valve cover and use a boat inflator to inflate the PVC tubes to about
50% capacity. We personally recommend using a vacuum with blow function or
a Metro Vac Inflator found at
www.inflatablesportboats.com
.
*DO NOT INFLATE THE KEEL UNTIL FLOOR BOARDS HAVE BEEN INSTALLED*
Boats with Inflatable Air Floor
1.
Unfold and stretch out the floor onto the bottom of the boat, edging it under
the half-inflated tubes and against the transom. The valve must face upwards.
2.
Inflate the floor up to 75%.
3.
Finish inflating the boat.
4.
Finish inflating the floor.
Boats with Aluminum Floor
1.
Identifying numbers on floor boards must face upwards.
2.
Insert floor board #1 in bow of boat.
3.
Insert floor board #4 in transom of boat.
4.
Insert floor board #2 into floor board #1.
5.
Insert floor board #3 into floor boards #2 and #4 and press down until flat.
8
Side Joiner Assembly
1.
Once the tube is 50% inflated, use an oar (a) to prop up the bottom to raise
the floor boards (b) about 1-2 inches off the flat surface. Attach side joiners
(c). Repeat the procedure on opposite side of the boat. In case of more than
one joiner on each side, start with one long, one short joiner on one side and
with one short and one long on the other side. (asymmetric)
3.
Finish inflating the tube one after the other in order to maintain equal
amount of air. Do not inflate any chamber completely full at one time. Make
sure the tube is 100% inflated and firm. An under inflated tube will cause the
boat to not work properly and could potentially damage the product and
cause injury risk.
4.
Inflate the keel and close valve caps. Close valve properly by making sure the
spring inside is popped completely out. No air should be coming out of the
valve before placing the cap back on.
Your Inflatable Sport Boat is ready to go!
Step by step Disassembly and Storage:
1.
Follow step #1 in assembly.
2.
Wipe down product completely before deflating. It is easier to clean while
inflated. IMPORTANT: storing a wet product can cause mildew, mold, and can
damage the product.
3.
Lift and remove one of the middle floorboards first. Remove bow and
transom boards last. Place floorboards, side joiners, and oars in carry bag.
4.
Use an inflator on “sucking function” to remove excess air from each
chamber.
5.
Fold each side of the boat into the middle. Go to the bow and roll up like a
sleeping bag and place in bag.
Cleaning your Boat:
Sport Boats are manufactured with a heavy duty 1100 denier weather resistant UV
protected PVC material. The PVC material doesn’t require any special type of


