42
H.R.C. Target Heart Rate
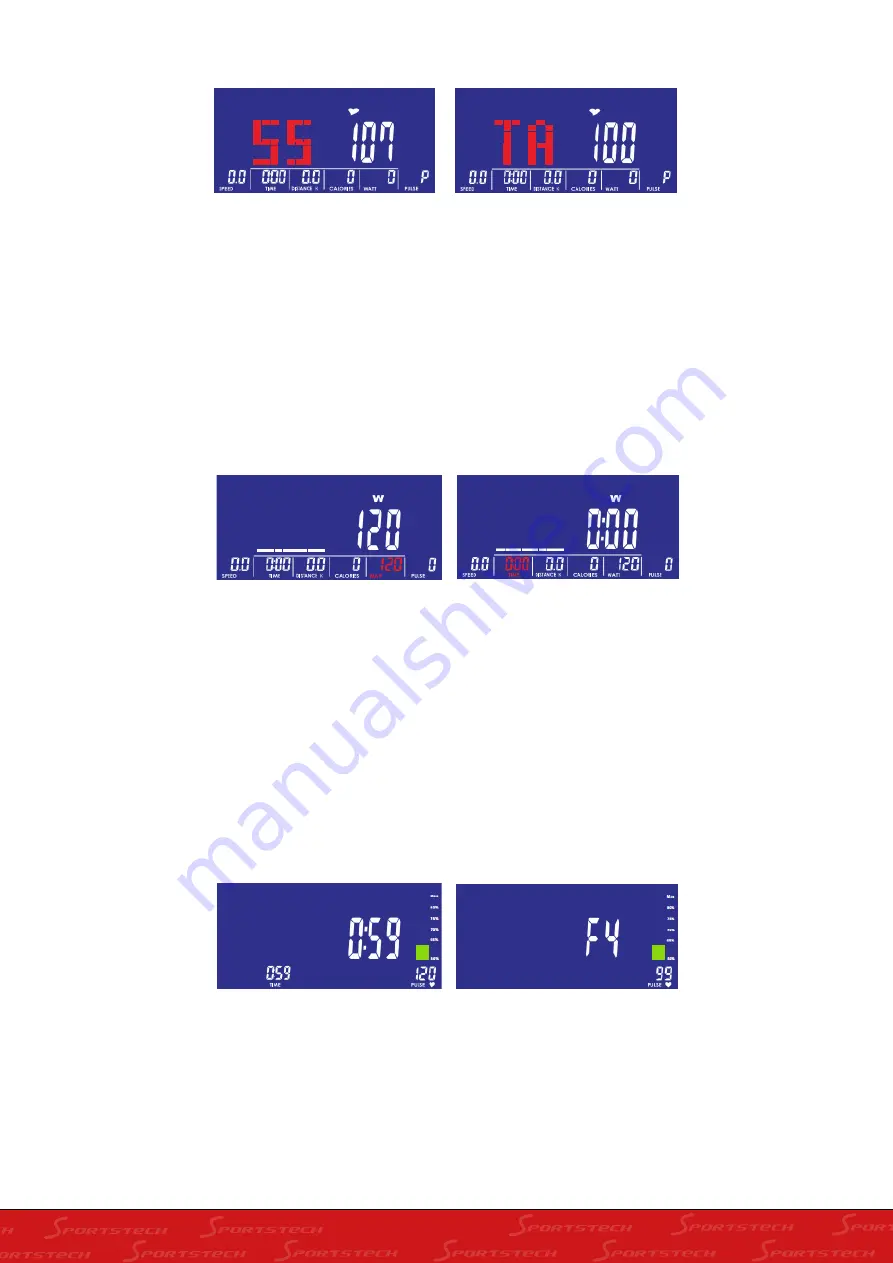
1. Press UP or DOWN to select "Heart" (H.R.C) and confirm with the ENTER button.
2. Press UP or DOWN and set a percentage heart rate between 55%, 75% or 90%. Confirm with
ENTER. (Image 9)
3. If you set the heart rate to 100% and TAG (Target, default 100%) is displayed, press ENTER to
set UP or DOWN to the desired heart rate, between 30 ~ 230. (Image 10)
4. Press UP or DOWN to set the workout time.
5. Press START / STOP to start the training.
Target Performance Mode "W"
1. Press UP or DOWN to select "W" and confirm with the ENTER button.
2. Press UP or DOWN to adjust the target power, in the range of 10 to 350 watts. 120 watts is the
default setting, an increase is made in increments of 5 watts (Image 11).
3. Press UP or DOWN to set the time (Image 12).
4. Press START / STOP to start the training. During exercise, the exercise level automatically adapts
based on user training status. You can adjust the load level by pressing the UP or DOWN button.
5. Press START / STOP to start the training.
Image
9
Image
10
Image
11
Image
12
1. After a workout, hold the handlebar or wear the chest strap and press the RECOVERY button.
All functions are stopped with the exception of TIME, which counts down from 60 to 0 seconds
(Image 15).
2. The screen displays the heart rate recovery status, with the values F1 through F6. F1 is the best
value and F6 the worst value (Image 16).
3. Users can continue exercising to improve their heart rate recovery status.
4. Press the RECOVERY button again to enter the main menu.
RECOVERY - rest
Image
13
Image
14
Summary of Contents for CX70
Page 1: ...DE EN ES FR IT NL CX70 ...
Page 2: ......
Page 25: ......
Page 39: ...39 14 Screw the bottle holder 17 to the vertical frame 4 with the Phillips screws 39 ...
Page 48: ......
Page 71: ...MANUEL FRANÇAIS ...
Page 85: ...85 14 Visser le porte bouteille 17 sur le cadre vertical 4 à l aide des vis cruciformes 39 ...
Page 94: ...MANUALE D USO ITALIANO ...
Page 108: ...108 14 Fissate il portabottiglie 17 con le viti a croce 39 sul telaio perpendicolare 4 ...
Page 117: ...GEBRUIKSAANWIJZING NEDERLANDS ...
Page 131: ...131 14 Schroef de flessenhouder 17 met de kruisschroeven 39 op het verticale frame 4 ...


